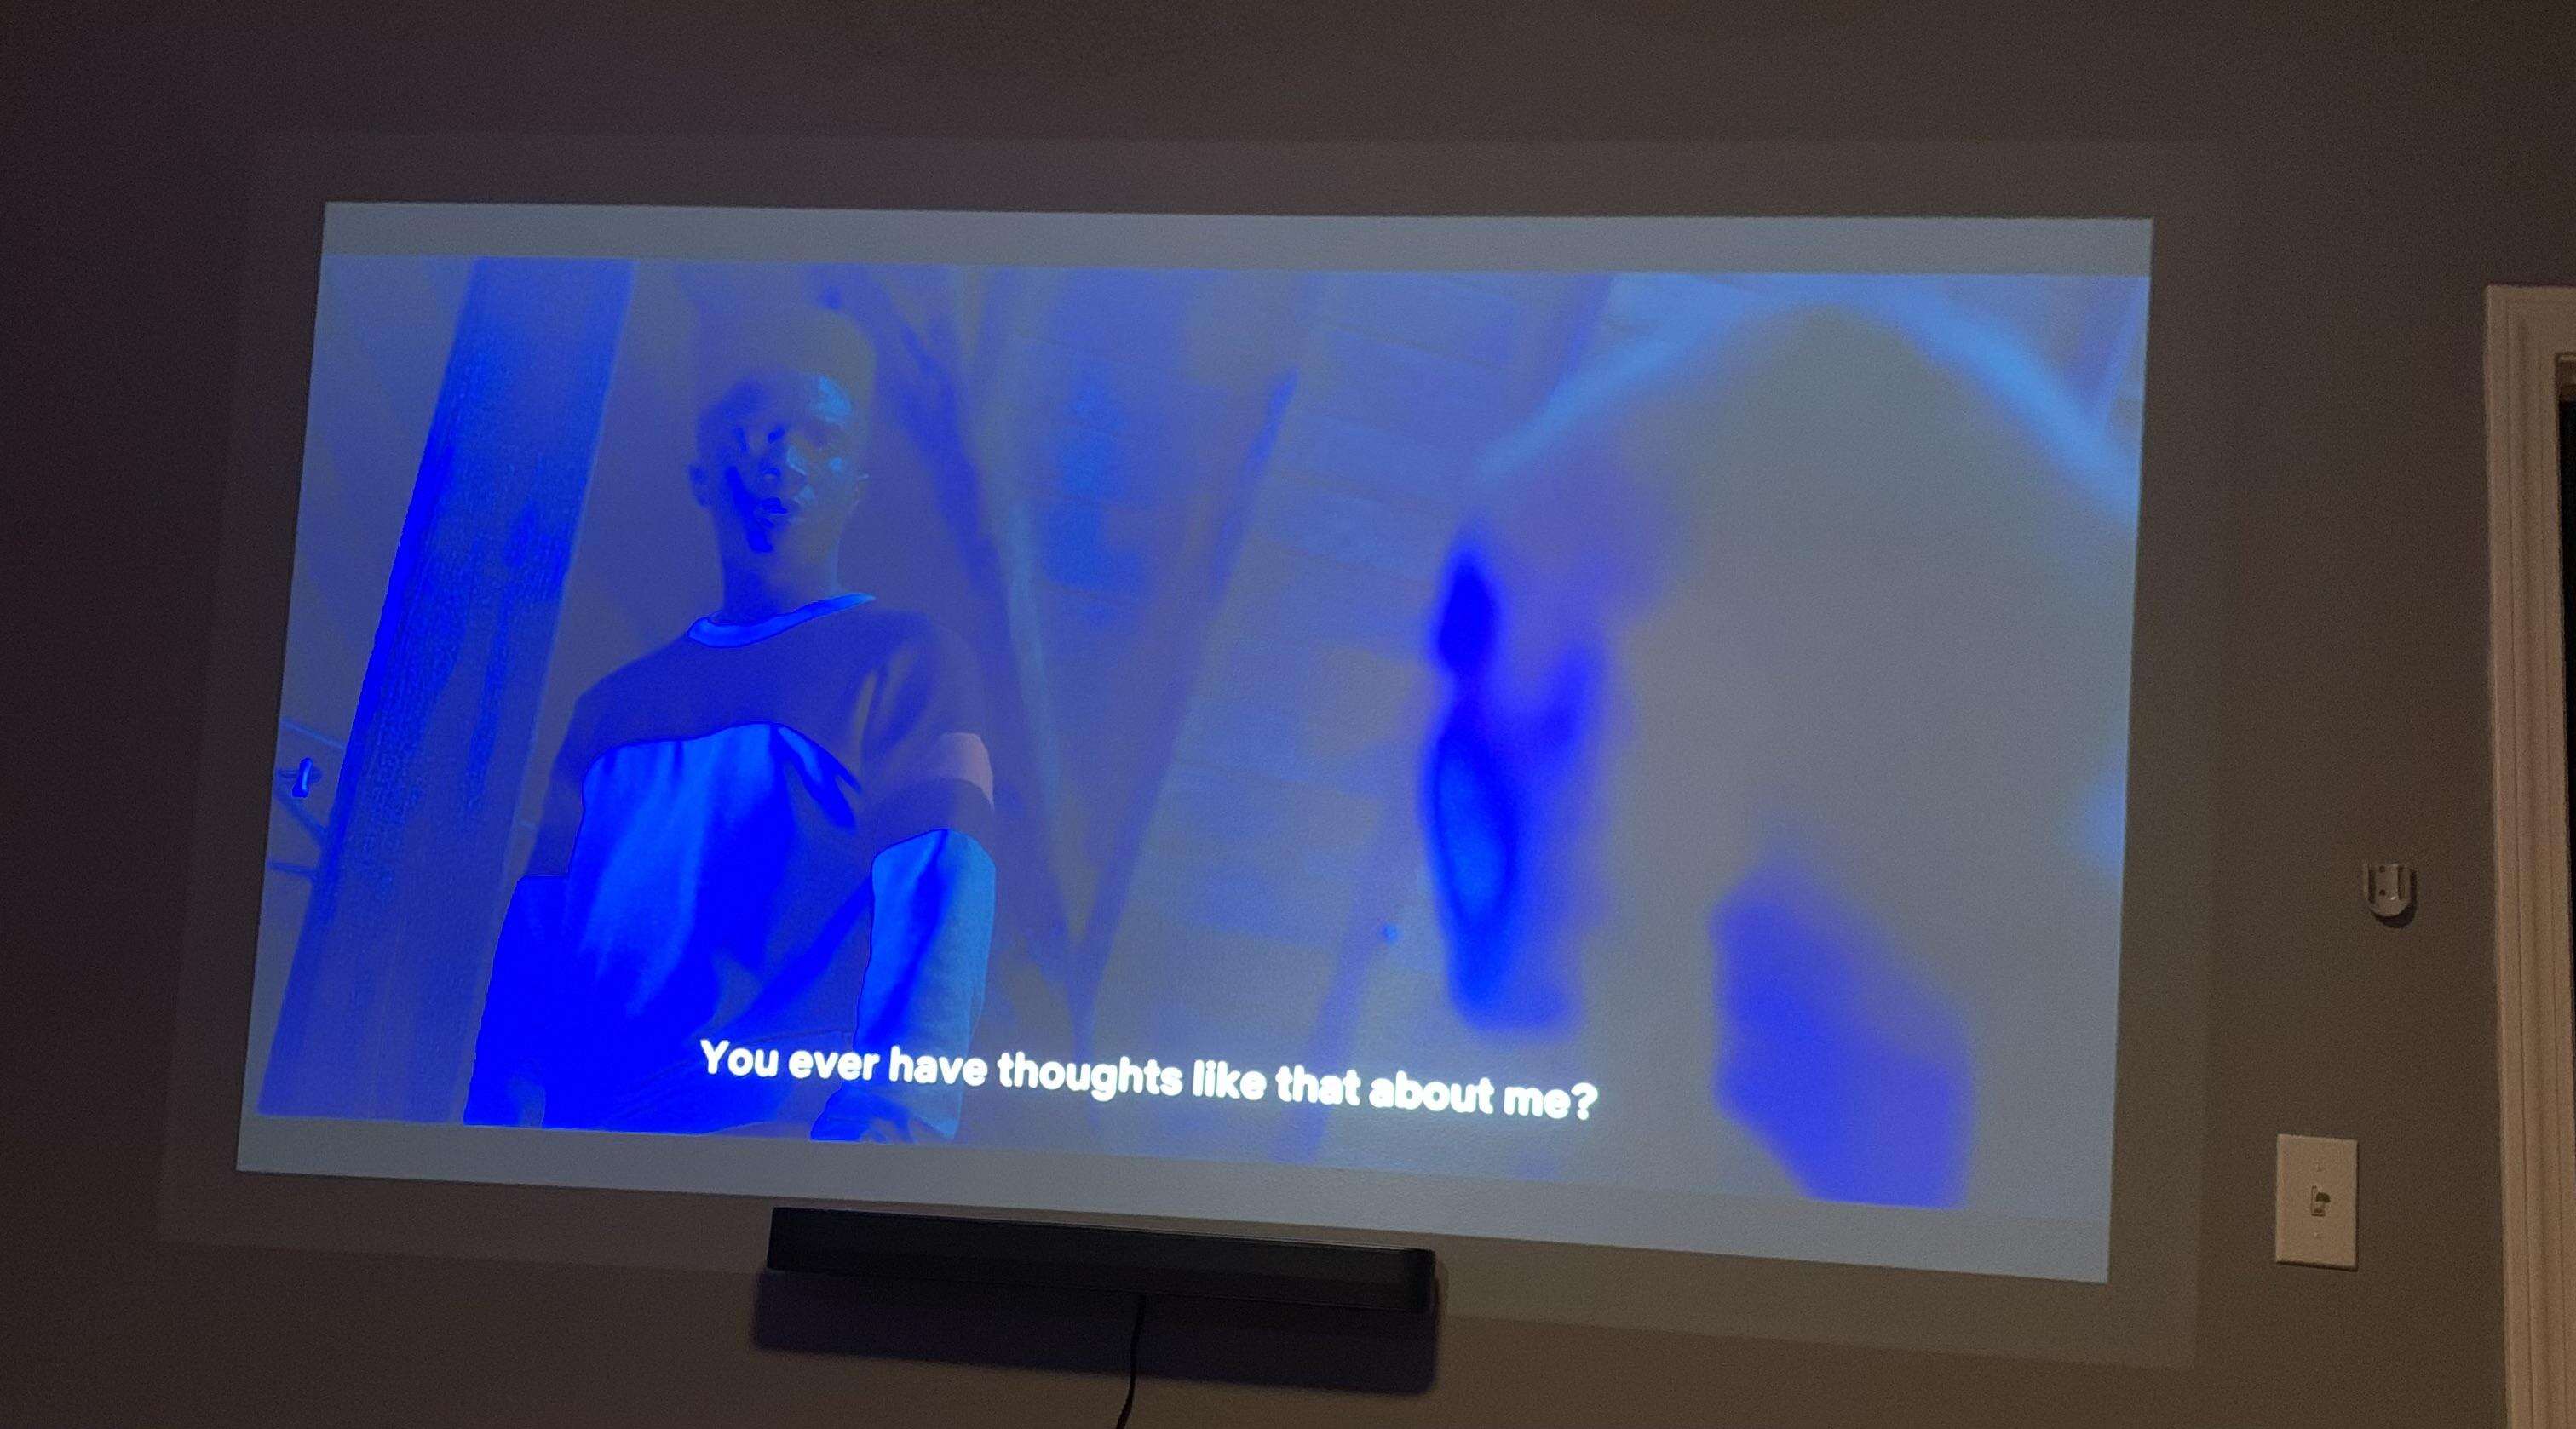
One common problem that users may encounter is a projector displaying a blue image.
This can be a perplexing issue, as it disrupts the color accuracy and overall viewing experience.
Understanding the possible causes behind this blue display is essential in finding a resolution.
When a projector shows a blue image, it means that the primary color displayed is predominantly blue.
The color reproduction in projectors is achieved through a component called the color wheel.
It consists of different color segments that rotate rapidly to produce the desired colors on the projected image.
To address the blue display issue, it is important to explore the potential causes and perform troubleshooting steps.
In this article, we will delve into the possible reasons why your projector is showing a blue image.
The color wheel is a crucial component in projectors that enables them to produce a wide range of colors.
These segments are arranged in a circular pattern and rotate rapidly as the projector operates.
The combination of these colors results in the various hues and shades seen on the projected image.
Its also worth noting that different projectors may have variations in their color wheel configurations.
These differences can impact the color reproduction and contribute to a blue display issue.
By understanding these potential causes, you’re able to effectively troubleshoot and deal with the problem.
Lets explore some of the common culprits behind a blue display:
1.
Input Source Issue: One possible cause is an issue with the input source.
Faulty Cable Connection: A faulty or loose cable connection can result in an incorrect color output.
Ensure that the cables connecting the projector to the input source are securely plugged in and undamaged.
Consider trying a different cable to rule out any potential cable-related issues.
Incorrect Color configs: Its possible that the color configs on the projector have been inadvertently adjusted.
Navigate through the projectors menu options to enter the color options and ensure they are properly calibrated.
Resetting to default controls is also worth trying if youve made any previous adjustments.
As the lamp deteriorates, it may emit a bluish hue, resulting in the blue display.
Refer to your projectors manual to determine the lifespan of the lamp and consider replacing it if necessary.
Inspect the lens for any dirt or debris and clean it meticulously using appropriate cleaning tools.
If the lens appears damaged or misaligned, it may require professional assistance to rectify the issue.
These are some of the potential causes behind a projector displaying a blue image.
Here are some steps to troubleshoot an input source issue:
1.
These prefs may cause the projector to display a predominantly blue image.
Disable any image processing or color enhancement controls on the connected gear and see if it resolves the issue.
you’re able to then focus on troubleshooting that specific gear to deal with the issue.
Test with another cable: A faulty cable can also contribute to incorrect color output.
Ensure that the replacement cable is of high quality and appropriate for the specific input/output ports being used.
If the issue persists, its time to explore other possible causes and perform further troubleshooting steps.
Here are some steps to troubleshoot and address faulty cable connection issues:
1.
If you notice any physical damage, its advisable to replace the cable with a new one.
Even minor damage can disrupt the signal transmission and affect color accuracy.
Secure connections: Ensure that the cable is securely plugged into both the input source gear and the projector.
Sometimes, a loose connection can cause a loss in signal quality and result in incorrect color output.
Remove and reinsert the cable on both ends to ensure a tight and secure connection.
This helps verify whether the issue is with the original cable or not.
Use a high-quality cable that matches the input/output ports of the devices you are connecting.
In such cases, replacing the cable is the recommended solution.
Longer cables may be more prone to signal degradation, leading to color inaccuracies.
Ensure that you are using a cable of the appropriate length for your setup.
Additionally, using high-quality cables with good shielding can help minimize signal interference and improve color integrity.
Ensure that the cable is in good condition, securely connected, and compatible with the input/output ports.
If the problem persists, its time to explore other possible causes and continue troubleshooting.
Incorrect Color prefs
Incorrect color prefs on the projector can also contribute to a blue display issue.
Sometimes, the color parameters may have been inadvertently adjusted, resulting in a dominant blue image.
Navigate to the color controls section.
This will ensure that any incorrect configurations are eliminated.
Look for an option such as Reset or Restore Default configs and confirm the action.
Adjust color temperature: The color temperature setting determines the overall warmth or coolness of the projected image.
If the color temperature is set too high or too low, it can result in inaccurate color reproduction.
Experiment with different color temperature controls to find the one that provides the most balanced and natural colors.
Calibrate color balance: Some projectors offer the option to manually calibrate the color balance.
This allows you to adjust the levels of red, green, and blue to achieve accurate color representation.
Use the projectors color balance controls to fine-tune the color output until the blue dominance is corrected.
Disable these features to ensure that the projector is displaying the colors as intended without any artificial enhancements.
These modes are pre-configured parameters optimized for specific content.
Try switching to a different picture mode to see if it improves the color accuracy.
Select a mode that is suitable for the content you are projecting.
Remember to refer to your projectors user manual for specific instructions related to color configs and calibration.
Heres how you might address lamp life and aging issues:
1.
Check the lamp hours: Consult your projectors user manual or configs menu to determine the lamp hour usage.
Typically, projectors have a lamp hour counter that keeps track of the lamps usage.
Consider lamp brightness mode: Some projectors offer different lamp brightness modes, such as high or eco mode.
Using the high brightness mode can contribute to faster lamp aging.
Consider switching to eco mode, which reduces the lamps intensity and extends its lifespan.
However, keep in mind that eco mode may reduce the projectors overall brightness.
Clean the projectors air vents: Adequate airflow is crucial for lamp longevity.
Projector Lens Problems
Issues with the projector lens can also lead to a blue display problem.
Here are some common lens-related issues and steps to address them:
1.
Be gentle to avoid scratching the lens surface.
Examine the lens for any noticeable scratches.
Condensation: If the projector lens experiences sudden temperature changes, condensation may form on its surface.
This can impact image quality and color accuracy.
Lens quality: The quality of the projector lens can also affect color reproduction.
Higher-quality lenses typically produce more accurate colors and sharper images.
Here are some steps you could take to troubleshoot and deal with the issue:
1.
Consider trying a different cable to rule out any potential cable-related issues.
Adjust color controls: Navigate through the projectors menu options to get into the color controls.
Clean or replace the projector lens: Inspect the projector lens for any dust, debris, or scratches.
Clean the lens carefully using a lens cleaning solution and a soft cloth.
If the lens appears damaged or misaligned, it may require professional assistance to rectify the issue.
Remember to follow the instructions provided in your projectors manual and seek professional help if necessary.
Sometimes, incorrect tweaks or configurations on the input source can lead to a predominantly blue image.
Here are some steps to check the input source:
1.
Verify output parameters: Ensure that the output parameters of the unit connected to the projector are correctly configured.
look to see if there is an option to reset the color output to default.
These parameters may cause the projector to display a predominantly blue image.
Disable any image processing or color enhancement configs on the connected gear and see if it resolves the issue.
This will help determine if the problem lies with the specific unit or with the projector itself.
If the issue persists, continue with the other troubleshooting steps to diagnose and handle the problem.
A faulty or loose cable connection can result in an incorrect color output.
Here are some steps to inspect and address cable connection issues:
1.
Visual inspection: Begin by visually inspecting the cable connecting the input source gadget to the projector.
Look for any signs of physical damage, such as frayed or bent connectors, kinks, or cuts.
If you notice any visible damage, its advisable to replace the cable with a new one.
Longer cables may be more prone to signal degradation, leading to color inaccuracies.
Ensure that you are using a cable of the appropriate length for your setup.
Additionally, using high-quality cables with good shielding can help minimize signal interference and improve color integrity.
Proper cable connections are essential for maintaining signal integrity and accurate color output on your projector.
Sometimes, incorrect or misconfigured color controls can cause the projector to display a predominantly blue image.
This will help eliminate any incorrect configurations that may have contributed to the blue display issue.
Look for an option such as Reset or Restore Default configs and confirm the action.
Disabling these features ensures that the projector is displaying the colors as intended without any artificial enhancements.
Test different picture modes: Many projectors offer multiple picture modes such as Cinema, Game, or Presentation.
These modes are pre-configured parameters optimized for specific content.
Try switching to a different picture mode to see if it improves color accuracy.
Select a mode that is suitable for the content you are projecting.
Its important to refer to your projectors user manual for specific instructions on accessing and adjusting the color options.
Here are steps to replace the lamp:
1.
Check lamp hours: Consult your projectors user manual or configs menu to determine the lamp hour usage.
Projectors typically have a lamp hour counter that keeps track of the lamps usage.
Purchase a new lamp: Look for a genuine replacement lamp from a reputable source.
Ensure that the replacement is compatible with your specific projector model.
Check your projectors user manual or manufacturers website for information on compatible replacement lamps.
- reach the lamp compartment: Consult your projectors user manual to locate the lamp compartment.
This is usually accessible from the bottom or side of the projector.
Some projectors may require removing a panel or a screw to pull up the lamp compartment.
Avoid touching the lamp glass to prevent any oil or residue from affecting its performance.
This ensures accurate tracking of the lamp usage and allows the projector to monitor the lamps performance accurately.
A new lamp will provide improved color accuracy and extend the life of your projector.
Any issues with the lens can affect color reproduction and result in a blue display.
Here are steps to clean or replace the projector lens:
1.
Inspect the lens: Begin by inspecting the projector lens for any visible dust, dirt, or smudges.
These particles can obstruct the light path and impact image quality.
Start by using a blower or brush to remove loose particles.
Avoid applying excessive pressure to prevent scratching the lens surface.
communicate with the projector manufacturer or a professional technician to inquire about lens replacement options and procedures.
Professional cleaning or repairs: In some cases, the lens may require professional cleaning or repairs.
Cleaning or replacing the projector lens helps maintain optimal image quality by ensuring clarity and preventing color distortions.
