Introduction
Welcome to the troubleshooting guide for laser engravers.
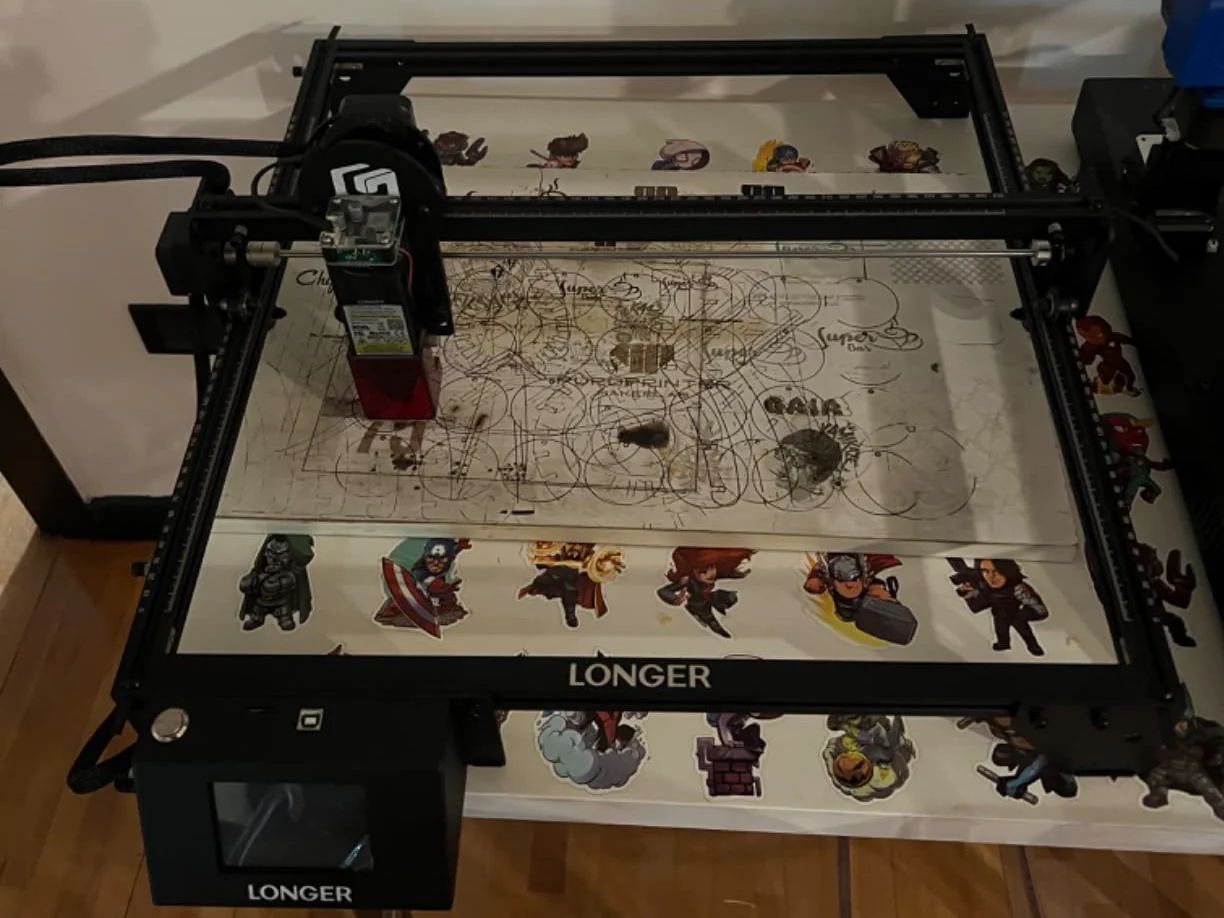
Laser engravers are sophisticated machines that use lasers to intricately etch designs onto various materials.
However, like any technology, they can sometimes encounter issues that prevent them from functioning as expected.
Always prioritize safety by wearing appropriate personal protective equipment (PPE) and following the manufacturers guidelines.
Now, lets begin the troubleshooting process to identify and fix the issues with your laser engraver.
This guide will provide step-by-step instructions to help you diagnose and fix the most common problems.
Ensure that the machine is properly plugged in and that the power outlet is functioning correctly.
Sometimes, loose connections or power surges can interrupt the power supply and cause the laser engraver to malfunction.
Begin by inspecting the power cable for any signs of damage or fraying.
If you notice any, replace the cable with a new one to prevent further issues.
Additionally, find out if the power switch on the machine is turned on.
It may seem obvious, but sometimes it can be easily overlooked.
Try plugging another gadget into the same outlet to verify if there is any issue with the power source.
Another aspect to check is the external power supply or the power brick of the laser engraver.
check that it is securely connected and functioning properly.
This will help determine if the problem lies with the power supply itself or with the electrical setup.
Checking the power supply is an essential first step in troubleshooting a laser engraver that is busted.
If you notice any of these issues, it is likely that the laser tube needs to be replaced.
Consult the manufacturer or a professional technician for assistance in acquiring and installing a new laser tube.
It is also essential to ensure that the cooling system for the laser tube is functioning properly.
Check the water pump, coolant level, and water flow to ensure they are all in working order.
Refer to the manufacturers guidelines for specific instructions on maintaining and troubleshooting the cooling system.
Start by locating the lens and mirrors within the laser engraver.
These are typically found in the beam path between the laser tube and the material being engraved.
Refer to the manufacturers documentation or user manual for specific instructions on locating and accessing these components.
Use a clean, lint-free cloth or cotton swabs along with a mild cleaning solution recommended by the manufacturer.
Avoid using harsh chemicals or abrasive materials that can scratch or damage the lens or mirrors.
Gently wipe the lens and mirrors in circular motions to remove any dirt or dust particles.
Once the cleaning is complete, inspect the lens and mirrors for any remaining debris or streaks.
If needed, repeat the cleaning process until they are completely clean.
It is a simple yet effective maintenance step that should not be overlooked during the troubleshooting process.
The controller is the equipment responsible for managing the operations of the laser engraver.
To reset the controller, start by turning off the laser engraver and disconnecting it from the power source.
Locate the controller unit, which is typically housed within the main control panel of the machine.
It essentially restarts the system, allowing it to reset and reestablish proper functioning.
After resetting the controller,power on the laser engraverand test its functionality.
test whether the previous issues have been resolved and if the machine is now operating as expected.
Resetting the controller is a simple troubleshooting step that can often resolve minor issues with laser engravers.
However, it is important to note that a reset will not fix hardware faults or major malfunctions.
In such cases, additional troubleshooting or professional intervention may be required.
Start by verifying that the material you are using is suitable for laser engraving.
Ensure that the material you are using is on this list and meets the recommended specifications.
Next, check the thickness and composition of the material.
Some laser engravers have limitations on the maximum thickness they can handle.
If the material is too thick, it may not be properly engraved or may damage the machine.
Ensure that the material you are using is safe for the machine and does not pose any health risks.
Adjusting the laser power, speed, and frequency options can significantly impact the engraving quality on different materials.
Start by ensuring that you are using the correct software for your laser engraver.
Different machines may have specific software compatibility, and using incompatible or outdated software can lead to issues.
Visit the manufacturers website or consult the user manual to download and plant the recommended software.
Once the software is installed, check the prefs for laser power, speed, and frequency.
Adjusting these controls to suit the material and desired results can help resolve issues with inconsistent or poor engraving.
Verify that the correct file format is being used for importing designs or images into the software.
Mostlaser engraver softwaresupports common file formats such as JPG, PNG, BMP, SVG, or DXF.
Ensure that the files you are using are compatible with the software and can be properly imported for engraving.
Additionally, check the resolution and scale configs in the software.
If the engraving appears distorted or disproportionate, it may be due to incorrect resolution or scaling.
Ensure that the software is properly communicating with the laser engraver.
Updating or reinstalling the necessary drivers can often resolve communication issues.
Reviewing and adjusting the software options can often resolve issues with laser engravers.
Proper alignment ensures that the laser beam is focused correctly and accurately hits the desired spot on the material.
To begin the calibration process, confirm the laser engraver is powered off and disconnected from the power source.
This step is crucial for your safety and to prevent accidental activation of the laser beam during calibration.
First, check the mirrors and lens to ensure they are clean and free from dust or debris.
Any dirt or obstruction can affect the accuracy of the laser beam alignment.
Clean them using a lint-free cloth and a mild cleaning solution, if necessary.
Next, locate the adjustment screws or knobs that control the laser beam alignment.
These are typically found near the laser tube or in the optical path of the machine.
Refer to the manufacturers documentation or user manual for specific instructions on locating and adjusting these components.
Proceed by aligning the laser beam with a designated target or reference point.
This can be a dot or mark on a target board or a specific point on the material.
Adjust the screws or knobs incrementally to move the laser beam until it accurately hits the target.
It is best to perform small adjustments and test the alignment frequently to ensure precision.
A laser beam alignment tool or laser beam alignment software can assist in achieving optimal results.
Inspect the engraving for any inconsistencies or misalignments.
If necessary, make further adjustments until the desired results are achieved.
Calibrating the laser beam alignment is a crucial step in troubleshooting and ensuring optimal performance of your laser engraver.
It can significantly improve the precision and quality of engravings.
They have the knowledge and experience to diagnose and resolve complex issues that may be beyond your expertise.
Start by referring to the manufacturers documentation or user manual for contact information.
This usually includes a customer support hotline, email address, or online chat service.
Reach out to the manufacturer and provide them with detailed information about the problem you are experiencing.
Be prepared to provide the model and serial number of your laser engraver for reference.
When contacting the manufacturer, take note of their response time and the level of support provided.
They may guide you through additional troubleshooting steps or recommend specific solutions based on your issue.
They can provide on-site or remote assistance, depending on your location and the nature of the problem.
Professional technicians have the necessary tools and expertise to diagnose and repair laser engravers.
However, their expertise is invaluable in resolving technical issues and preventing further damage to your machine.
Therefore, when in doubt, its best to consult the manufacturer or professionals for assistance.
Begin by checking the power supply to ensure that the machine is receiving a stable and uninterrupted power source.
Inspect the laser tube for any damage and clean the lens and mirrors to maintain optimal performance.
If all else fails, wise to consult the manufacturer or seek the expertise of a professional technician.
They can provide further guidance and assist in diagnosing and resolving complex problems beyond your scope of knowledge.
Remember to prioritize safety throughout the troubleshooting process by wearing appropriate personal protective equipment and following the manufacturers guidelines.
