To effectively connect and control the fans, your motherboard provides various fan headers.
These connectors allow you to attach and power system, chassis, and CPU fans directly to the motherboard.
Understanding the different types of fan connectors will help you determine compatibility and ensure proper functionality.
In the next section, we will discuss how to determine the correct fan header on your motherboard.
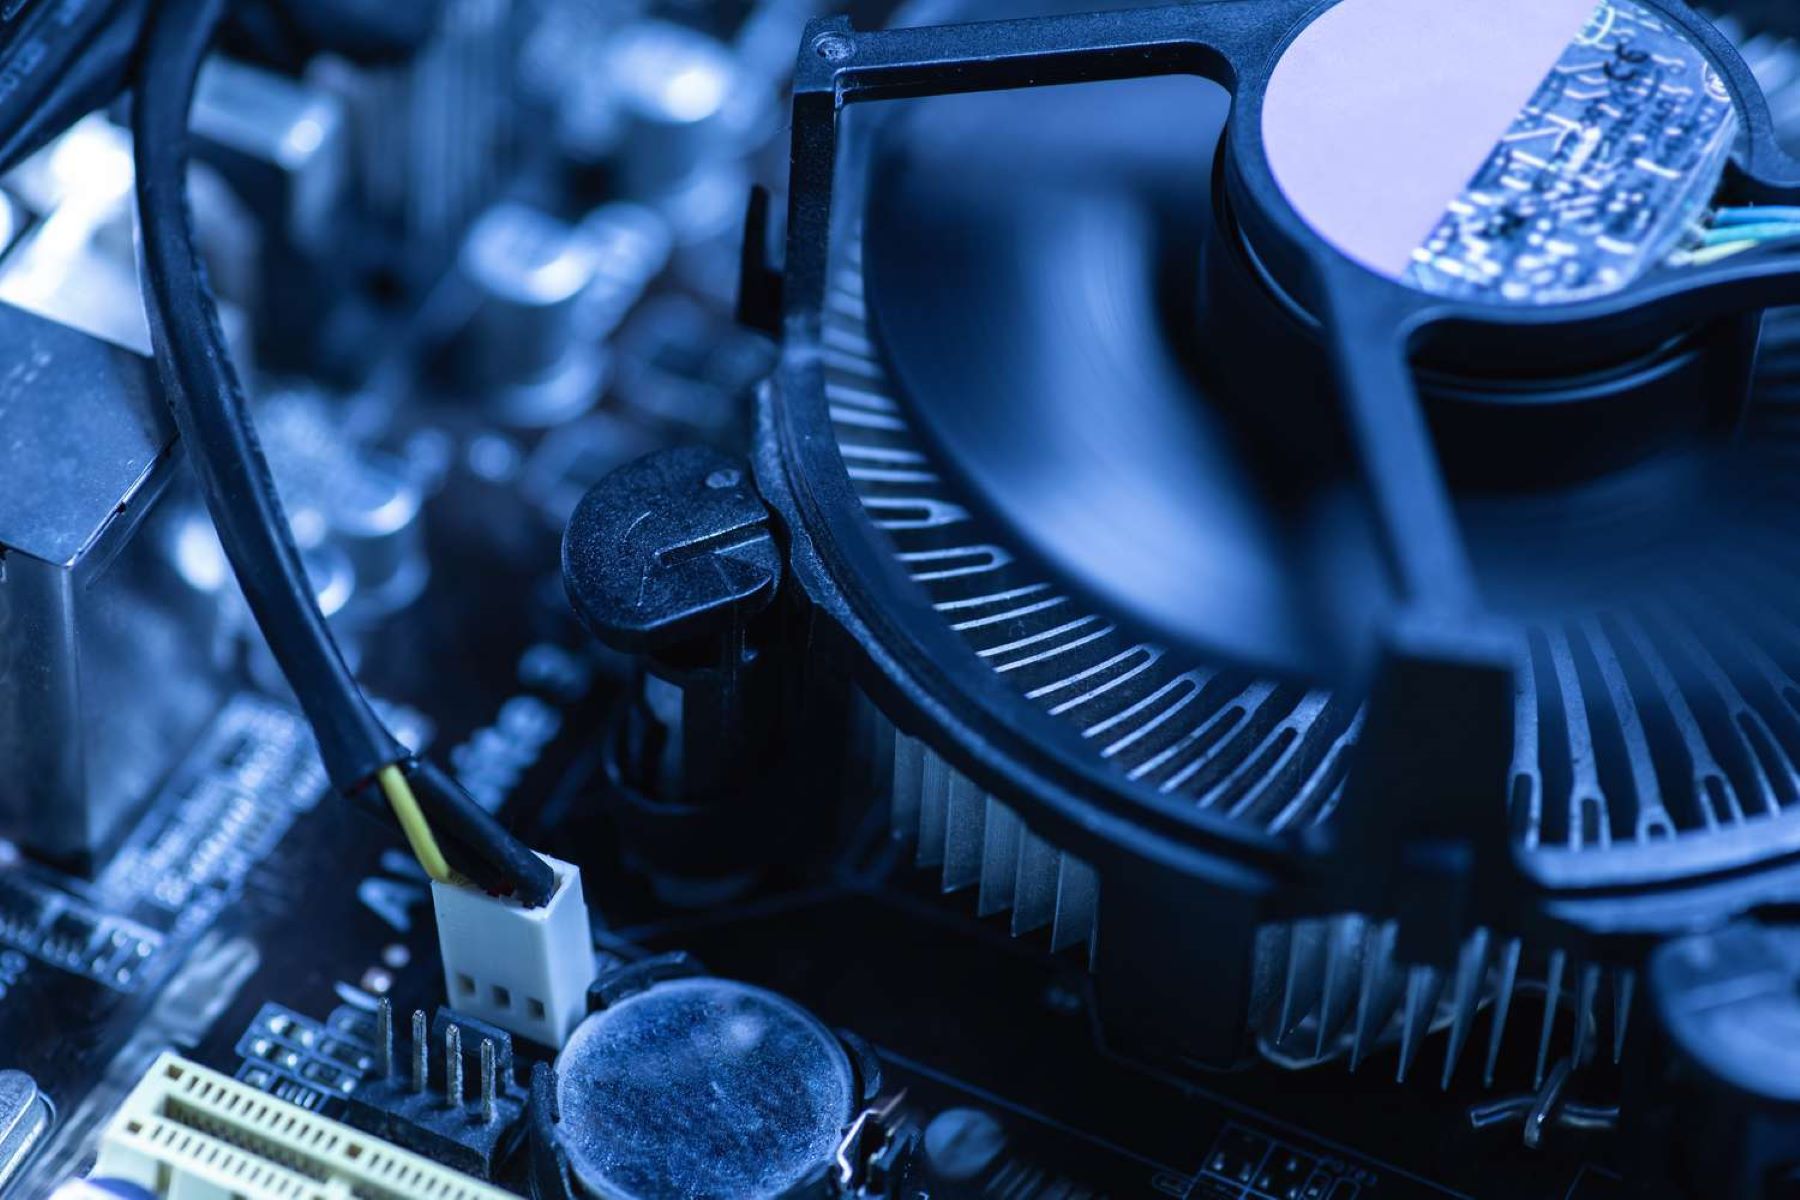
The CPU fan header is typically located near the CPU socket on the motherboard.
It is usually a 4-pin connector, although older motherboards may have 3-pin connectors.
It is worth noting that some high-end motherboards may offer multiple CPU fan headers.
This allows for the connection of additional CPU cooling solutions, such as liquid coolers or dual-fan heatsinks.
Overall, the CPU fan header is crucial for maintaining the CPUs temperature and ensuring the systems stability.
Properly connecting and configuring the CPU fan is essential for efficient and reliable cooling performance.
These fans help dissipate heat generated by other components and ensure optimal system temperatures.
They are designed to accommodate 4-pin connectors, although some older motherboards may have 3-pin headers as well.
When connecting fans to the system fan header, it is important to consider the fans power requirements.
Most modern fans operate at 12 volts, so ensure your fans are compatible with this voltage.
Additionally, pay attention to the fans power consumption to ensure it falls within the headers power output capabilities.
One advantage of system fan headers is their ability to monitor fan speeds.
Overall, system fan headers are essential for maintaining proper airflow and cooling performance in your setup.
However, some older motherboards may have 3-pin chassis fan headers.
One advantage of chassis fan headers is the ability to control individual fan speeds.
These advanced features can provide greater flexibility and customization for cooling options.
Overall, chassis fan headers offer flexibility in cooling various components within your setup case.
It provides both power and control signals to the integrated pump of the AIO cooler.
The AIO pump/header allows the motherboard to regulate the pumps speed based on the CPU or system temperatures.
It is worth noting that some AIO coolers may require an additional fan header connection for the radiator fans.
These fans work in conjunction with the AIO pump/header to expel heat from the radiator.
AIO coolers offer efficient cooling performance while maintaining a compact form factor.
The dedicated AIO pump/header on compatible motherboards simplifies the installation and control of these coolers.
These additional headers provide flexibility and customization options for enhancing the cooling performance of your system.
The labeling of additional fan headers may vary depending on the motherboard manufacturer and model.
Some common designations for these headers include PWR_FAN, PUMP_FAN, or OPT_FAN, among others.
Each of these headers may serve a specific purpose or have unique features tailored to different cooling requirements.
In addition to powering extra fans, some additional fan headers may offer unique features for specialized cooling devices.
These headers can enhance the visual appeal and performance of your cooling setup.
Overall, additional fan headers on a motherboard provide flexibility and customization options for expanding your cooling setup.
This is where a fan power splitter can come in handy.
When using a fan power splitter, it is important to consider the power draw of the connected fans.
Another factor to consider when using a fan power splitter is the control and monitoring of the connected fans.
It provides multiple fan headers or ports where fans can be connected.
This means you might connect both voltage-controlled and PWM-controlled fans to the controller/hub without any issues.
These features can enhance the aesthetics and functionality of your cooling setup.
Installing a fan controller or hub is relatively straightforward.
Some controllers may require additional software installation or configuration for advanced control and customization options.
However, its a relatively straightforward process that involves a few simple steps.
Properly connecting fans to the appropriate headers ensures optimal performance, control, and compatibility with your cooling setup.
Regular maintenance, such as cleaning dust from the fans, ensures long-term functionality and efficiency.
Keeping your fans clean and well-maintained minimizes the risk of heat buildup and reduces noise levels.
