Introduction
Welcome to the world of the Logitech K780 keyboard!
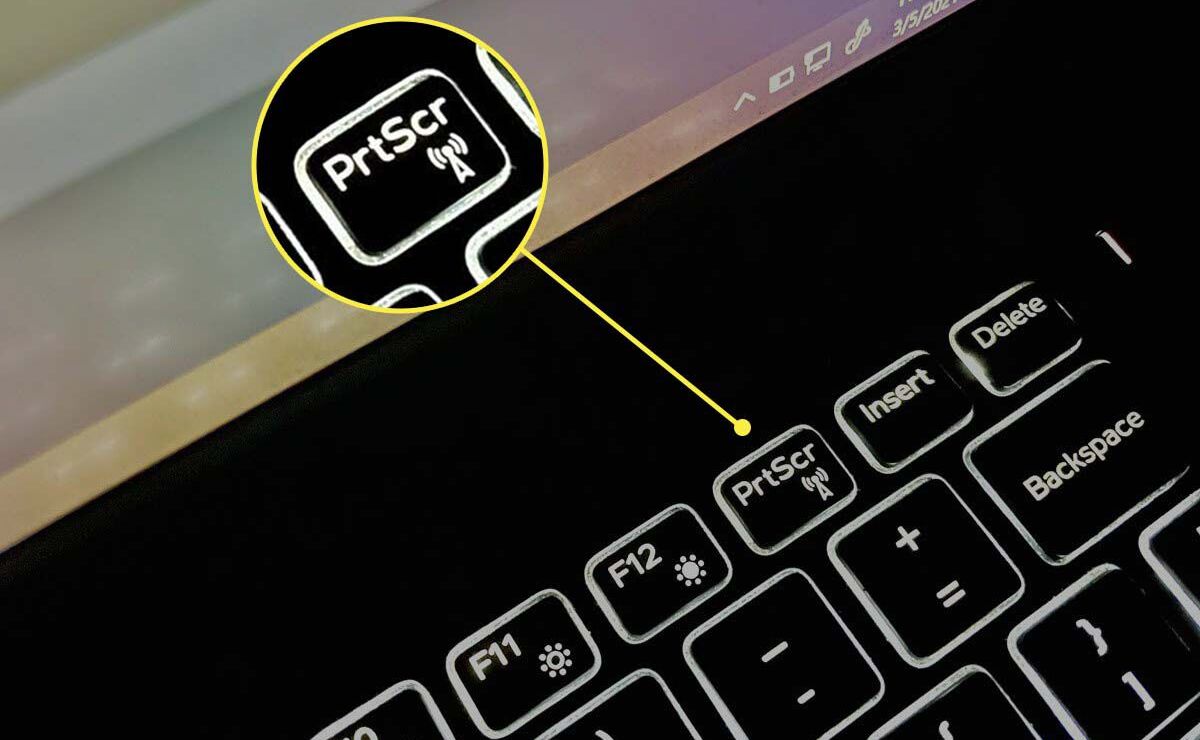
In this article, we will focus on one specific feature of theLogitech K780 the Print Screen button.
So, lets dive in and discover the secrets hidden within your Logitech K780 keyboard!
What is the Logitech K780 keyboard?
The Logitech K780 keyboard is a versatile and innovative input unit designed for seamless connectivity and efficient performance.
This feature is especially useful for those who need to multitask or those who prefer a clutter-free workspace.
Another notable aspect of the Logitech K780 keyboard is its spacious and comfortable typing experience.
The keyboard features a full-size layout with low-profile, concave keys that provide a satisfying tactile response.
The keys are also well-spaced, allowing for accurate and efficient typing.
One of the key advantages of the Logitech K780 keyboard is its compatibility across different operating systems.
The Logitech K780 supports all major operating systems, ensuring a seamless experience regardless of your machine preference.
Moreover, the Logitech K780 keyboard offers a range of convenient features designed to enhance productivity.
Additionally, the K780 keyboard boasts durable construction, ensuring long-lasting performance and reliability.
Lets take a closer look at some of the key function keys on the Logitech K780:
1.
This feature is especially handy for those who frequently listen to music or watch multimedia content on their devices.
This eliminates the need to disconnect and reconnect devices, saving you time and streamlining your workflow.
These include shortcuts for copy, paste, undo, redo, and more.
These are just a few examples of the function keys on the Logitech K780 keyboard.
Its important to note that some Logitech K780 keyboard models may have slight variations in key labels or positions.
Lets explore a few of these alternative methods:
1.
Snipping Tool (Windows): Windows operating systems come with a built-in screenshot tool called the Snipping Tool.
you’re free to access it by typing Snipping Tool in the Windows search bar.
It also offers more flexibility and options compared to the traditional Print Screen method.
it’s possible for you to find it in the Utilities folder within the Applications folder.
Grab allows you to take screenshots of the entire screen, a selected window, or a specific area.
After capturing the screenshot, you could save it or copy it to the clipboard for further use.
This combination captures the entire screen and saves the screenshot in the Downloads folder.
Alternatively, pressing Ctrl + Shift + \ allows you to capture a specific area or window.
Some popular options include Greenshot, Lightshot, and Snagit.
These tools often provide features like editing, annotation, and easy sharing of screenshots.
Additionally, third-party screenshot tools provide advanced features and customization options for capturing and managing screenshots efficiently.
