Introduction
Are you wondering what to do with those old RAM sticks lying around?
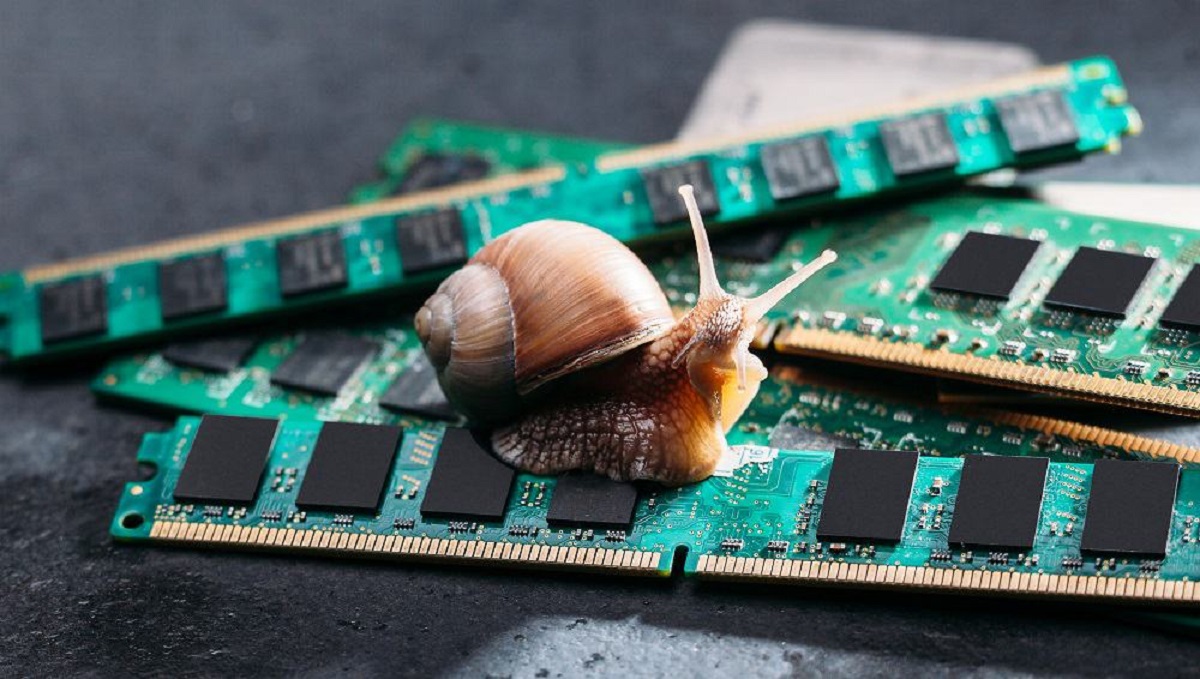
Dont throw them away just yet!
When you upgrade your computers RAM, you may be left with old sticks that are no longer needed.
So, gather up those forgotten RAM sticks and lets embark on a journey of creative exploration.
Get ready to unleash your imagination and transform these obsolete computer components into something unique and meaningful.
Lets start with a simple yet practical idea repurposing them as USB flash drives.
With a little technical know-how, you might transform your old RAM sticks into portable storage devices.
Carefully remove the protective cover from the RAM stick and solder the USB connector to the exposed pins.
Another creative way to repurpose your old RAM sticks is by turning them into unique and stylish keychains.
This DIY keychain not only serves a functional purpose but also showcases your love for technology.
Secure them in place with adhesive, and voila!
You now have a one-of-a-kind picture frame that adds a touch of geeky elegance to your home or office.
Bookends are another practical and easy option for repurposing your old RAM sticks.
These are just a few ideas to get your creative juices flowing.
Stay tuned for more exciting and imaginative ideas to make the most of your old RAM sticks!
This creative project allows you to showcase your love for technology while keeping your keys organized and easily accessible.
you’re free to find keychain rings and decorative elements at your local craft store or online.
Start by removing any protective covering from the RAM stick, leaving only the bare circuit board exposed.
Carefullyclean the RAM stickto ensure there is no dust or debris that could interfere with the adhesive.
Be sure to exercise caution and use proper safety precautions when cutting the RAM stick.
This will act as the attachment point for your keys.
it’s possible for you to find keychain rings or loops at any craft or hardware store.
Choose one that is sturdy and secure.
Now, its time to add some personal flair to your DIY keychain.
Attach these decorative elements to the RAM stick using strong adhesive.
Be sure to let the adhesive dry completely before handling the keychain.
Let your imagination run wild as you experiment with different designs and adornments.
Start by removing the memory chips from the RAM sticks, leaving only the bare circuit boards.
Next, choose a backing material that will provide stability and support for your picture frame.
you’ve got the option to use a piece of cardboard or repurpose an old wooden frame.
Cut the backing material to the desired dimensions for your frame.
Arrange the RAM sticks on the backing material in a pattern that pleases you.
Let your creativity shine through!
Attach the photo to the frame using tape or photo corners for a clean and polished look.
So, dig out those old RAM sticks from your stash and let your imagination run wild.
Get ready to display your creativity and showcase your love for tech with a unique RAM stick picture frame!
Start by preparing the RAM sticks for use as bookends.
Clean them thoroughly to remove any dirt or dust accumulation, ensuring a solid adhesion to the base material.
Remove any protective covering or labels from the RAM sticks, leaving only the bare circuit boards exposed.
Next, choose a base material that will provide stability and support for your bookends.
Apply a generous amount of strong adhesive to one end of each RAM stick.
Allow the adhesive to dry according to the manufacturers instructions before testing the stability of your new bookends.
Embellish them with small tech-themed trinkets or miniature figurines that reflect your interests.
Marvel at how the combination of technology and literature creates a unique and eye-catching display.
The first step is to prepare the RAM sticks for use as your pen holder.
Remove any labels or protective covering, leaving only the circuit boards exposed.
Clean the sticks thoroughly to remove any dirt or debris that may affect the adhesion of the base material.
Next, choose a base material that will provide stability and support for your pen holder.
Cut or shape the base material to the desired size and shape for your pen holder.
Apply a generous amount of strong adhesive to one end of each RAM stick.
Press the adhesive-coated ends firmly onto the base material, ensuring they are evenly spaced and securely attached.
Allow the adhesive to dry completely before testing the stability of your pen holder.
If you want to personalize your RAM stick pen holder, consider adding some decorative elements.
Plus, its an excellent way to showcase your love for technology in a practical and visually appealing manner.
Say goodbye to desk clutter and hello to a stylish and functional accessory.
Start by cleaning the RAM sticks thoroughly, ensuring they are free from any dust or debris.
Remove any labels or protective coverings, leaving only the bare circuit boards exposed.
Be sure to exercise caution and use proper safety precautions when cutting the RAM stick.
Next, attach the jewelry findings to the RAM sticks.
For earrings, youll need earring hooks that can be easily attached to the RAM sticks.
Use pliers to securely attach the jewelry findings, ensuring they are properly closed to prevent any accidental detachment.
Thread small beads onto the earring hooks or jump rings before attaching them to the RAM sticks.
Embrace the fusion of technology and style and showcase your unique personality with repurposed RAM stick earrings or jewelry.
Begin by preparing the RAM sticks for the clock.
Clean them thoroughly to remove any dirt or dust that may interfere with the adhesion process.
Remove any labels, stickers, or protective coverings, leaving only the circuit boards exposed.
Next, choose a suitable backing material for your clock.
This can be a piece of wood, plastic, or any other sturdy material that fits your aesthetic.
Cut or shape the backing material to the desired size and shape for your clock.
Now, its time to attach the RAM sticks to the backing material.
Arrange the RAM sticks in a pattern that pleases you, ensuring they fit snugly onto the backing.
If you want to add some personal flair to your geeky clock, consider incorporating decorative elements.
The blend of technology and functionality creates a truly one-of-a-kind timepiece.
Its an excellent conversation starter and adds a touch of personality to any space.
Begin by cleaning the RAM sticks thoroughly to remove any dirt or debris.
Remove labels, stickers, and protective coverings from the sticks, leaving only the circuit boards exposed.
This will ensure a clean and secure adhesion to the backing material.
Choose a suitable backing material for your wall art or mosaic.
Cut or shape the backing material to the desired dimensions for your artwork.
Experiment with different arrangements and designs until you find one that resonates with you.
Once youre satisfied with the arrangement, use adhesive to securely attach the RAM sticks to the backing material.
Ensure that each stick is firmly pressed against the surface and held in place to guarantee a strong bond.
Let the adhesive dry thoroughly before handling your artwork.
If you want to add an extra touch of visual interest, consider incorporating additional decorative elements.
Additionally, you might incorporate small tech-themed trinkets or other embellishments that align with your vision.
The first step is to ensure that the RAM stick is clean and free from any dirt or debris.
Remove any labels or protective coverings, leaving only the bare circuit board exposed.
This will make it easier for you to work with the RAM stick.
Use the soldering iron to heat up the solder and attach the USB connector to the RAM stick.
Be sure to follow the proper connections, ensuring that each pin is securely soldered in place.
Now, its time totest your RAMstick USB drive.
Enhance your digital storage capabilities while showing off your tech prowess with a repurposed RAM stick USB drive.
In such cases, its important to consider responsible disposal methods, such as donating or recycling them.
Look for local electronic waste recycling centers or programs that accept computer components for recycling.
Some facilities may require you to remove certain components, such as batteries or heat sinks, before recycling.
Remember, responsible disposal is just as crucial as repurposing or creative use of your old RAM sticks.
However, its crucial to remember the importance of responsible disposal when repurposing is not an option.
So, next time youre upgrading your computers memory, dont discard those old RAM sticks just yet.
Its time to reimagine the lifespan of technology and find innovative ways to give new purpose to old components.
Show the world that even seemingly outdated technology can continue to inspire and bring joy in unexpected ways.
