Having this information can be beneficial for various reasons.
By combining different approaches, you could increase your chances of successfully identifying the exact model.
Remember that its essential to consider multiple factors and cross-reference the information you find to ensure precision.
Start by examining the exterior of your PC case carefully.
Look for any visible labels, engravings, or markings that can provide clues about the model.
Manufacturers often include their branding elements in a conspicuous manner to promote their products.
Take note of any words or symbols that you find.
They could be the manufacturers name, a specific product line, or the model number itself.
Some logos may be more recognizable, while others may require a bit of research to identify.
Check the manufacturers website, forums, or tech communities where discussions regarding PC cases are prevalent.
Pay attention to details such as design elements, colors, and unique features that match what you have.
This can provide vital clues in identifying the specific model you have.
These close-up images can be helpful in conducting more focused online searches and discussions.
Start by identifying the manufacturer of your PC case.
This information can usually be found on the branding or logo discussed earlier.
When viewing the product listings, pay attention to the product names, images, and specifications provided.
Compare these details with your PC case to find matches or similarities.
Look for distinct design elements, color schemes, or features that align with what you have.
In some cases, manufacturers may also include archived or discontinued models on their website.
They may be able to assist you in identifying the model based on this information.
However, its always good practice to cross-reference the information with other methods and sources to ensure accuracy.
Inspect the packaging for any labels or stickers that provide model information.
Similarly, the user manual is another valuable resource for identifying the model of your PC case.
Flip through the pages and look for a section that provides details about the case itself.
This section may include specifications, installation instructions, and even diagrams showing the different components.
If you dont have the physical copy of the user manual or packaging, dont worry.
Many manufacturers provide digital versions of their user manuals on their websites.
Visit the manufacturers website and search for the support or downloads section.
Look for the user manual specific to your PC case model and download it for reference.
Remember that the user manual or packaging can provide accurate and official information about your PC case model.
To measure the dimensions of your PC case, you will need a measuring tape or ruler.
Start by measuring the height of the case from the bottom to the highest point.
Next, measure the width across the widest section of the case.
Finally, measure the depth from the front to the back of the case.
Keeping the measurements precise will enhance the accuracy of your search.
when you obtain the measurements, compare them with the specifications provided by the manufacturer or available online.
Pay attention to specific areas such as drive bays, which may have their own size requirements.
Remember that some PC cases may come in different versions or sizes within the same product line.
Ensure that you are comparing the dimensions with the correct version or size to obtain accurate results.
Measuring the dimensions of your PC case can provide valuable information in identifying its model.
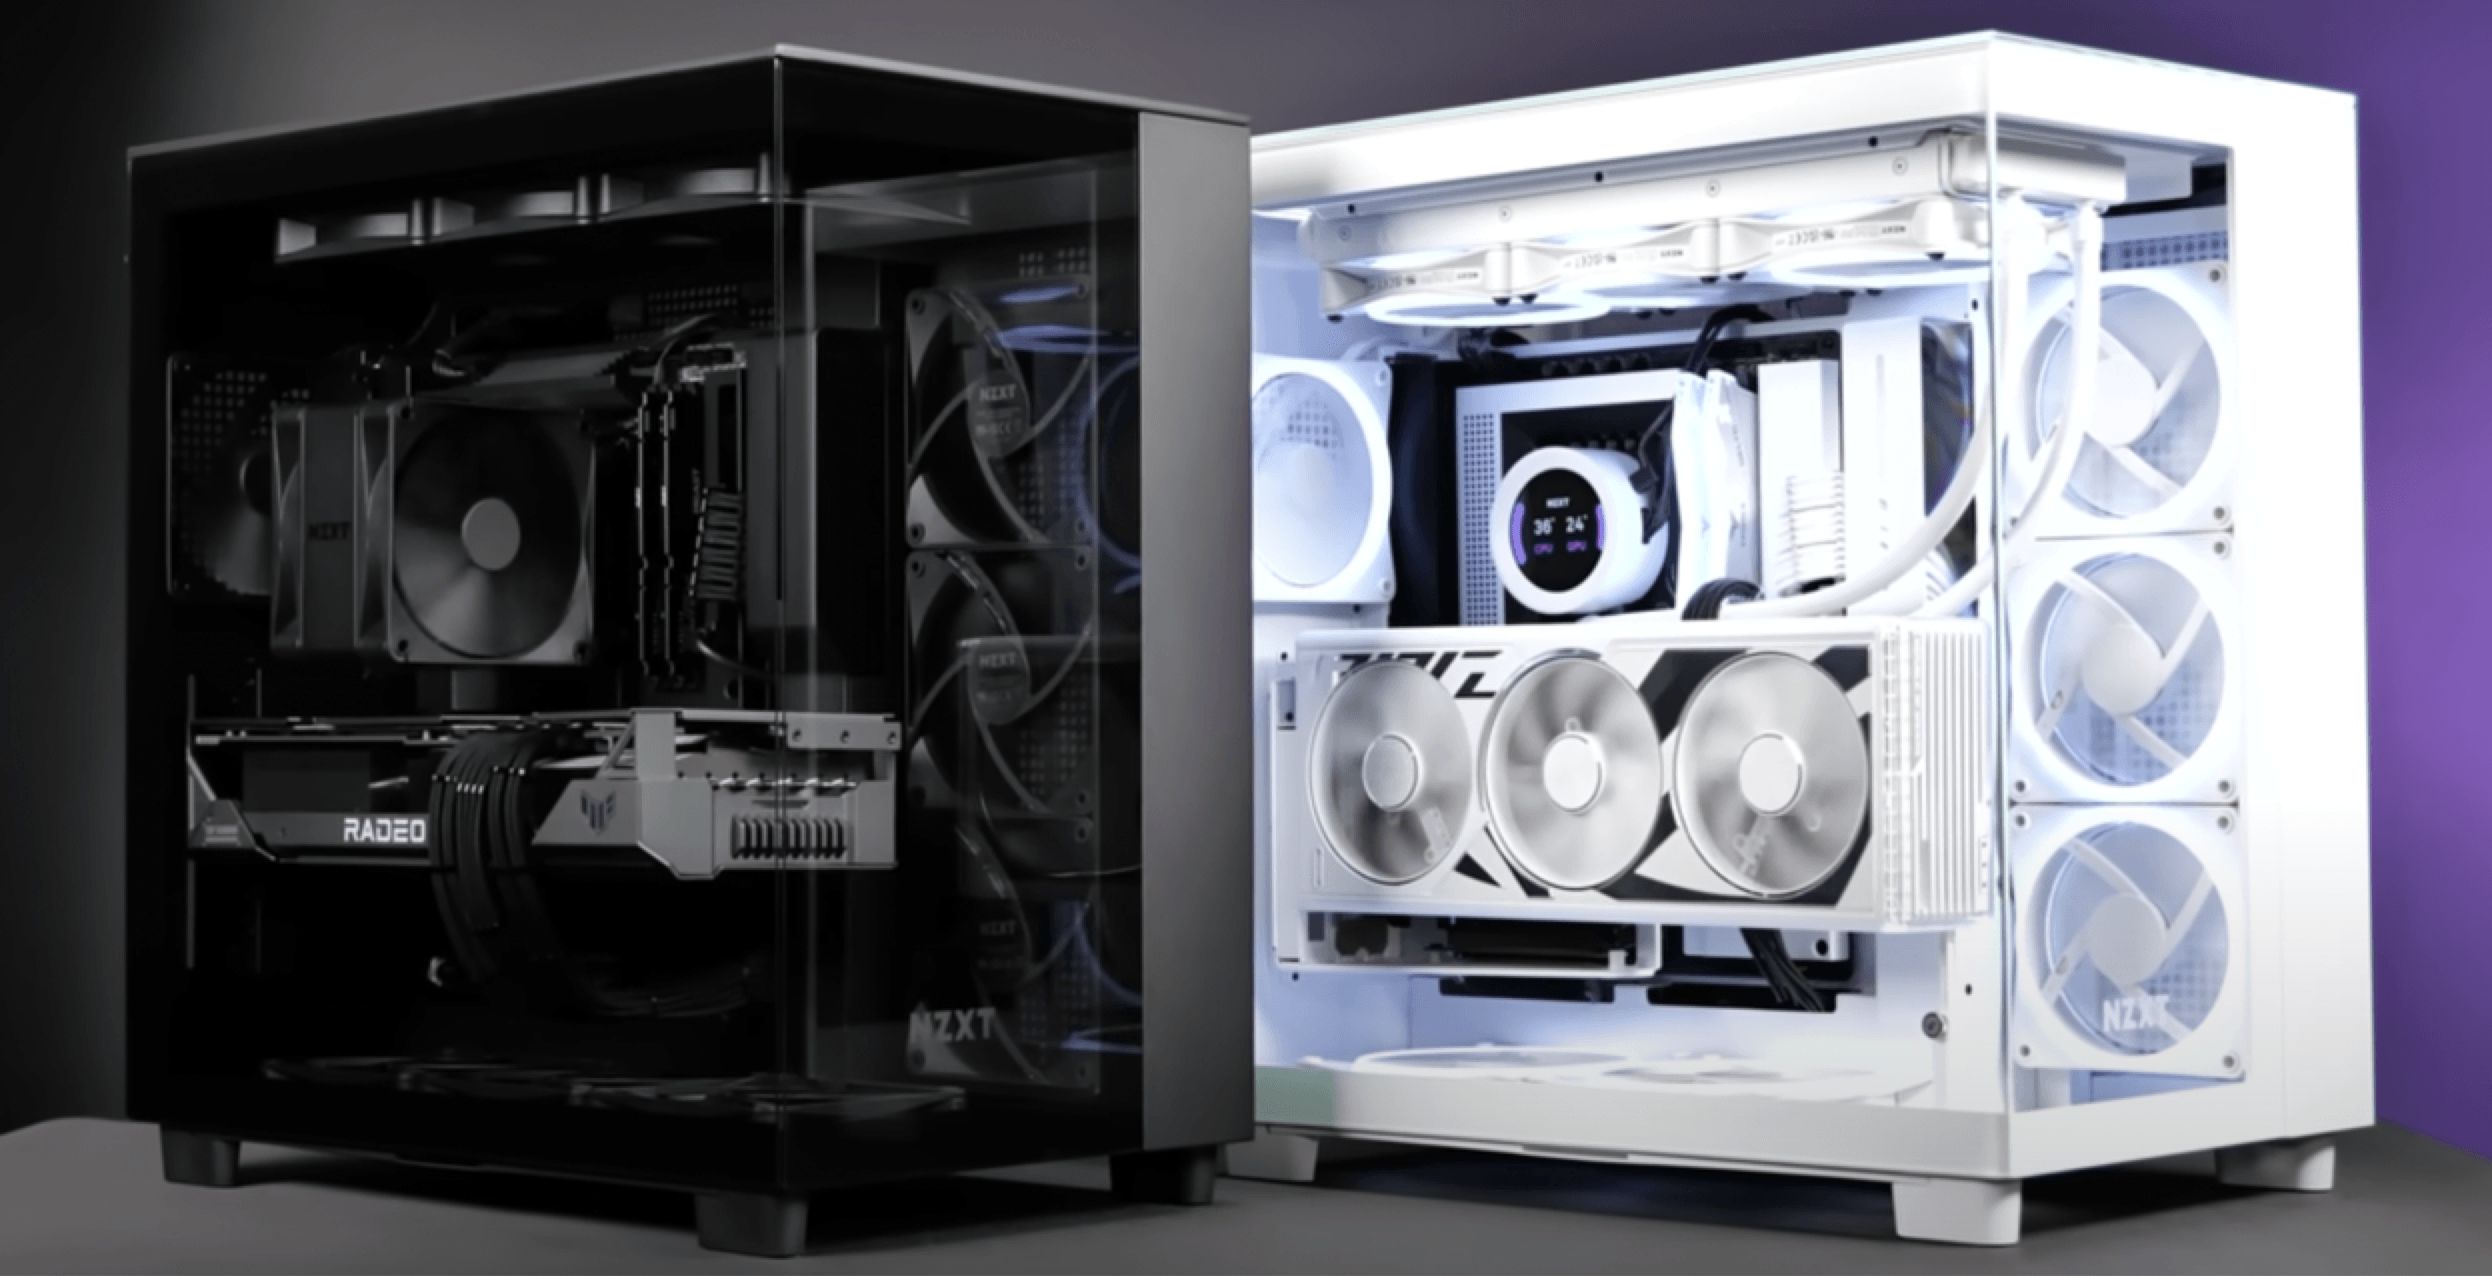
Each PC case model typically has distinct design elements that set it apart from others.
Start by carefully observing the exterior of your PC case.
Look for any unique design elements that catch your eye.
These details can provide valuable clues in identifying the model of your PC case.
once you nail identified the unique design features, conduct an online search using these details as keywords.
Look for images or descriptions that match the design elements you have observed.
These search queries can help you find matching models or product names.
In addition to online searches, consider reaching out to PC enthusiast communities or forums.
These communities often have experienced users who are knowledgeable about various PC case models and can offer valuable insights.
By examining these factors, you could narrow down the potential models and strengthen your identification process.
Start by examining the interior of your PC case.
Look for slots or brackets designed to hold storage devices.
Count the number of available drive bays in your case.
Take note of the different sizes and specifications they support.
Some drive bays may be specifically designed for 2.5-inch SSDs, while others may accommodate larger 3.5-inch hard drives.
Consider the throw in of drive bay design as well.
Others may require traditional screw-mounting.
when you obtain gathered this information, cross-reference it with the manufacturers website or documentation to find matching models.
Start by examining the interior of your PC case.
Look for the mounting holes and standoff locations where the motherboard is installed.
These mounting points are typically in a standard pattern to accommodate specific motherboard form factors.
Common motherboard form factors include ATX, Micro-ATX, and Mini-ITX, among others.
Determine the compatibility of your PC case by checking the available space and mounting holes for the motherboard.
Compare them with the specifications of different motherboard form factors to identify the suitable matches.
Pay attention to the specific dimensions and layout required for each form factor.
The motherboard should align with the mounting holes and ports on the back IO panel of the case.
Others may be designed specifically for a particular form factor.
To confirm your findings, cross-reference the information with the manufacturers website or product documentation.
Look for specifications or compatibility lists that mention the compatible motherboard form factors for your PC case model.
Expansion slots are used to install additional components such as graphics cards, sound cards, and connection adapters.
Begin byopening up your PC caseand looking at the rear panel.
You will typically see a series of horizontal slots that are designed to accommodate expansion cards.
Count the number of slots available in total.
Consider the length and spacing of the slots as well.
Utilize this information to cross-reference with the manufacturers website or documentation.
Higher-end or gaming-oriented cases often offer more expansion slots for increased customization options.
Some cases may have restrictions on the maximum length or width of graphics cards that can be accommodated.
This knowledge can be particularly valuable if you plan on adding or upgrading components in your system.
Proper cooling is vital for maintaining optimal performance and preventing overheating of components.
Start by inspecting your PC case and look for the presence of fan mounts.
Most cases have designated spots where fans can be installed to circulate air and dissipate heat.
Count the number of fan mounts available, taking note of their size and location.
Consider the size of the fan mounts, typically measured in millimeters, such as 120mm or 140mm.
Larger fans tend to provide better airflow, while smaller fans can fit into tighter spaces.
Some cases may also support specialized fans, such as 200mm or 230mm sizes.
You should also look for any pre-installed fans in your PC case.
Note their location and size, as this can be crucial information when comparing with different models.
Depending on your requirements, also take into account the potential for liquid cooling solutions.
Some cases may have dedicated spots for installing liquid cooling radiators or reservoirs, which can enhance cooling performance.
when you land gathered information about the cooling options, cross-reference it with the manufacturers website or product documentation.
Its important to remember that cooling options can vary significantly between different PC case models.
This knowledge can help you choose appropriate cooling solutions and customize your systems cooling setup.
Connectivity plays a crucial role in integrating your peripherals and devices seamlessly with your system.
Start by looking at the front panel of your PC case.
Check for the presence and number of USB ports.
In addition to USB ports, also examine the front panel for audio and microphone ports.
Look for additional connectivity options on the front or top panel of your PC case.
This may include ports such as HDMI, DisplayPort, Ethernet, or SD card readers.
These additional ports provide versatility and ease of connectivity for various devices and peripherals.
These ports are typically located directly on the motherboard or connected through an I/O shield.
after you snag gathered information about the connectivity options, cross-reference it with the manufacturers website or product documentation.
Begin by examining the front and rear panels of your PC case.
Look for rectangular ports typically labeled with the USB symbol.
Count the total number of USB ports available on both the front and rear panels of your PC case.
Consider your needs and the number of USB devices you typically use or plan to connect to your system.
A higher number of USB ports may be more convenient if you frequently utilize multiple peripherals simultaneously.
These internal headers can be utilized for connecting devices such as front panel USB hubs or internal card readers.
Remember that the number and distribution of USB ports can vary significantly between different PC case models.
Examining these ports can provide valuable information to narrow down the potential models.
Start by examining the front or top panel of your PC case.
Look for ports labeled with icons representing headphones or speakers (audio) and a microphone.
These ports are typically color-coded, with audio ports being green and microphone ports being pink.
Count the number of audio and microphone ports available on your PC cases front or top panel.
These ports are usually located directly on the motherboard or connected through an I/O shield.
Check the rear panel of your PC case to determine if there are any audio or microphone ports available.
These additional connectivity options can enhance the versatility and usability of your system.
Start by thoroughly inspecting the front, top, and rear panels of your PC case.
Look for any additional ports or connectors that go beyond the basic USB and audio/microphone options.
These additional connectivity options can vary between different PC case models.
HDMI and DisplayPort connectors allow you to connect your PC directly to a monitor or TV.
Take note of the number and types of additional connectivity options available on your PC case.
Higher-end or specialized cases may offer more extensive connectivity options to cater to specific user needs.
Start by examining the interior of your PC case.
Look for the area where the power supply is installed.
In most cases, you will find this at the top or bottom rear part of the case.
The mounting location may be enclosed within a dedicated compartment or in an open area.
Consider whether the power supply is mounted internally or externally.
Internal mounting is more common, where the power supply is installed inside the PC case.
Determine the form factor of the power supply mounting.
Ensure that your power supply matches the form factor supported by your PC case.
Take note of any additional features related to power supply mounting.
It also helps you to understand the available options for replacement or upgrade in the future.
Start by examining the rear panel of your PC case.
Look for any indications or features that suggest the presence of an external power supply.
Understanding the form factor is essential for ensuring compatibility and proper installation.
This label typically provides information about the model, wattage, and specifications of the power supply.
Look for any indications of the form factor.
The most common power supply form factor is the ATX (Advanced Technology Extended) form factor.
These form factors are designed to accommodate smaller systems with limited space.
It is important to note that different form factors have varying physical dimensions and mounting hole patterns.
Ensure that your power supply form factor matches the corresponding form factor supported by your PC case.
They typically provide information about the form factors supported by their power supply models.
It is important to consider the form factor of your power supply when identifying your PC case model.
This information ensures proper fitment and compatibility, preventing any potential issues during installation.
Conclusion
Identifying the model of your PC case can be a challenging but rewarding task.
Examining physical characteristics, such as dimensions and unique design features, can further narrow down the models.
This ensures the accuracy of your identification and eliminates any potential discrepancies.
