However, one of its limitations is its internal storage capacity.
Additionally, we will provide a list of recommended external hard drives that are compatible with the Wii U.
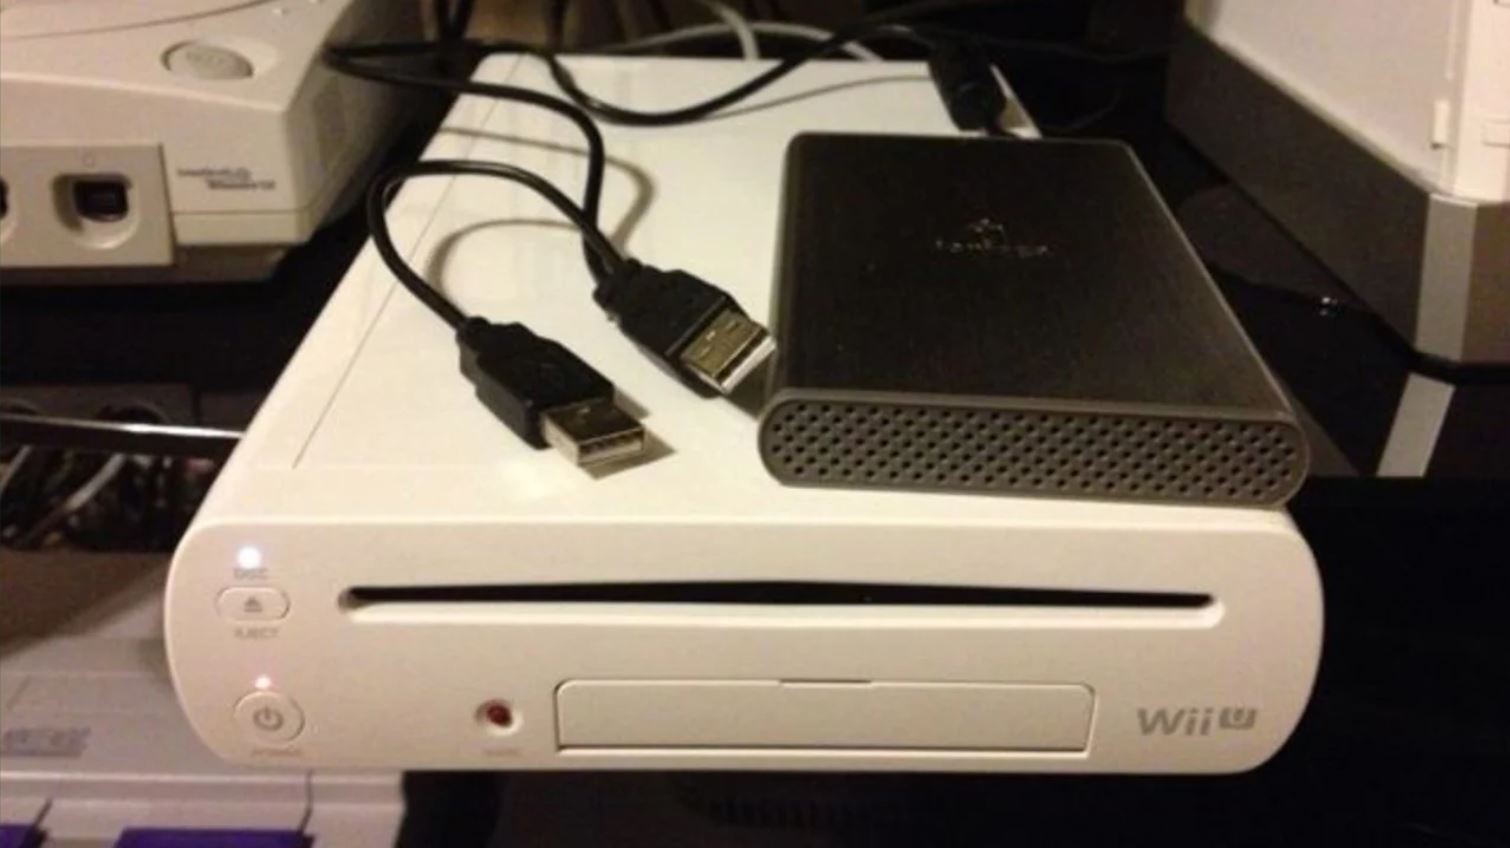
The Wii U provides two primary methods of external storage: USB flash drives and external hard drives.
They offer a convenient way to store and transfer smaller game files and save data.
On the other hand, external hard drives provide a more extensive storage solution for the Wii U.
They offer ample space to store your game library, downloadable content, and backups.
Its worth noting that not all external hard drives are compatible with the Wii U.
The console supports drives that use the USB 2.0 and USB 3.0 standards.
Storage Capacity: The primary consideration when choosing an external hard drive is its storage capacity.
Evaluate your gaming needs and determine the amount of storage space required.
Consider the size of your game library, downloadable content, and any future expansions.
Compatibility: Ensure that the external hard drive you choose is compatible with the Wii U.
Ensure that your chosen drive is compatible with the power supply available to you.
Reliability and Durability: Look for an external hard drive that is reliable and durable.
Gaming involves frequent file transfers and data access, so you need a drive that can withstand constant use.
Read reviews and choose a reputable brand known for producing reliable and durable drives.
Portability: If portability is important to you, consider the size and weight of the external hard drive.
Price: Set a budget for your external hard drive purchase.
Consider the price per gigabyte and balance it with the features and storage capacity you require.
Research different drives and compare prices to ensure you get the best value for your money.
USB 2.0 vs USB 3.0: Which is Better for Wii U?
Both options are compatible with the Wii U, but there are some key distinctions worth considering.
USB 2.0 is an older standard that has been around since the early 2000s.
It offers a maximum data transfer rate of up to 480 Mbps (megabits per second).
While USB 3.0 drives are compatible with the Wii U, the console itself has a USB 2.0 interface.
Despite this limitation, USB 3.0 drives can still offer advantages over USB 2.0 drives.
The increased speed can result in slightly faster load times and quicker access to game files.
It is powered via the USB connection, eliminating the need for an additional power source.
With a sleek and compact design, it is perfect for expanding your Wii Us storage.
It is USB 3.0 compatible and offers reliable performance.
With capacities ranging from 500GB to 2TB, it is ideal for gamers who prioritize speed and performance.
These are just a few examples of external hard drives that are compatible with the Wii U.
Remember to check with the manufacturer for any firmware updates or compatibility concerns specific to the Wii U.
Its also recommended to read user reviews and compare prices to find the best deal for your chosen drive.
Ensure that the drive is properly connected and powered on.
- enter the Data Management menu: Turn on your Wii U and navigate to the System parameters menu.
From there, select Data Management and then External Storage.
Initialize the hard drive: The Wii U will detect the newly connected external hard drive.
The time taken to format the drive will depend on its size and current condition.
Complete the setup: After setting the default USB storage, the Wii U will finalize the process.
it’s possible for you to now start downloading games and transferring game data to the external hard drive.
Therefore, its recommended to back up any important files before proceeding with the setup process.
Additionally, ensure that you follow the manufacturers instructions for proper setup and usage of the external hard drive.
Some drives may require regular firmware updates for optimal performance and compatibility with the Wii U.
By formatting the drive, you ensure that it uses the proper file system supported by the console.
Heres a step-by-step guide on how toformat an external hard drive for your Wii U:
- pick the drive from the list and choose the Format option.
This will initiate the formatting process.
If you have any important data on the drive, check that to back it up before proceeding.
Confirm your decision to format the drive.
The time required for formatting will depend on the size and condition of the drive.
Therefore, double-check to back up any important files before proceeding with the formatting process.
From there, select Data Management and then Data Storage.
opt for game data you want to transfer to the external hard drive.
Choose Move or Copy: After selecting the game data, choose the desired option Move or Copy.
The time taken will depend on the size of the data being transferred.
This will allow the console to download and install any necessary updates.
Here are some tips for managing storage space on the Wii Us external hard drive:
1.
Remove any games that you no longer play or need to free up space for new additions.
Delete unnecessary game updates and patches: Game updates and patches can take up significant storage space.
This allows you to manage the games you currently play or prioritize, providing more space for new installations.
Regularly back up your game saves: Game saves can accumulate over time and consume storage space.
Regularly assess your storage needs and make adjustments as necessary to maximize your gaming experience on the Wii U.
