If youre a tech enthusiast or an avid gamer, youve probably heard of AIO CPU coolers.
What Is an AIO CPU Cooler?
The water pump is responsible for circulating the coolant, while the radiator serves as a heat exchanger.
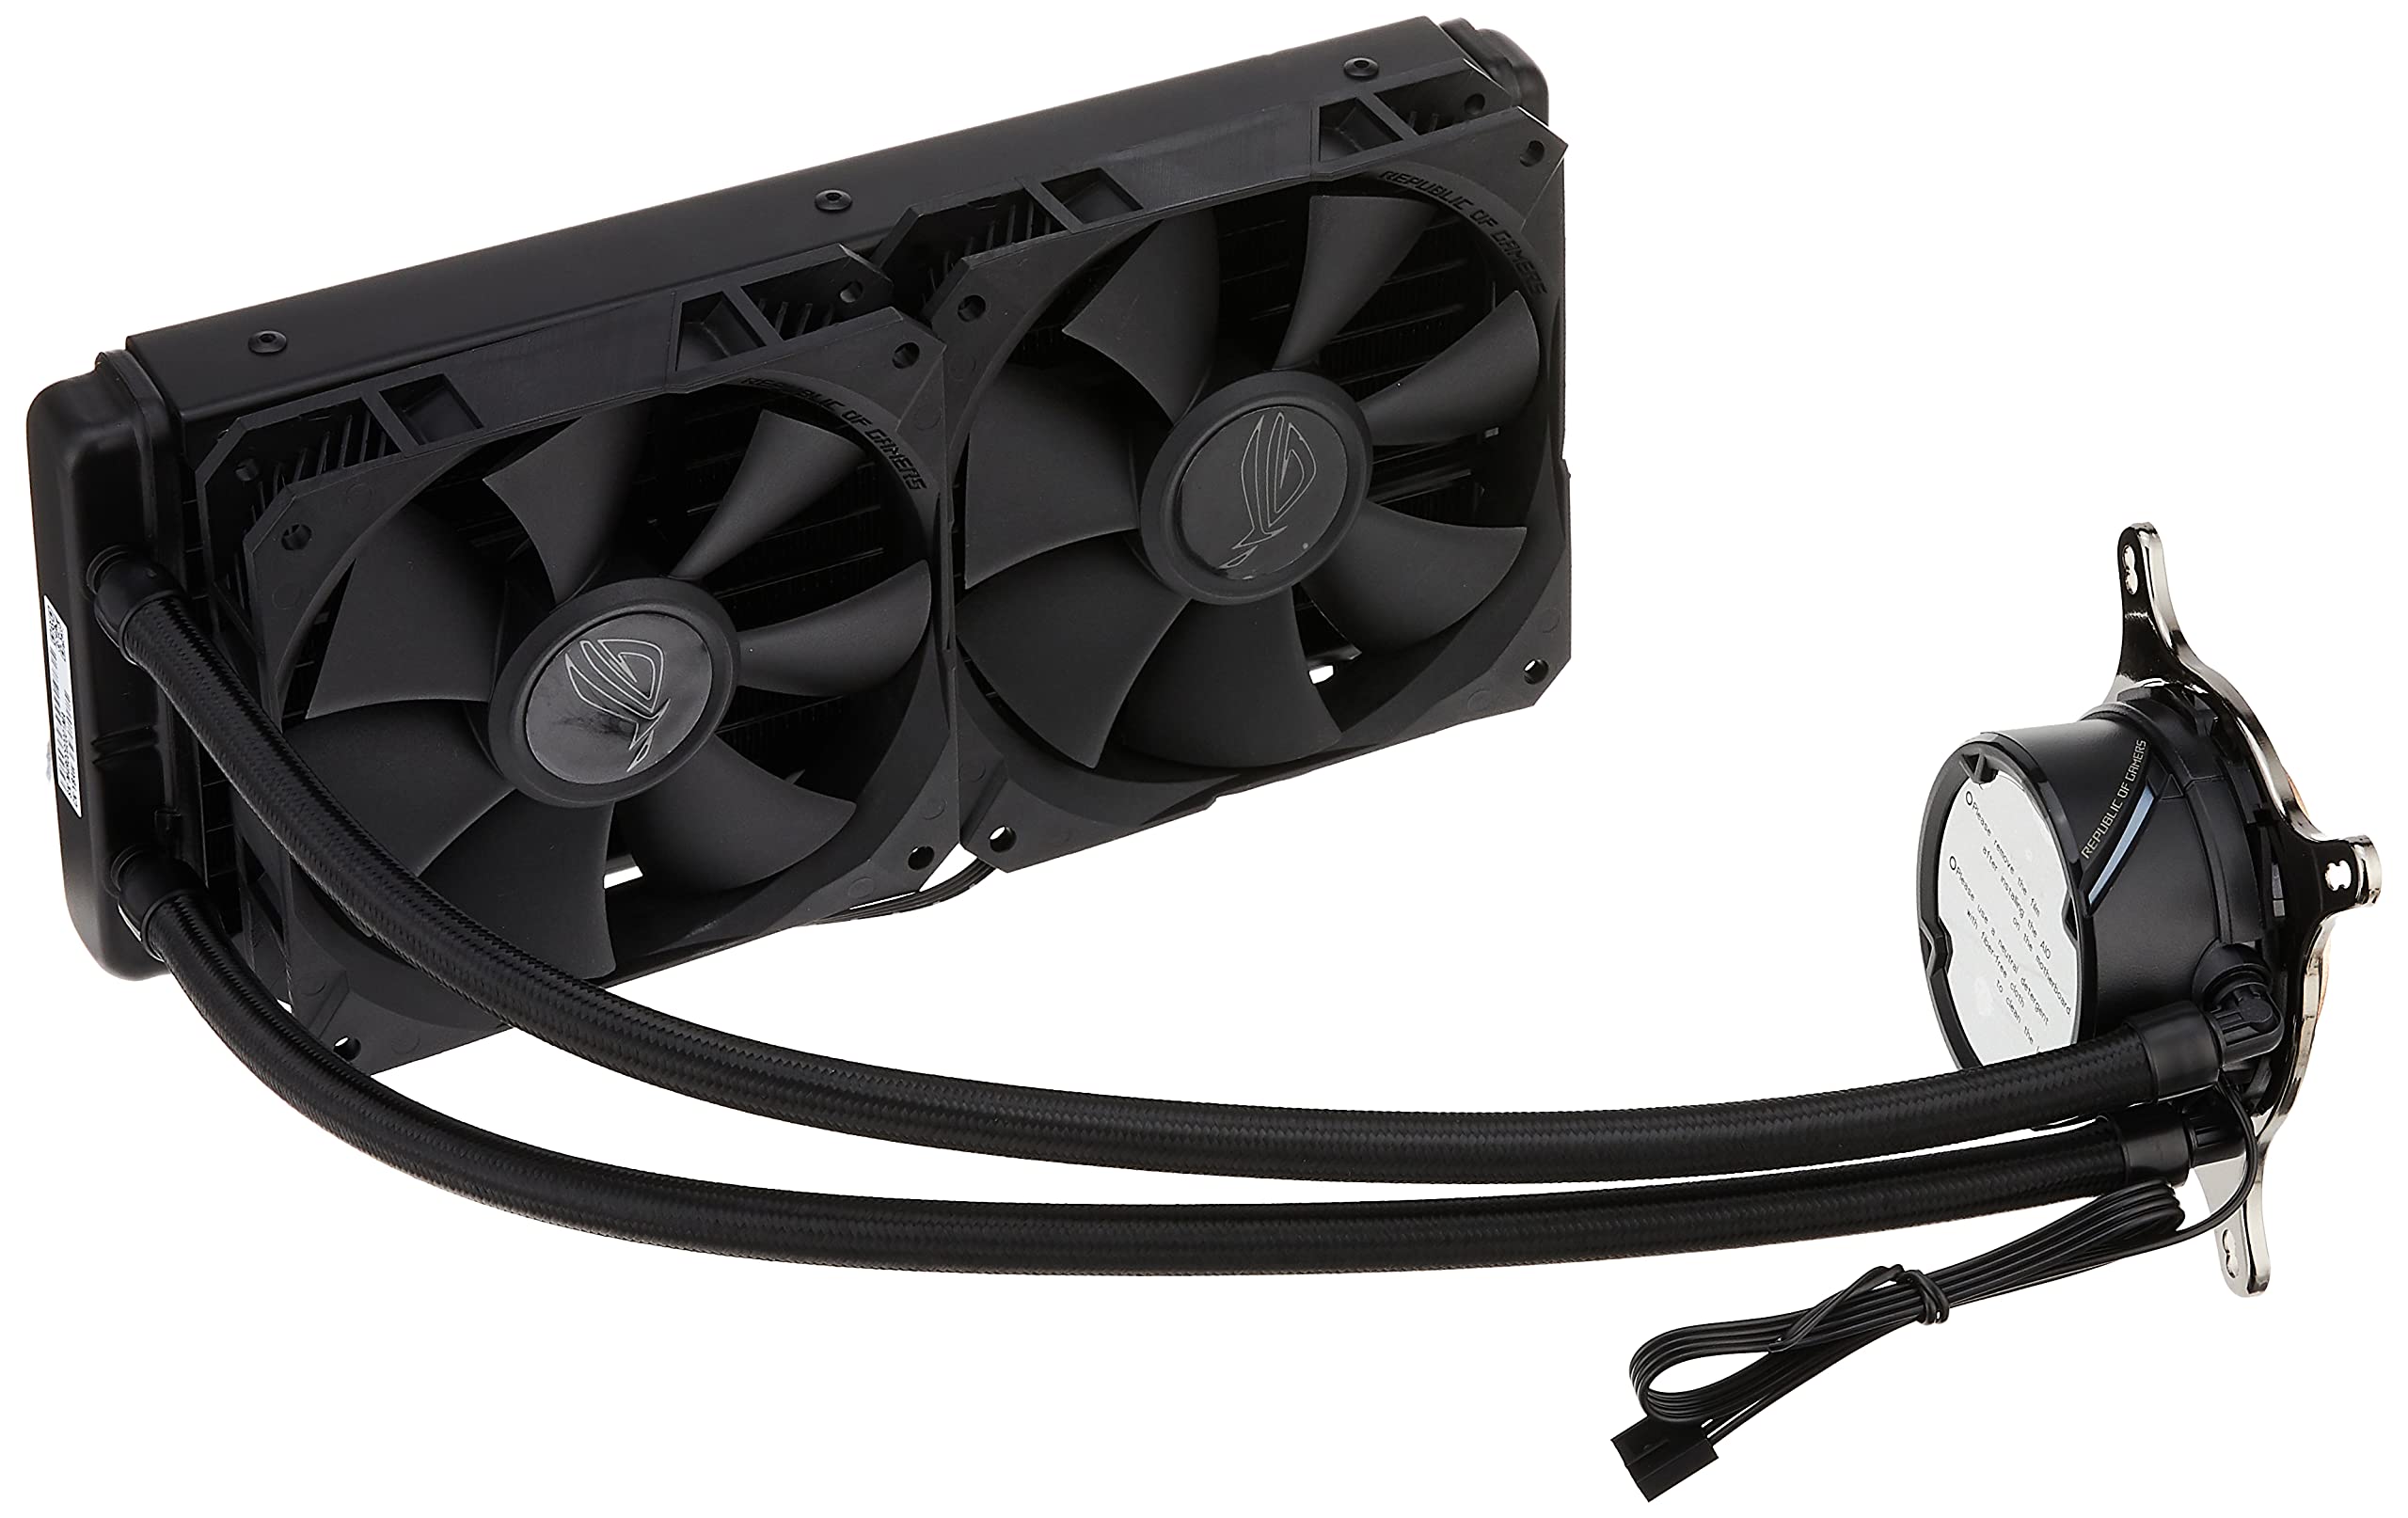
The fan(s) mounted on the radiator help dissipate the heat generated by the CPU.
One of the main advantages of an AIO CPU cooler is its compact form factor.
This makes them an attractive option for users who want the benefits of liquid cooling without the hassle.
Another standout feature of AIO CPU coolers is their superior cooling efficiency.
AIO CPU coolers also offer the advantage of reduced noise levels.
Furthermore, AIO CPU coolers often boast an aesthetically pleasing design.
How Does an AIO CPU Cooler Work?
Understanding how an AIO CPU cooler works requires delving into its internal components and the principles of liquid cooling.
Lets break it down step by step.
The core component of an AIO CPU cooler is the water pump.
Situated within the CPU block, the pump is responsible for circulating the liquid coolant.
As the coolant flows through the CPU block, it absorbs the heat generated by the processor.
Through the process of conduction, the heat transfers from the CPU to the coolant.
From the CPU block, the warm coolant travels through tubes or hoses to the radiator.
The radiators primary function is to dissipate heat.
It consists of a series of thin metal fins that provide a large surface area for effective heat exchange.
The final component of an AIO CPU cooler is the fan(s) attached to the radiator.
The fans play a vital role in expelling the heat absorbed by the radiator.
By blowing air over the metal fins, the fans enhance heat dissipation.
The heated air is then expelled out of the PC case, creating a continuous cycle of heat transfer.
Cooling Performance:
Consider the cooling performance you require for your CPU.
Radiator Size:
Take into account your PC cases compatibility with different radiator sizes.
AIO coolers come in various radiator dimensions, such as 120mm, 240mm, 280mm, and 360mm.
verify your case has adequate space to accommodate the chosen radiator size.
Check reviews and user feedback to gauge the noise levels under typical usage conditions.
Ensure that the software is user-friendly and compatible with your system.
Warranty and Support:
Review the warranty and customer support offered by the AIO cooler manufacturer.
Unscrew any mounting brackets or clips, and gently twist or pull the cooler away from the CPU.
Preparing the AIO Cooler:
Next, prepare the AIO cooler for installation.
Connect the CPU block/pump to the radiator with the provided hoses/tubes.
Ensure that all connections are secure and the fittings are tightened.
Secure it in place with the provided screws or clips.
Refer to the AIO coolers instructions for details specific to your model.
Gently lower the CPU block onto the CPU, applying even pressure.
Tighten them in a diagonal or cross pattern to ensure even pressure distribution.
Refer to the AIO coolers instructions for the specific tightening sequence.
Connect the fans to the CPU fan headers on your motherboard or any designated fan headers.
Connect the pump power cable to the CPU pump header on your motherboard.
Route the cables away from critical components and secure them using cable ties or adhesive clips.
once you nail completed these steps, reconnect the power supply, and power on your system.
Monitor the temperatures and check for any leaks or abnormal behavior.
If everything is in order, you have successfully installed your AIO CPU cooler.
Always refer to the specific instructions provided by the manufacturer for accurate installation guidance.
Be careful not to apply excessive pressure or damage the delicate components.
Gently rinse the radiator with distilled water or a mild cleaning solution.
Avoid using tap water as it can contain minerals that may leave residue.
Let the radiator air dry completely before reassembling the cooler.
Its a good idea to periodically check the thermal paste and reapply it if necessary.
Clean off the old thermal paste using isopropyl alcohol and a lint-free cloth before applying a fresh layer.
These can be signs of faulty components or clogged airflow.
Ensure that the pump is running smoothly and the fans are spinning freely without any obstructions.
If you notice any issues, reach out to the manufacturer for further assistance.
Inspecting for Leaks:
While rare, leaks can occur in an AIO CPU cooler.
Regularly check the fittings and hoses for any signs of leakage, such as wet spots or staining.
hit up the manufacturer immediately if you detect any leaks to address the issue promptly.
Updating the software can help optimize performance, improve fan speed control, and address any known issues.
Always refer to the manufacturers instructions and guidelines for specific maintenance and cleaning procedures.
A well-maintained cooler will help maintain low CPU temperatures and ensure optimal system performance.
Here are some troubleshooting steps to help you identify and resolve these problems:
1.
While AIO CPU coolers offer many benefits, they are not without their drawbacks.
Careful research and reading reviews from trusted sources will help you make an informed choice.
If the issues persist, reaching out to the manufacturers support team is recommended.
