This comprehensive tutorial will guide you through the process, ensuring a seamless and successful flashing experience.
Let’s dive in and unlock the full potential of your Redmi Note 9!
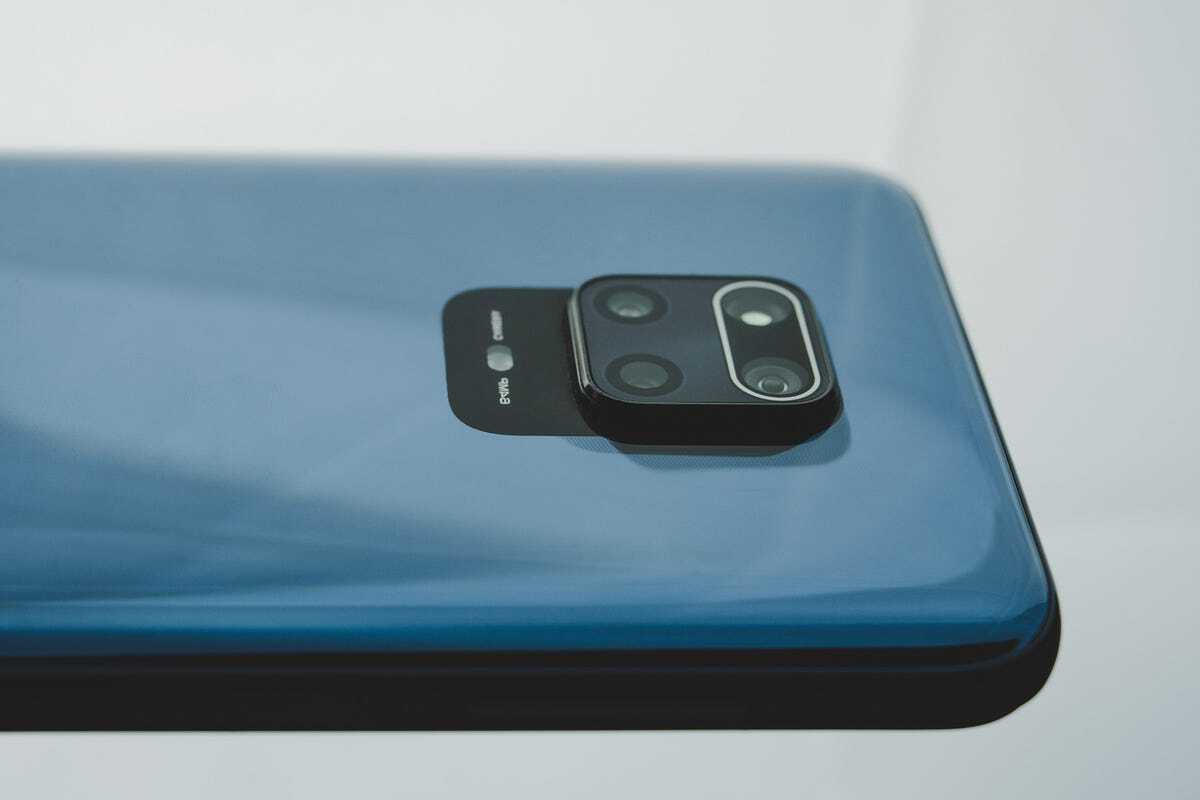
Opt for a durable and reliable cable to prevent connectivity issues during the flashing process.
Computer: Ensure that you have access to a computer with ample storage space and a reliable internet connection.
This will facilitate the downloading of the official ROM and essential software for the flashing procedure.
This includes contacts, photos, videos, documents, and any other important files.
Official ROM: Download the official ROM for the Redmi Note 9 from a trusted source.
USB Drivers: set up the necessary USB drivers for your Redmi Note 9 on the computer.
These drivers facilitate seamless communication between the equipment and the computer during the flashing process.
Battery Level: Verify that your Redmi Note 9 has an adequate battery level before initiating the flashing process.
To initiate the download, begin by identifying the precise model and variant of your Redmi Note 9.
This information is typically found in the unit prefs or on the original packaging.
after you snag confirmed the model details, proceed to a trusted source for official ROM downloads.
After identifying the correct official ROM for your unit, initiate the download process.
Depending on the file size and your internet connection speed, the download duration may vary.
Therefore, it’s essential to proceed with caution and fully comprehend the implications of this process.
To initiate the bootloader unlocking process, you’ll need to enable Developer Options on your Redmi Note 9.
Once in Fastboot mode, connect your rig to the computer using a USB cable.
If your rig is detected, proceed to the next step.
To unlock the bootloader, enter the command “fastboot oem unlock” in the command prompt.
Use the volume keys to navigate and the power button to confirm the bootloader unlocking process.
It’s important to note that unlocking the bootloader will erase all data on your Redmi Note 9.
It’s crucial to choose the correct recovery image that is compatible with your rig model and firmware version.
Enable USB Debugging: Navigate to the Developer Options menu on your Redmi Note 9 and enable USB debugging.
This setting allows for seamless communication between the equipment and the computer during the custom recovery installation process.
Connect your machine to the computer using a USB cable.
This step is essential for executing commands to roll out the custom recovery.
The specific command may vary depending on the custom recovery project and the file format of the recovery image.
Ensure that the installation command is accurately entered to avoid any errors.
This can be achieved by confirming the checksum or digital signature of the official ROM.
pick the official ROM file that you previously downloaded and verified, and proceed with the flashing process.
The official ROM brings a myriad of benefits, including updated features, enhanced security, and optimized performance.
The gadget now embodies the latest firmware advancements, delivering a seamless and rejuvenated user experience.
