Let’s delve into the step-by-step process of unboxing your Turtle Beach headset.
Ensure that the box is intact and free from any dents or tears.
bring up the Box: Gently bring up the box, revealing the contents nestled within.
Take a moment to appreciate the sleek design of the headset and the accompanying accessories.
Retrieve the Headset: Lift the headset from its secure position within the box.
Take stock of all the included items to ensure nothing is overlooked.
Protective Coverings: Remove any protective coverings or packaging materials from the headset and accessories.
This will unveil the pristine finish of the headset, ready to be integrated into your gaming setup.
Inspect for Defects: Thoroughly inspect the headset for any manufacturing defects or imperfections.
Check the cables for any signs of damage and ensure that all components are in pristine condition.
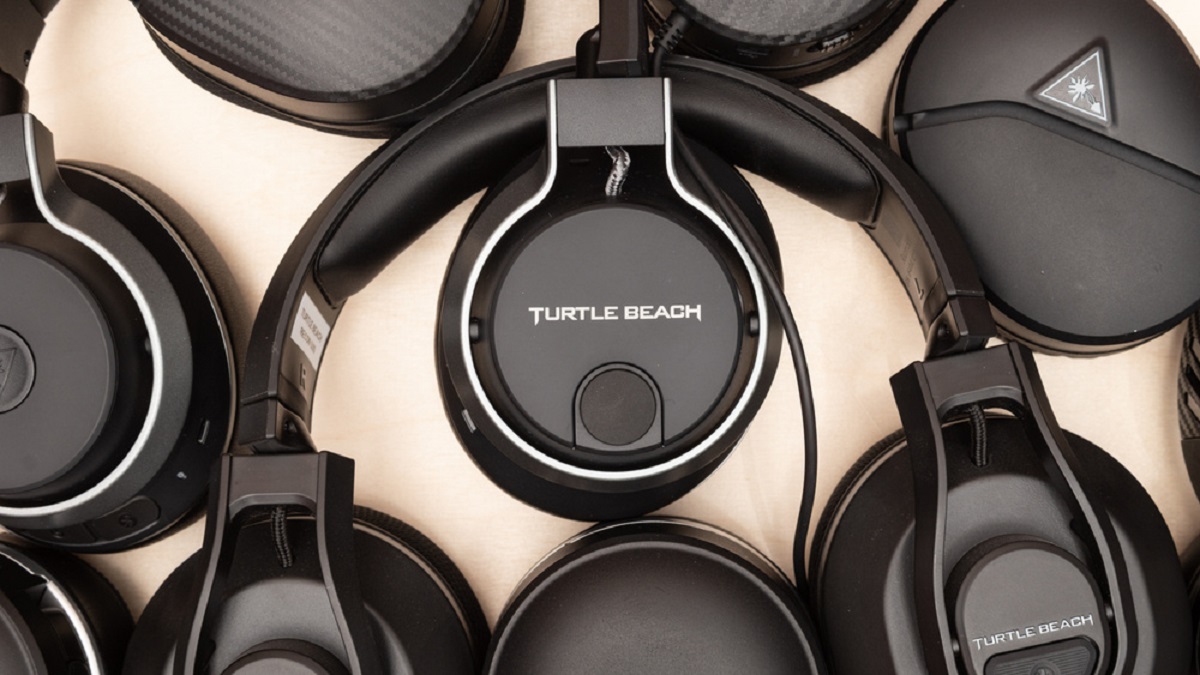
From the cushioned ear cups to the adjustable headband, every aspect is tailored for comfort and performance.
It’s a testament to the meticulous craftsmanship and attention to detail that defines the Turtle Beach experience.
The microphone typically plugs into a designated port on the headset, ensuring clear voice communication during gaming sessions.
This establishes the audio connection, allowing the headset to receive game audio and enable voice chat functionality.
The ergonomic design of the headset is tailored to provide long-lasting comfort during extended gaming sessions.
Let’s embark on this crucial step to unlock the full potential of your audio experience.
Accessing Audio tweaks: Navigate to the Xbox One dashboard and snag the “tweaks” tab.
Dolby Atmos delivers immersive, three-dimensional audio, heightening the sense of realism and spatial awareness within games.
The headset’s ability to faithfully reproduce these details is a testament to its audio fidelity and precision.
