Why do you gotta remove thermal paste before switching your CPU cooler?
The answer is simple residual thermal paste can adversely affect the performance of the new cooler.
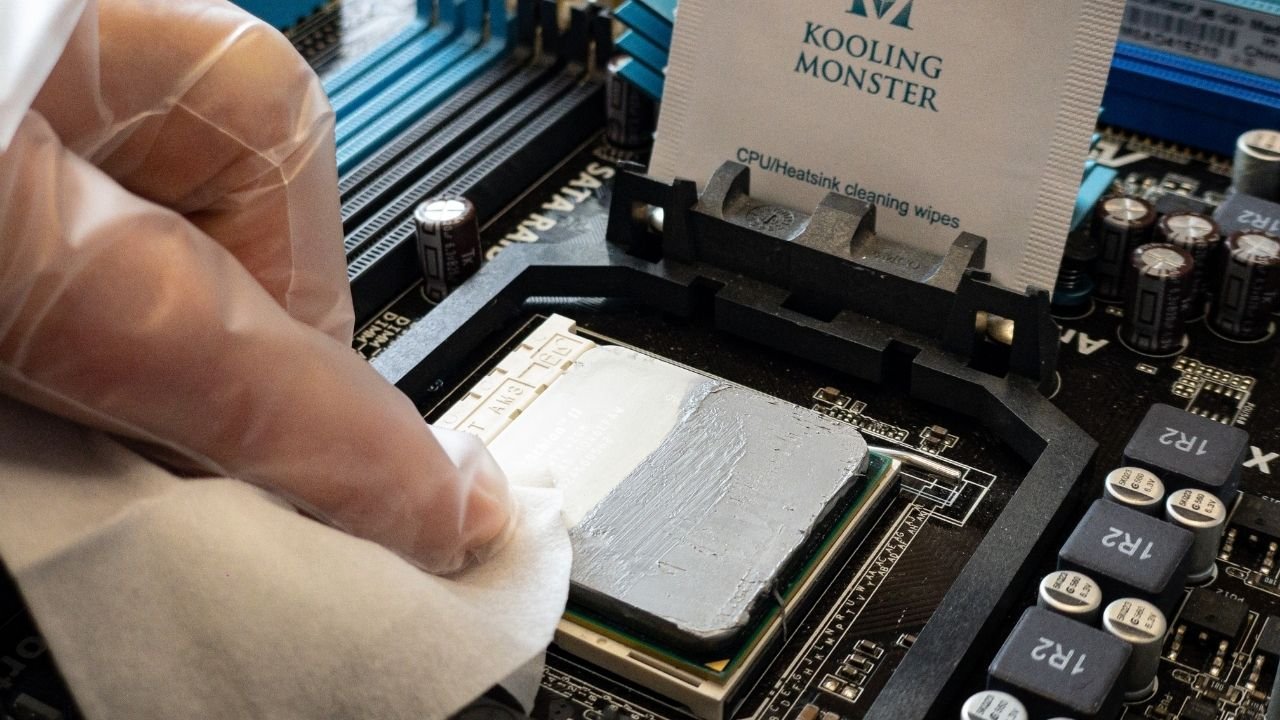
In this article, we will provide you with a step-by-step guide on how to remove thermal paste effectively.
We will also discuss the tools and materials you will need to accomplish this task.
But before we dive into the details, its essential to understand the importance of proper thermal paste system.
Why Do you gotta Remove Thermal Paste?
Removing old thermal paste is a critical step before installing a new CPU cooler.
Lets take a look at why its essential to remove the old thermal paste.
Over time, thermal paste can dry out or lose its effectiveness, resulting in decreased heat transfer.
These air gaps obstruct the heat transfer process, leading to increased temperatures and reduced cooling efficiency.
By removing the old thermal paste, you eliminate the risk of air gaps, ensuring better thermal conductivity.
Removing the old thermal paste ensures a clean and contaminant-free surface for the new cooler to make proper contact.
Improper program:Applying new thermal paste on top of the old one can result in an uneven program.
This can lead to gaps and inconsistencies in the thermal interface, hindering heat dissipation.
Having the right equipment at hand will ensure a smooth and efficient process.
Here are the essential tools and materials you will need:
1.
It helps dissolve the old paste and clean the surface effectively.
verify to use 90% or higher concentration for optimal results.
Cotton swabs are convenient for reaching tight spaces, while a microfiber cloth is helpful for larger areas.
These removers are specifically formulated to dissolve thermal paste quickly and effectively.
They can be an excellent choice if youre dealing with stubborn or dried-out thermal paste.
Additionally, gloves provide extra protection when handling chemicals such as isopropyl alcohol.
Its a recommended precautionary measure to ensure the safety of your hardware.
Be cautious not to apply excessive force to avoid damaging the CPU.
Now lets move on to the step-by-step guide on how to remove thermal paste using different methods.
Refer to the manufacturers instructions or your CPU cooler manual for guidance on the installation process.
Remember, patience and attention to detail are key when removing thermal paste.
Take your time and ensure thorough cleaning for optimal heat transfer and performance.
This method is recommended for most situations and provides satisfactory results.
Refer to the manufacturers instructions or your CPU cooler manual for guidance on the installation process.
Refer to the manufacturers instructions or your CPU cooler manual for guidance on the installation process.
Remember, proper preparation and attention to detail are key to achieving successful results.
Conclusion
Removing thermal paste is an important step in upgrading orreplacing a CPU cooler.
Remember to properly dispose of used materials and ground yourself against static electricity to protect your components.
