Ensure that you have the correct replacement band that is compatible with your Fitbit Charge HR model.
This will help maintain the integrity of the new band and keep your unit looking fresh and clean.
Workspace: Find a well-lit and spacious area to work on your Fitbit Charge HR.
Before starting, ensure that you have a clean workspace and all the necessary tools within reach.
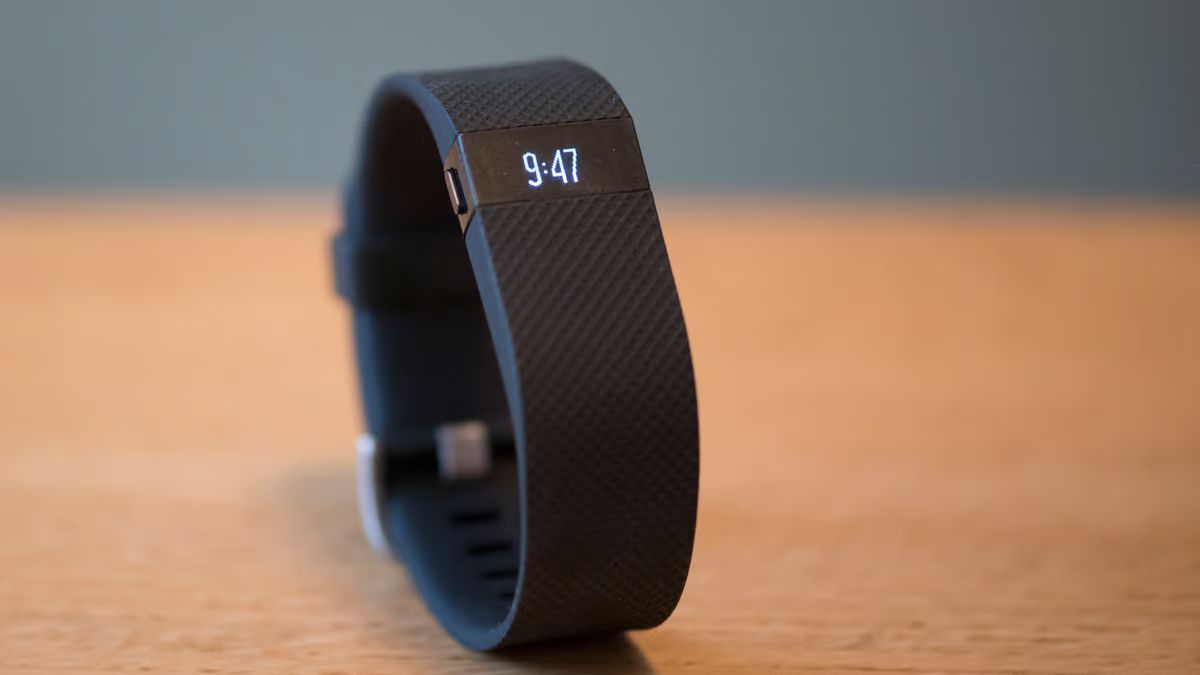
Power Off: Begin by powering off your Fitbit Charge HR.
This can be done by accessing the options on the equipment and selecting the power-off option.
Ensuring that the unit is turned off will prevent any accidental activation during the band replacement process.
This will also provide a gentle surface to place the Fitbit Charge HR as you work on it.
These latches are small, discreet mechanisms that hold the band in place.
You may need to use a small flathead screwdriver or a specialized pry tool to release the latches.
Carefully insert the tool between the band and the tracker, applying gentle pressure to disengage the latch.
Start at one end and work your way around the gadget, gradually releasing the band from the latches.
Take your time and ensure that each latch is fully disengaged before moving on to the next one.
It’s important to exercise caution during this process to avoid any damage to the rig or the band.
Set the old band aside, as it can potentially be reused or recycled.
Before proceeding, ensure that you have the replacement band and all the necessary tools within reach.
Inspect the New Band: Begin by examining the new replacement band for any defects or irregularities.
Check for any manufacturing residues or rough edges that may affect the fit or comfort of the band.
It’s essential to ensure that the new band is in pristine condition before proceeding with the attachment process.
Take the new band and align it with the tracker, ensuring that the orientation is correct.
Apply gentle and consistent pressure to the band, ensuring that each latch securely engages with the tracker.
Gently tug on the band to check for any signs of looseness or instability.
The band should sit snugly against the machine, with no gaps or misalignments.
A properly attached band will enhance the overall aesthetics and functionality of the Fitbit Charge HR.
Navigate through the menus and check the display to ensure that the gear is operating normally.
Additionally, perform a quick physical activity to test the stability of the new band during movement.
Here’s a detailed guide on how to effectively test the new band and verify its performance.
Wear the gadget for an extended period, paying attention to any signs of irritation or discomfort.
A high-quality replacement band should be skin-friendly and non-irritating, ensuring a pleasant wearing experience.
A successful band replacement should seamlessly integrate with the unit, elevating its overall functionality and style.
Conclusion
Congratulations on successfully upgrading the style of your Fitbit Charge HR by replacing its band!
