Introduction
Welcome to our step-by-step guide on extracting the SIM card from your Android rig.
Understanding the intricacies of yourAndroiddevice is crucial in maintaining its functionality.
Here are the essential tools you’ll need:
1.
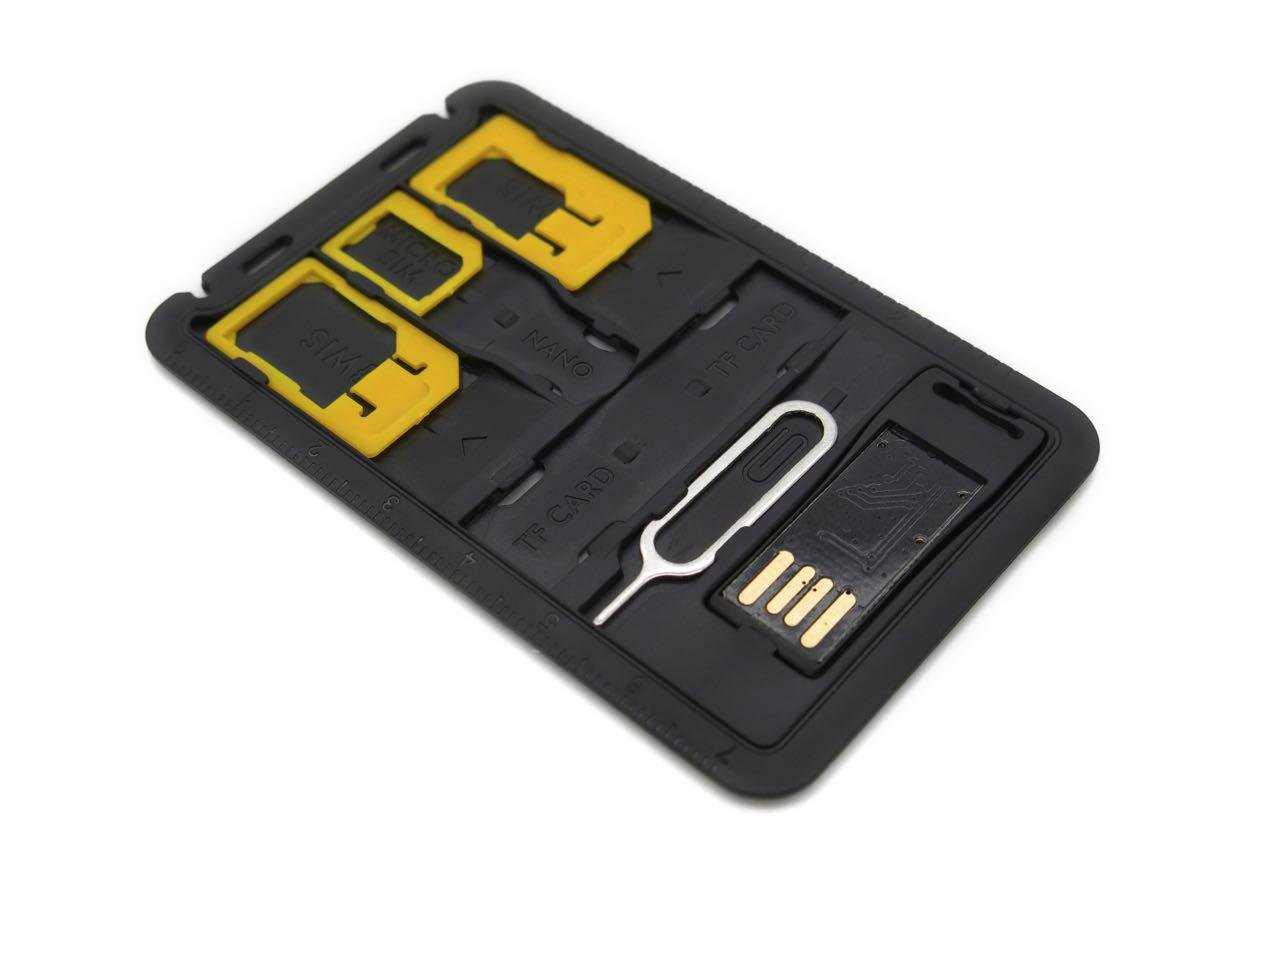
Most Android devices come with a SIM ejector tool included in the original packaging.
If you don’t have one on hand, a paperclip can serve as an effective alternative.
Ensure that the paperclip is straightened out to facilitate the ejection process.
Adequate Lighting
Proper lighting is essential for clearly identifying the SIM card slot on your Android gear.
A stable surface provides a secure foundation for the extraction process, minimizing the risk of mishaps.
Identify the power button’s location before proceeding.
This action prompts the gadget to initiate the power-off sequence.
This action prompts the equipment to begin the power-off process.
Wait for the unit to Power Off: Allow the unit to complete the power-off sequence.
Depending on the unit, this process may take a few seconds.
These visual cues can help you pinpoint the location of the SIM card slot with ease.
Manufacturer websites, forums, and instructional videos often provide detailed guidance on identifying the SIM card slot.
Customer support representatives can provide personalized guidance tailored to your specific gadget model.
Apply gentle pressure to ensure that the tool is securely inserted into the pinhole.
Exercise caution to avoid applying excessive force or causing any damage to the tray or the gadget.
Ensure that there are no visible signs of damage, such as cracks or bends.
Additionally, check for any dust or debris that may have accumulated on the SIM card’s surface.
Gently Remove the SIM Card:Using your fingers, carefully lift the SIM card from the tray.
Avoid bending or flexing the SIM card during this process.
These contacts facilitate the connection between the SIM card and the equipment.
Ensure that the contacts are clean and free from any debris or corrosion.
Avoid exposing the SIM card to extreme temperatures or moisture.
Align the SIM card with the tray’s grooves and ensure that it fits snugly into place.
Take note of the orientation of the SIM card to match the tray’s configuration.
Ensure that the tray is positioned correctly and that it smoothly slides into place without any resistance.
Once the unit powers on, allow it to initialize and establish the connection with the reinserted SIM card.
Conclusion
Congratulations!
You have successfully navigated through the step-by-step process of extracting the SIM card from your Android unit.
