However, with the right guidance, you’re able to navigate this task with ease.
This small yet crucial component is designed to securely hold the SIM card within your unit.
The SIM card tray is typically situated on the right-hand side of the gadget.
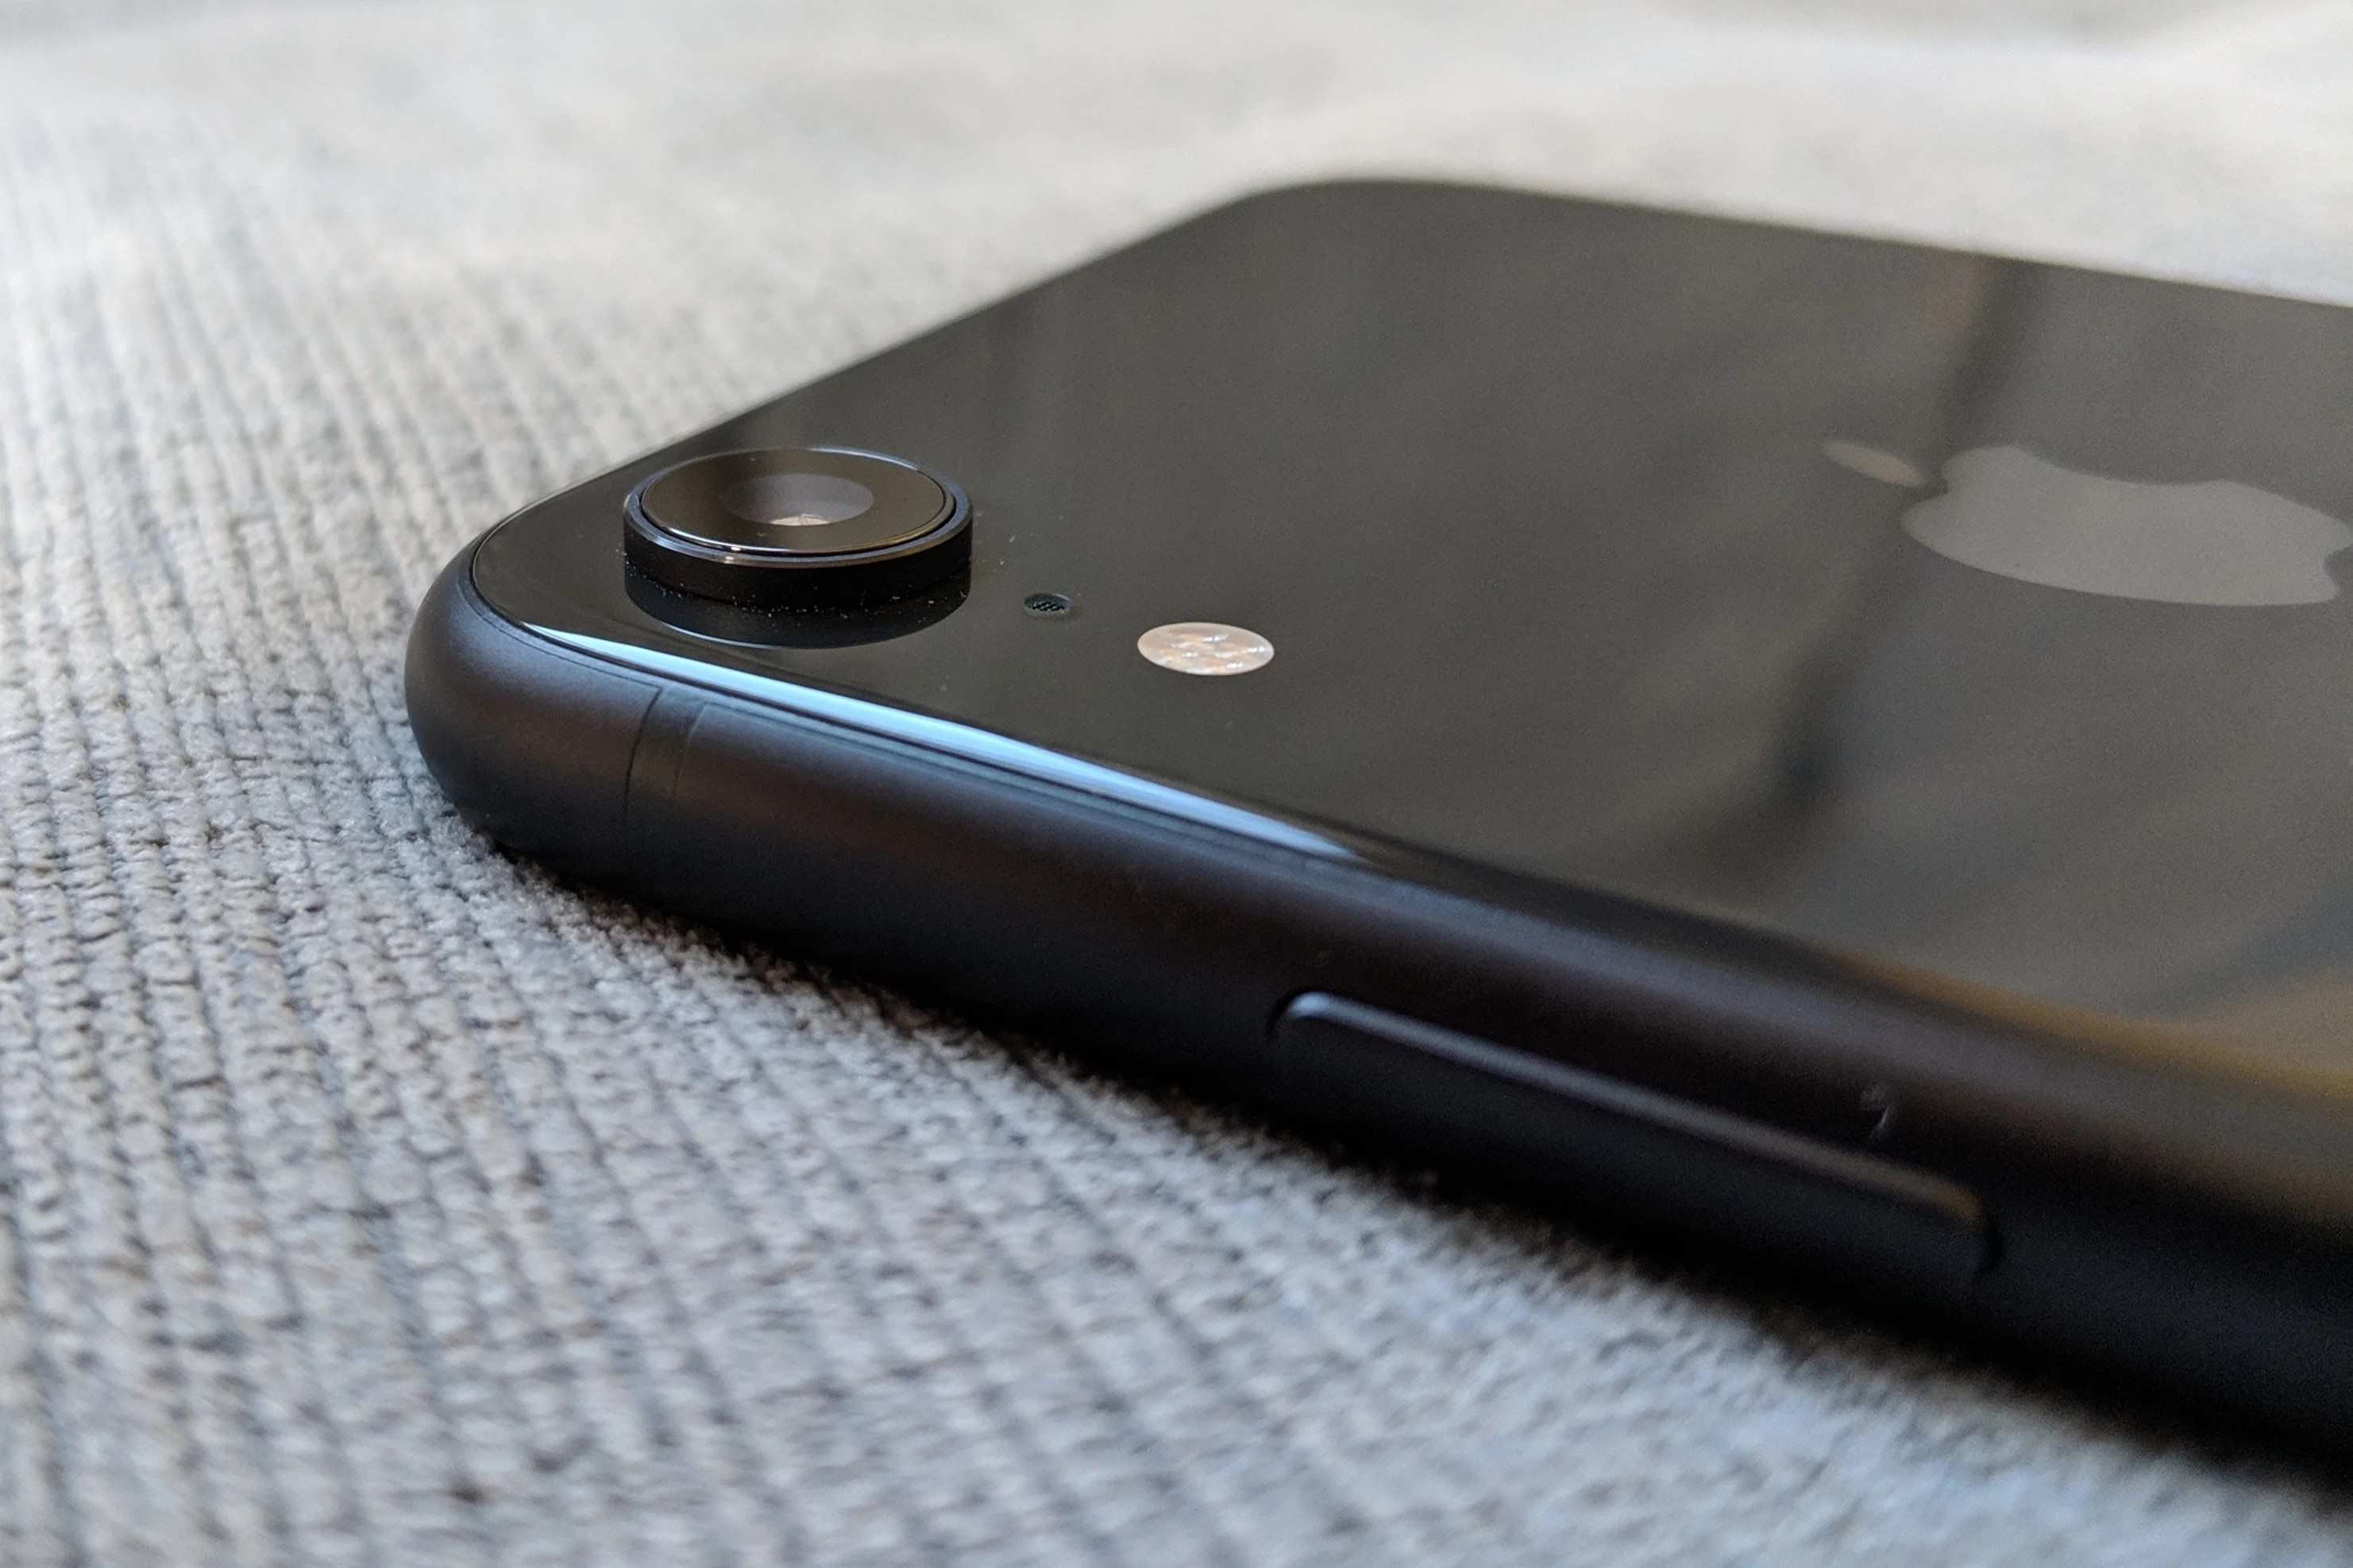
Look for a small pinhole or slot along the edge of your iPhone XR.
This slot is the access point to the SIM card tray.
It is important to handle your machine with care and attention during this process to avoid any accidental damage.
Upon successful insertion of the eject tool, the SIM card tray will begin to emerge from the gear.
To initiate the ejection process, ensure that the iPhone XR is powered on and the display is active.
This will provide a clear indication of the rig’s status, allowing you to proceed with confidence.
Apply gentle and consistent pressure to the tool, maintaining a steady hand to avoid any unnecessary force.
Continue to apply gentle pressure, allowing the tray to gradually emerge from the machine.
Exercise caution and precision during this step to prevent any damage to the tray or the machine itself.
Before proceeding, take a moment to examine the SIM card and identify its unique orientation.
Aligning the SIM card correctly is crucial to ensure a secure fit and optimal functionality within your gadget.
Carefully place the SIM card onto the SIM card tray, ensuring that it aligns with the designated slot.
A properly inserted SIM card will sit securely within the tray, with minimal protrusion beyond its boundaries.
Take note of the orientation of the tray, ensuring that it aligns seamlessly with the surrounding frame.
The tray should slide back into the gear with minimal resistance, indicating that it is positioned correctly.
The tray should glide smoothly into place, settling securely within the gadget’s frame.
Gently press on the tray to verify that it is securely in place, with no protrusion or misalignment.
This final check ensures that the SIM card remains stable within the gear, safeguarding its functionality and connectivity.
