One of the most popular ways to achieve this is by installing a custom ROM on your Android equipment.
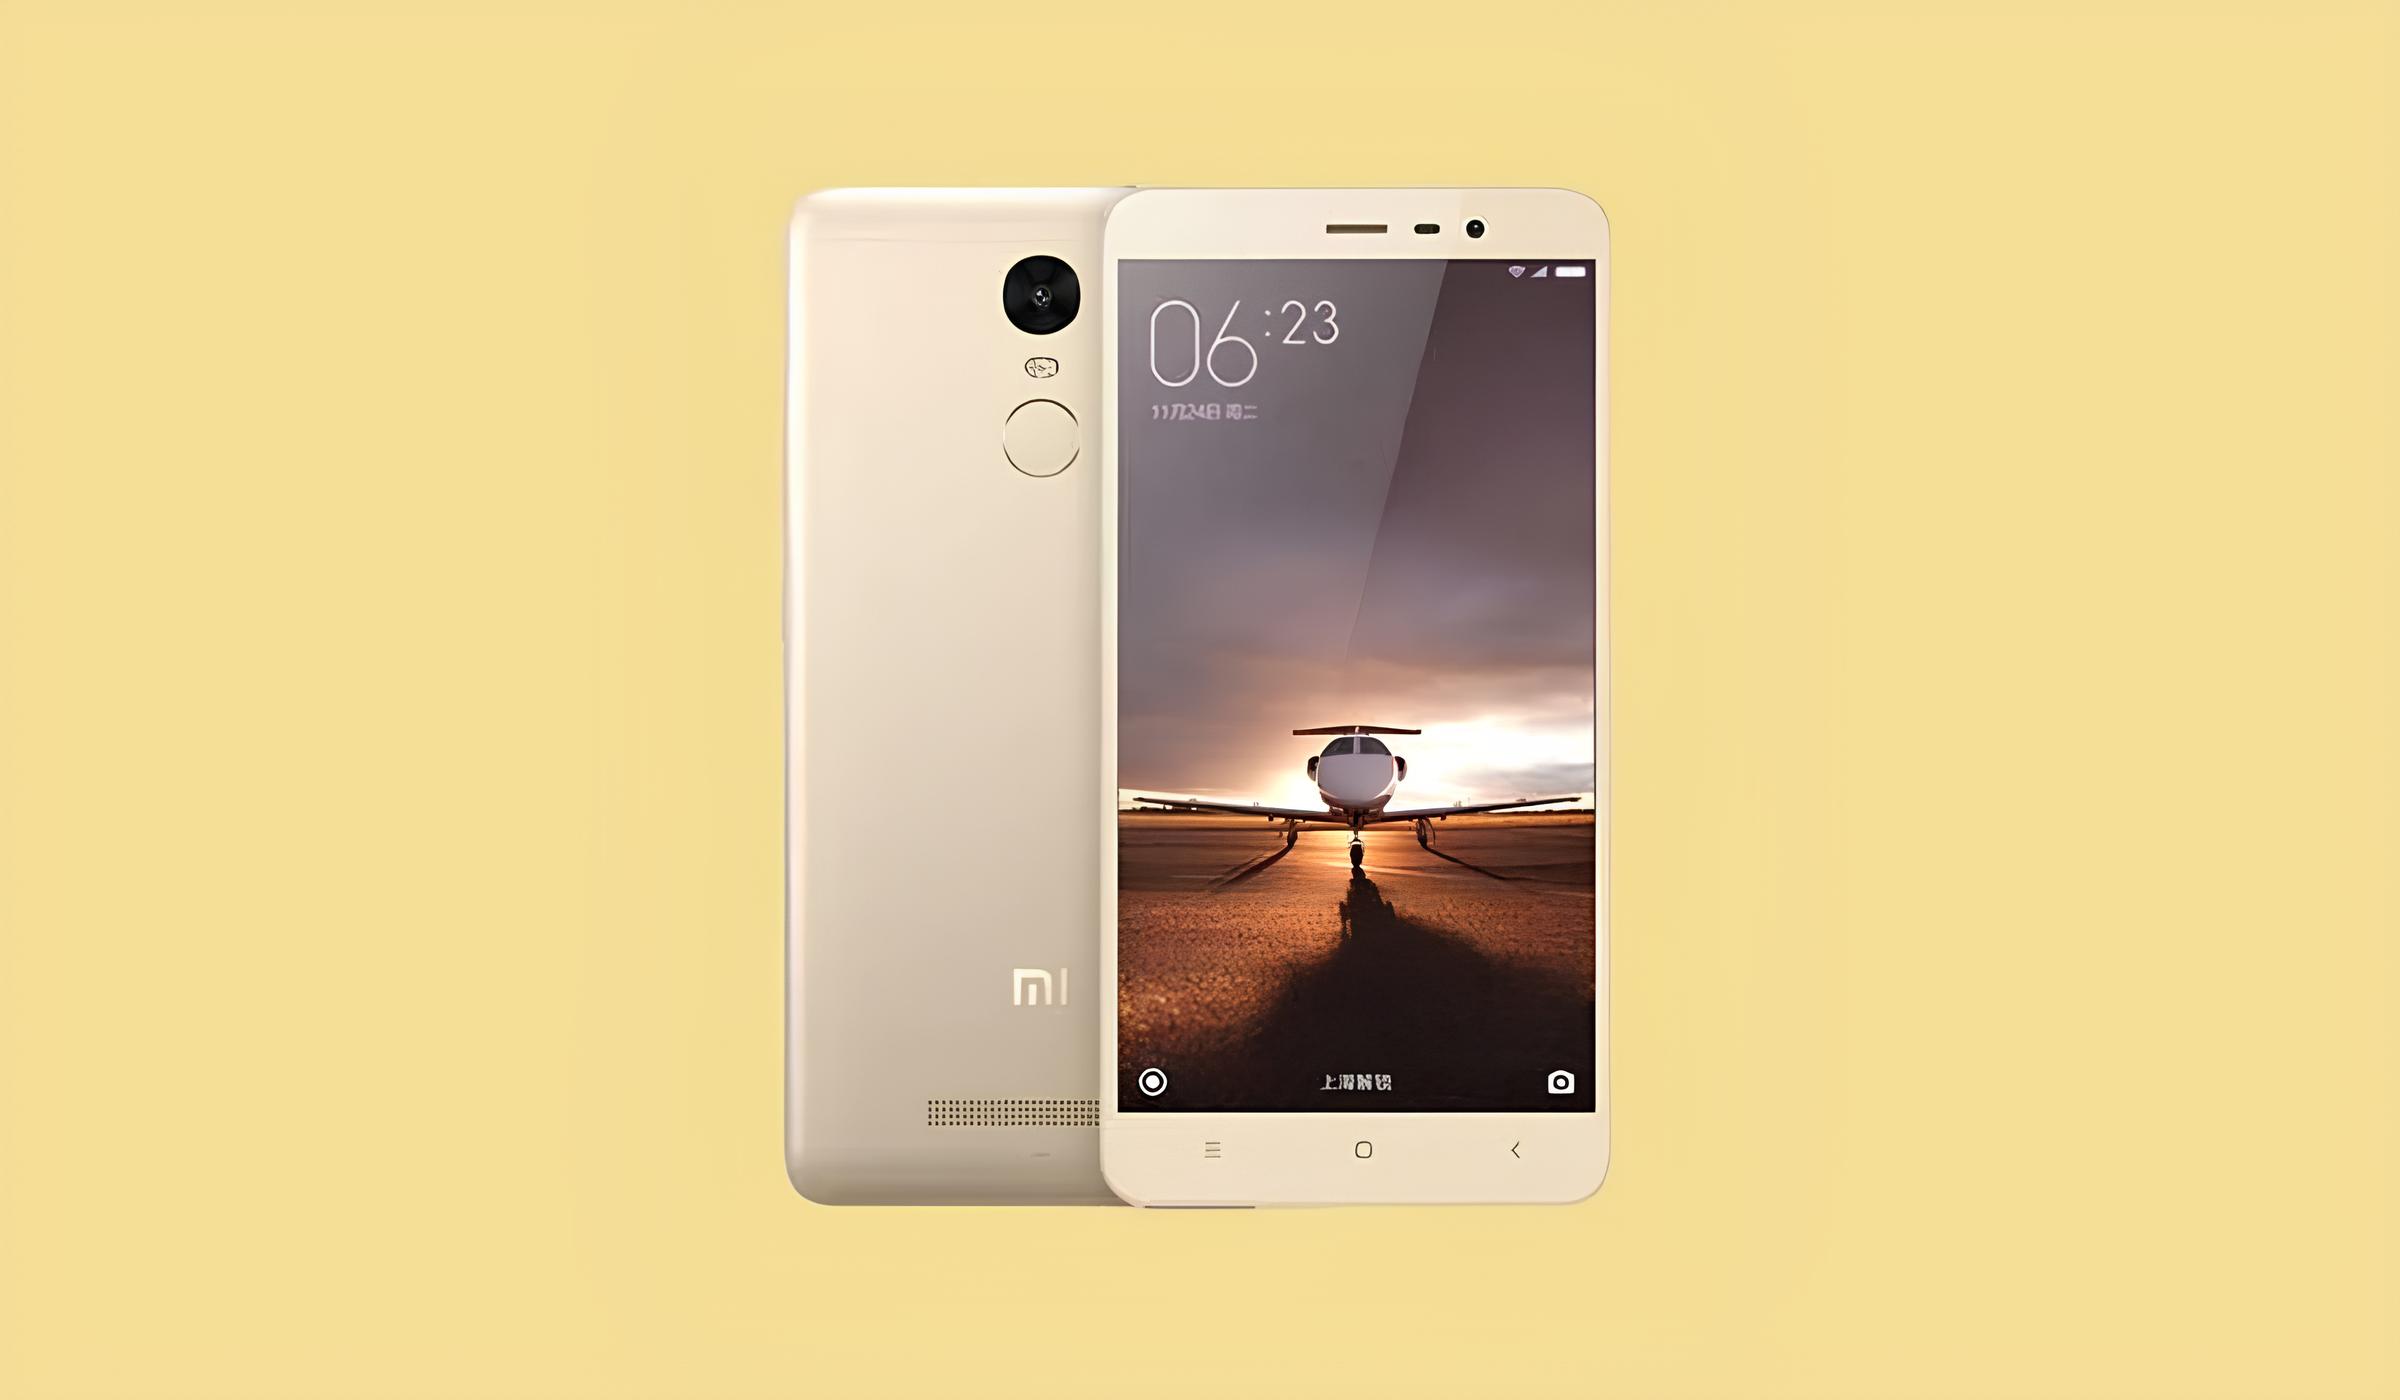
For Redmi Note 3 users, the prospect of installing a custom ROM opens up a world of possibilities.
So, without further ado, let’s dive into the first step: unlocking the bootloader.
The bootloader acts as a security feature that prevents unauthorized firmware from being installed on the machine.
To begin the process, you will need to enable Developer Options on your Redmi Note 3.
Once Developer Options are accessible, you could proceed to enable OEM unlocking and USB debugging.
These options are crucial for unlocking the bootloader and establishing a connection between your rig and the computer.
In Fastboot mode, your gear is ready to communicate with the computer for the bootloader unlocking process.
Next, connect your Redmi Note 3 to the computer using a USB cable.
Upon entering the command, your Redmi Note 3 will prompt you to confirm the bootloader unlocking process.
Use the volume keys to navigate and the power button to confirm.
This can be achieved by powering off the equipment and then holding the Power and Volume Down buttons simultaneously.
In Fastboot mode, your unit is ready to communicate with the computer for the TWRP recovery installation process.
Next, connect your Redmi Note 3 to the computer using a USB cable.
On your machine, navigate to the directory where the platform-tools are located.
Open a command prompt or terminal window in this directory to execute the commands necessary for installing TWRP recovery.
This process involves using the fastboot utility to transfer the TWRP image to your equipment’s recovery partition.
grab the ROM package to initiate the installation process.
Once the installation is finalized, you will receive a notification indicating the successful installation of the custom ROM.
