Introduction
Are you ready to unlock the full potential of your Redmi 6 smartphone?
With clear, step-by-step instructions and expert tips, you’ll be well-equipped to embark on this exciting journey.
This can be done by accessing the Developer Options menu within the gadget’s prefs.
Once inside the Developer Options, locate the USB debugging setting and enable it.
This step is crucial for establishing a secure and efficient connection between your Redmi 6 and your PC.
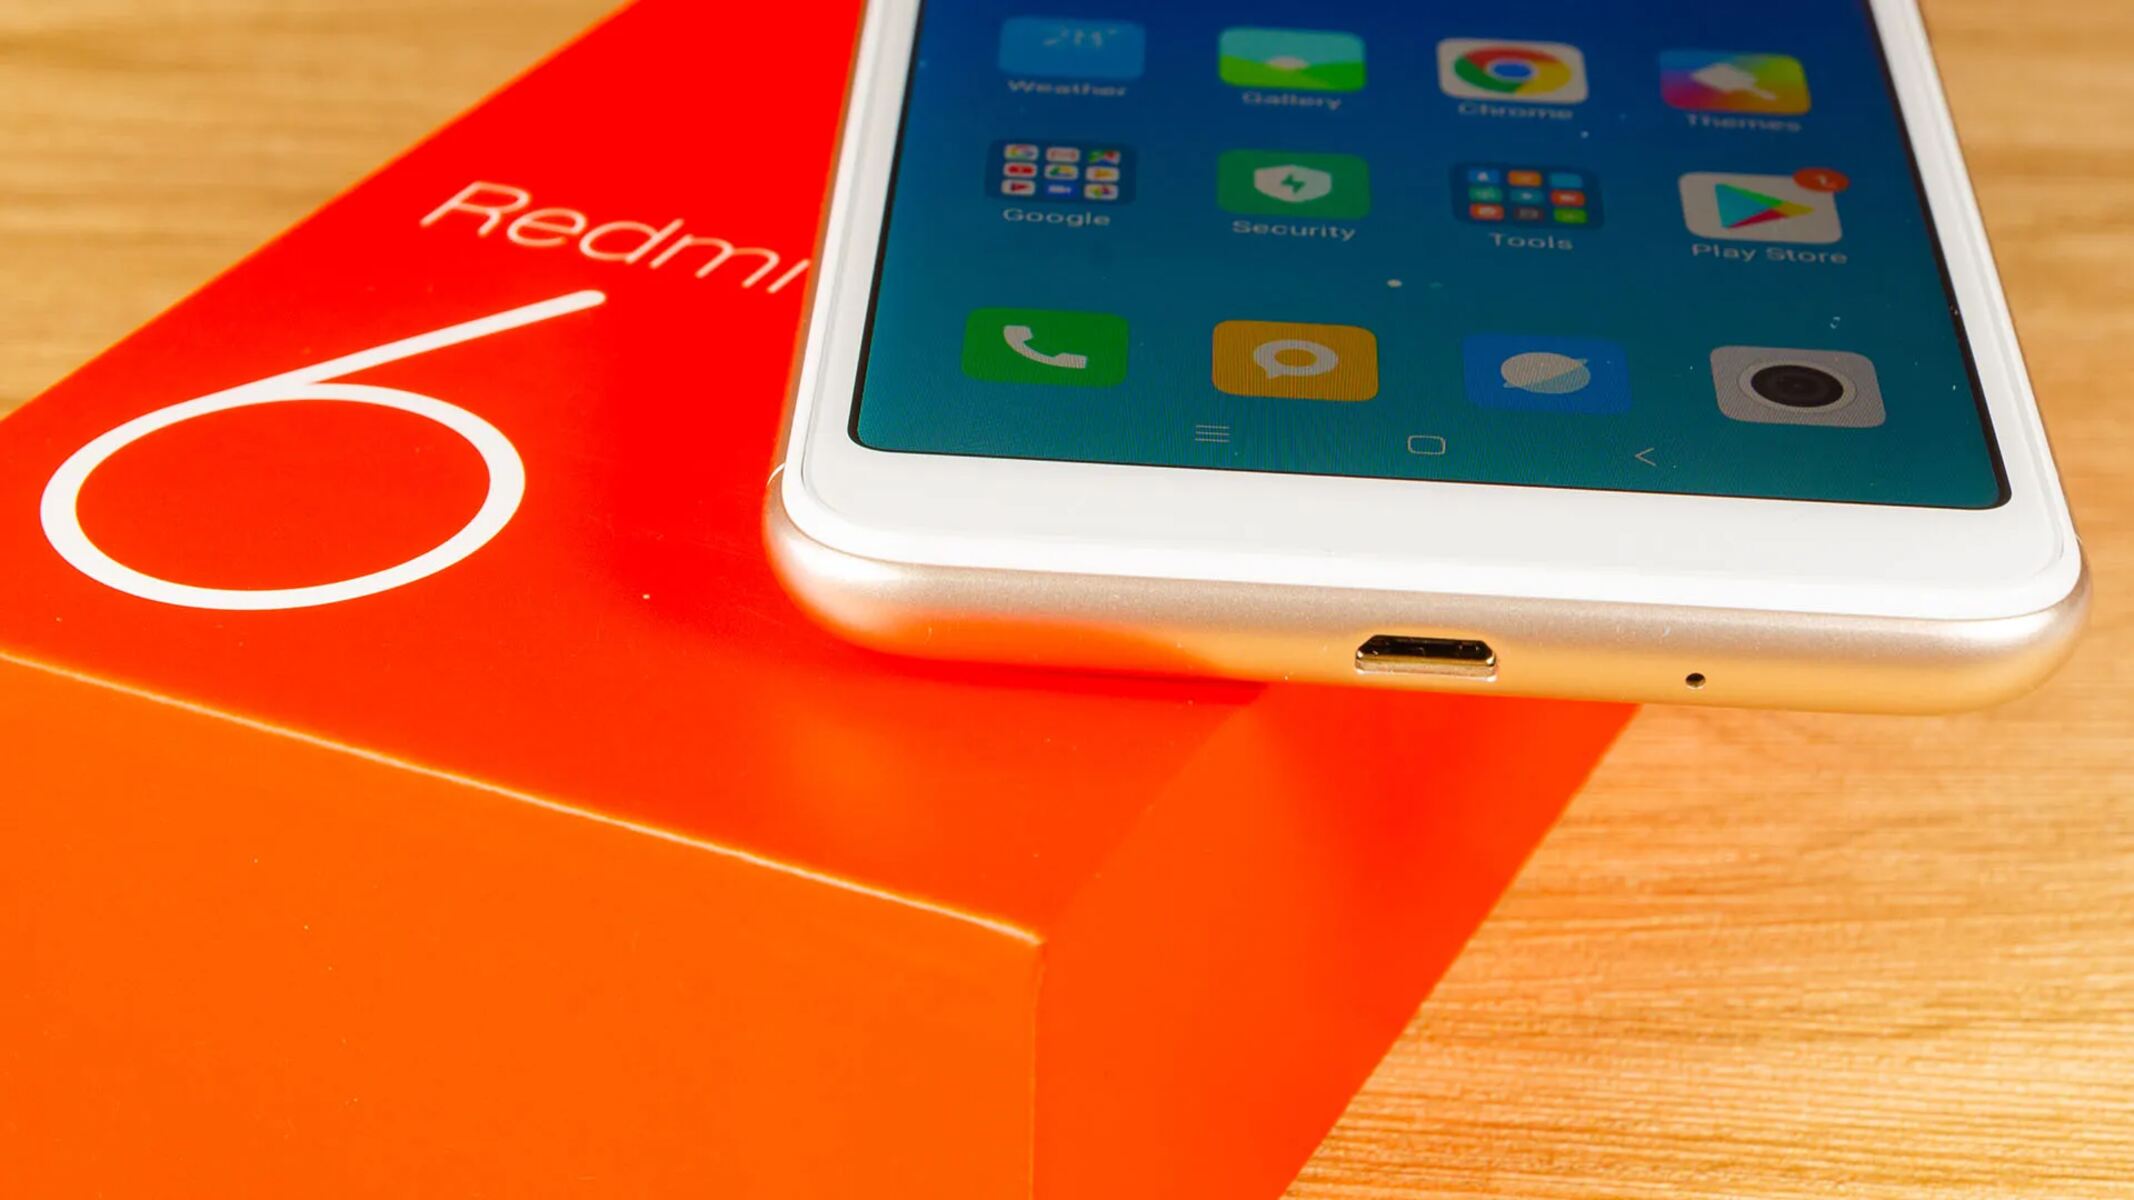
Upon establishing the physical connection, your PC should recognize the rig and initiate the necessary driver installation process.
Navigate to the unit manager or the file explorer to confirm that your Redmi 6 is detected and accessible.
There are various rooting tools and software available, each with its unique set of features and compatibility requirements.
Utilize built-in backup features or third-party applications to create a robust backup of your Redmi 6 data.
By unlocking the bootloader, you grant yourself the necessary permissions to proceed with the rooting process.
Initiate the Rooting Process
Once the preparatory steps are complete, it’s time to initiate the rooting process.
Depending on the chosen rooting method, you will follow specific instructions provided by the rooting tool or software.
Exercise caution and follow the instructions meticulously to ensure a smooth and successful rooting experience.
This can be confirmed by using root checker applications available on the Google Play Store.
