Introduction
Are you looking to unlock the full potential of your Redmi 2 smartphone?
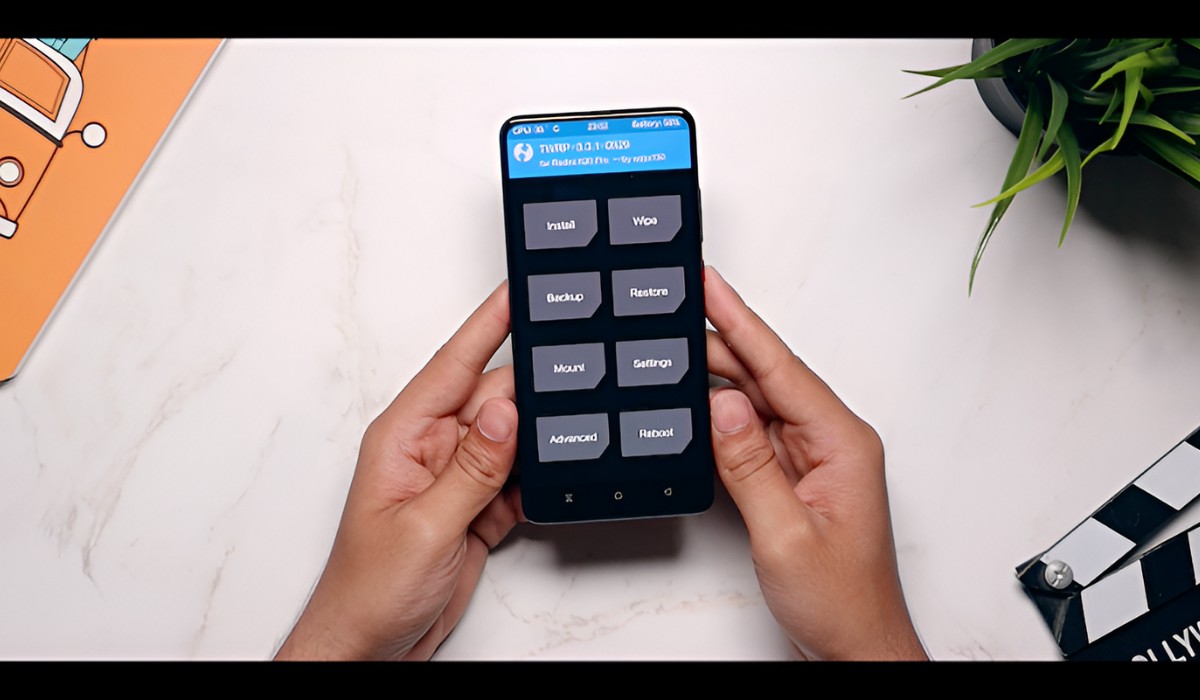
One of the most effective ways to do so is by installing a custom recovery.
Custom recoveries offer a gateway to a world of possibilities forAndroidusers.
So, let’s dive in and unlock the true power of your Redmi 2!
What is a Custom Recovery?
The bootloader acts as a security checkpoint that verifies and loads the operating system on your unit.
Once installed, ensure that the ADB and Fastboot tools are accessible from the command line on your gear.
This includes personal files, photos, videos, and any other data that you wish to preserve.
Download TWRP for Redmi 2: Begin by downloading the TWRP recovery image specifically designed for the Redmi 2.
Ensure that you obtain the correct TWRP version for your unit model to avoid compatibility issues.
you might find the official TWRP releases for the Redmi 2 on the TWRP website or reputableAndroid developmentforums.
Open a command prompt or terminal window in this directory to execute ADB and Fastboot commands.
Issue the following command in the command prompt or terminal window:fastboot flash recovery <twrp_filename.img>.
Replace<twrp_filename.img>with the actual filename of the TWRP recovery image you downloaded.
Issue the commandfastboot rebootin the command prompt or terminal window to restart the rig.
For most devices, this involves pressing a combination of the power and volume buttons during the boot process.
You have successfully installed TWRP custom recovery on your Redmi 2.
As you embark on this exciting journey with TWRP custom recovery, remember that the possibilities are boundless.
