Introduction
Welcome to this troubleshooting guide for the CR-10 3D printer.
Over extrusion can lead to poor print quality, jammed nozzles, and wasted filament.
Understanding the root cause of this problem is crucial to make it fix it.
This can be frustrating, especially if youre not sure why its happening.
Under normal circumstances, the printer should extrude the exact amount of filament needed for the print.
Over extrusion can manifest itself in various ways.
Several factors can contribute to over extrusion.
If this value is set too high, the printer will extrude more filament than necessary.
In addition to calibration issues, slicer parameters can also play a role in over extrusion.
The flow rate, or extrusion multiplier, determines how much filament the printer will use.
If this value is set too high, it can lead to extruding too much material.
Similarly, incorrect temperature parameters or a partially clogged nozzle can cause filament to be forced out excessively.
Understanding the causes and effects of over extrusion is crucial for resolving the issue.
By pinpointing the root cause, you could implement the appropriate troubleshooting steps to rectify the problem.
In the next section, well explore these troubleshooting methods in detail, helping you tackle over extrusion head-on.
Below are some potential causes to be aware of:
1.
The printer may be pushing out more filament than necessary, leading to excessive material being deposited.
Slicer prefs:The flow rate or extrusion multiplier in your slicer software determines how much filament is used.
If this value is set too high, it can cause over extrusion.
Additionally, incorrect temperature prefs or inappropriate printing speeds can contribute to this issue.
These clogs can result from filament debris or insufficient cleaning/maintenance of the hotend.
Its important to find the optimal temperature for your filament key in to ensure proper extrusion.
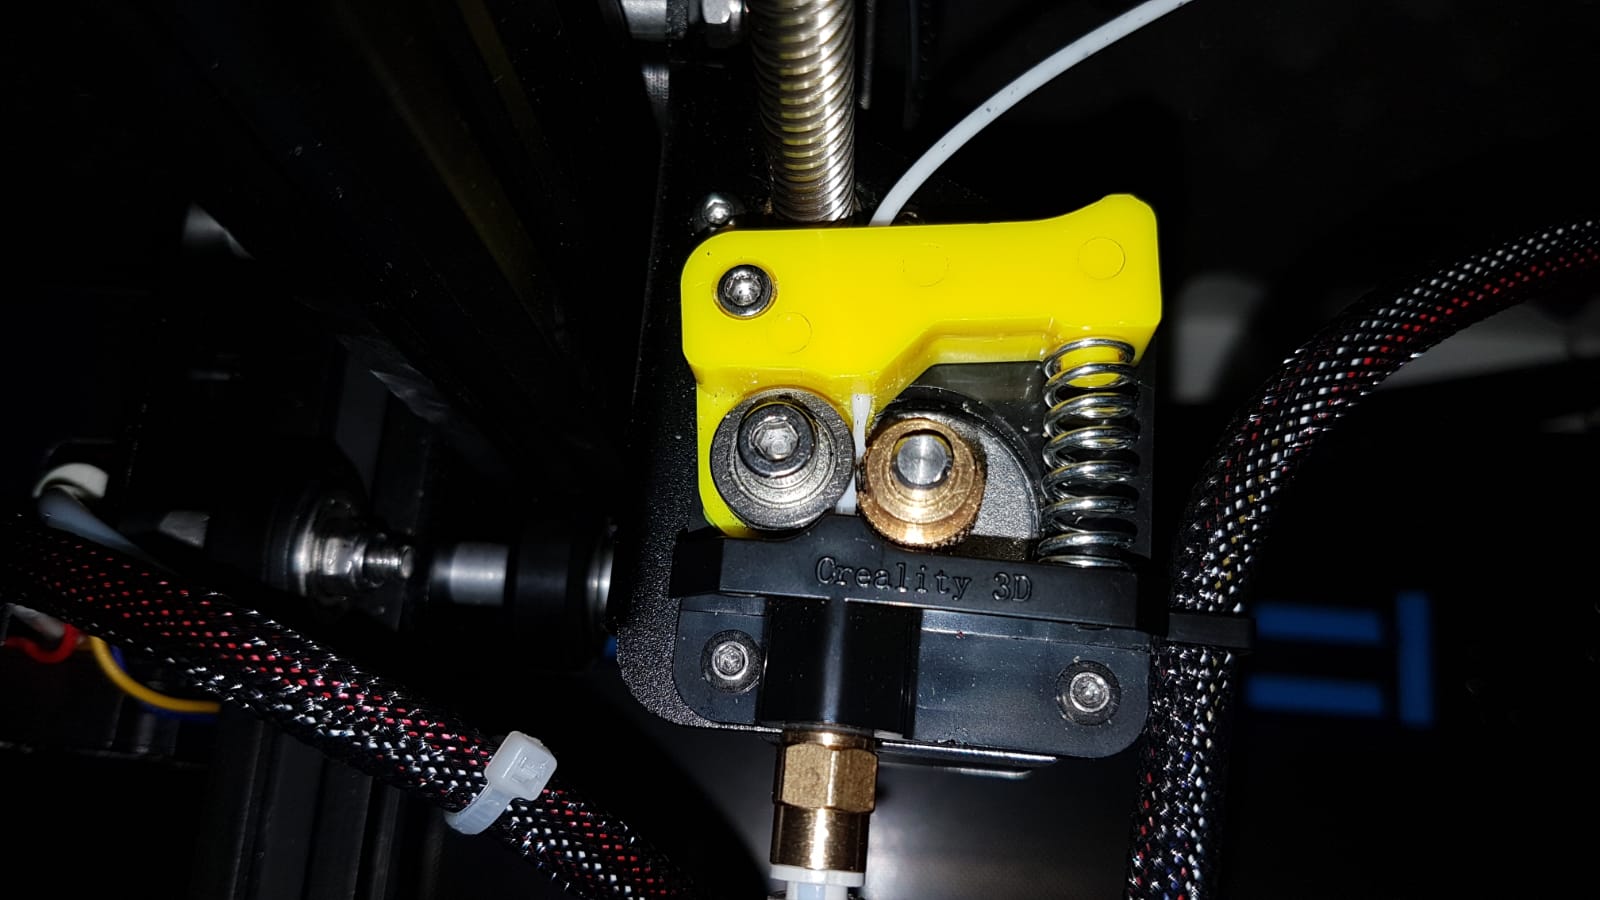
Slipping Extruder Gear:A slipping extruder gear can prevent the filament from feeding smoothly into the hotend.
As a result, the extruder may push out excess filament, leading to over extrusion.
This can result in over extrusion as the extruder tries to compensate for the fast movement.
By understanding these potential causes, you could systematically troubleshoot and address the specific issue affecting your CR-10 printer.
Troubleshooting Over Extrusion on CR-10
1.
Check Filament Diameter:Ensure that the filament diameter is properly set in your slicer software.
Reduce the flow rate slightly to see if it helps alleviate the over extrusion issue.
Clean the nozzle thoroughly or perform a cold-pull technique to remove any trapped filament and ensure proper flow.
Adjust Printing Temperature:Experiment with different printing temperatures to find the optimal setting for your filament.
Check for Slipping Extruder Gear:Ensure that the extruder gear is securely gripping the filament and not slipping.
Tighten the tension adjustment on the extruder to prevent any slipping that can cause over extrusion.
Reduce Print Speed:If youre experiencing over extrusion at higher print speeds, try reducing the print speed.
Slower speeds allow the extruder more time to accurately extrude the filament, reducing the likelihood of over extrusion.
Check the Hotend Assembly:Examine the hotend assembly for any mechanical issues like loose fittings or misalignment.
confirm all components are properly tightened and aligned to ensure smooth and accurate filament flow.
Remember to make one adjustment at a time and test your prints after each change to assess the impact.
With patience and persistence, youll be able to achieve optimal print quality without the issue of over extrusion.
The filament diameter setting in your slicer software should match the actual diameter of the filament you are using.
To check the filament diameter, measure it using a pair of digital calipers.
Take multiple measurements at different points along the filament to ensure accuracy.
If the measured diameter differs from the setting in your slicer, adjust the filament diameter accordingly.
If the actual diameter is larger, increase the setting to compensate.
Ensuring the correct filament diameter is essential for accurate extrusion.
Its important to note that different filament types may have different diameter tolerances.
Therefore, confirm to consider the specific tolerances for your filament when checking the diameter.
Incorrect calibration can lead to over extrusion or under extrusion, affecting the quality and accuracy of your prints.
Adjust the value further, if necessary, until you achieve accurate and consistent extrusion.
Calibrating the extruder steps/mm is a critical step in ensuring optimal extrusion.
The flow rate determines the amount of filament that is extruded during each layer.
By adjusting this setting, you might fine-tune the extrusion and alleviate over extrusion issues.
It allows you to control the amount of filament being extruded, ensuring more accurate and consistent prints.
Its essential to experiment with different flow rate values to find the optimal setting for your specific printing conditions.
These blockages can disrupt the smooth flow of filament, causing the printer to push out excess material.
Checking for, and addressing, any partial clogs or jams is an essential step in troubleshooting over extrusion.
Filament residue, debris, or dust particles can accumulate over time and obstruct the smooth flow of filament.
Low-quality or moisture-damaged filament is more prone to causing clogs.
Store your filament in a dry and airtight container to maintain its quality and prevent moisture absorption.
This step is crucial in troubleshooting over extrusion and ensuring optimal print quality on your CR-10 3D printer.
The temperature at which you print directly affects the viscosity and flow characteristics of the filament.
Adjusting the printing temperature can help address over extrusion issues and improve print quality.
Finding the optimal temperature requires experimentation and observation of the printed results.
Therefore, its essential to consider these variables and make adjustments accordingly.
This adjustment will help in achieving accurate and high-quality prints on your CR-10 3D printer.
The extruder gear is responsible for gripping and pushing the filament into the hotend.
Additionally, inspect the extruder gear for any signs of wear or damage.
By addressing a slipping extruder gear, you could ensure consistent and accurate filament feeding.
This will help to minimize over extrusion issues and achieve better print quality on your CR-10 3D printer.
However, its essential to find a balance between reducing the print speed and maintaining a reasonable printing time.
Highly detailed or complex models may require slower print speeds to achieve optimal results.
Keep in mind that reducing the print speed may increase the overall print time.
However, this trade-off can lead to improved print quality, especially for intricate designs with fine details.
Experiment with different speeds to find the optimal setting for your CR-10 printer and your specific printing requirements.
A faulty or misaligned hotend can disrupt the smooth flow of filament, leading to over extrusion.
Taking the time to check the hotend assembly can help identify and address any underlying issues.
A well-assembled and aligned hotend allows for consistent and controlled filament flow during printing.
They can provide specific guidance or troubleshooting steps tailored to your printer model.
Regular inspection and maintenance of the hotend assembly is crucial for optimal print performance.
Remember that troubleshooting is a gradual and iterative process.
Patience and persistence are key in finding the optimal options for your CR-10 printer.
Keep exploring and experimenting to further enhance your printing experience.
