Let’s dive in and get started on this essential process!
The SIM card tray is a small, rectangular slot typically found on the side of the rig.
If you don’t have the SIM eject tool, a small paperclip can be used as an alternative.
This pinhole is where you will insert the SIM eject tool to release the SIM card tray.
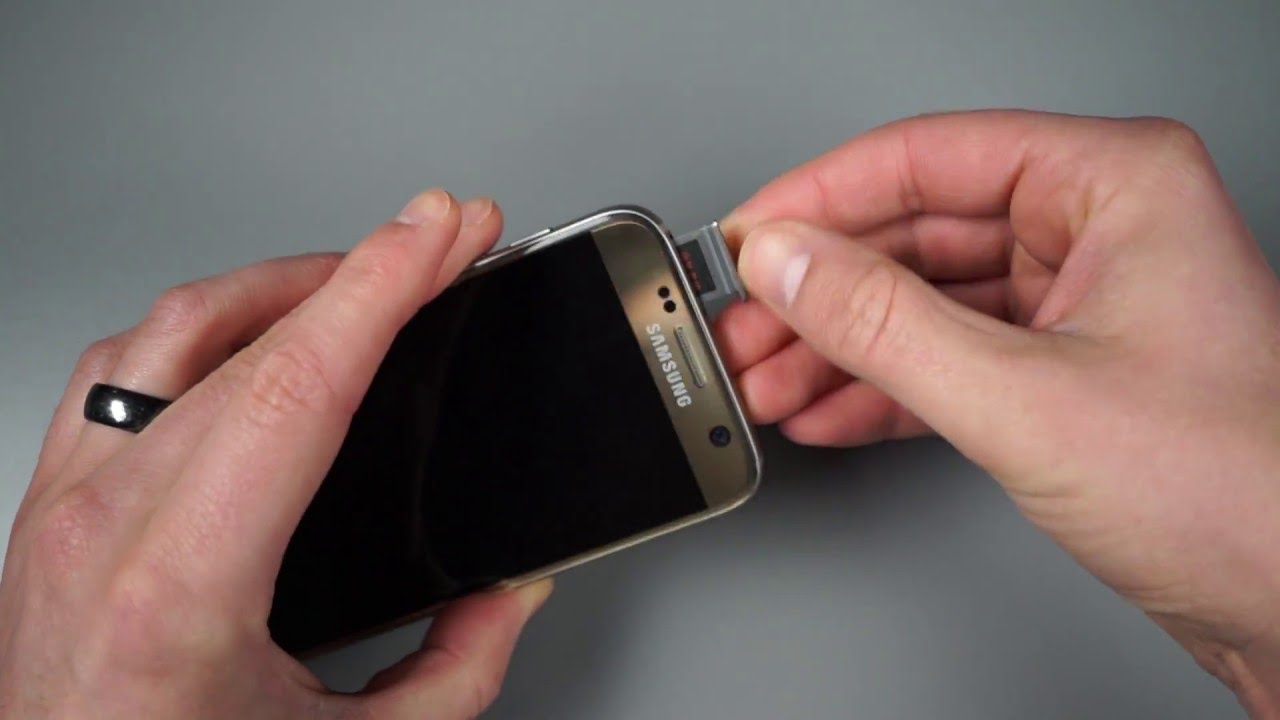
Gently insert the SIM eject tool into the pinhole and apply a small amount of pressure.
You should feel a slight resistance, indicating that the SIM card tray is being released.
After the SIM card tray has been released, carefully pull it out from the phone.
The SIM card tray will contain one or two slots, depending on your machine model.
This pinhole is strategically located on the top edge of the gear, adjacent to the SIM card tray.
Apply gentle pressure to the tool, ensuring that it is inserted straight into the pinhole.
As you remove the SIM card tray, take note of the arrangement of the slots within the tray.
The Galaxy S7 utilizes a nano-SIM card, which is the smallest SIM card size available.
It’s important to verify that your SIM card is a nano-SIM to guarantee compatibility with the Galaxy S7.
This visual inspection ensures that the SIM card is properly seated and ready for reinsertion into the equipment.
Align the tray with the slot, ensuring a smooth and even fit to avoid any potential resistance.
This tactile feedback signifies that the tray has been properly reinserted and is ready for use.
Conclusion
Congratulations!
You have successfully completed the essential process of inserting a SIM card into your Samsung Galaxy S7.
Stay connected, stay informed, and enjoy the seamless mobile experience that your Galaxy S7 has to offer.
