Be sure to wear appropriate protective gear and follow the safety precautions outlined in this guide.
So lets get started and bring your creative ideas to life!
It is compact, versatile, and offers precise control over the movement of the laser head.
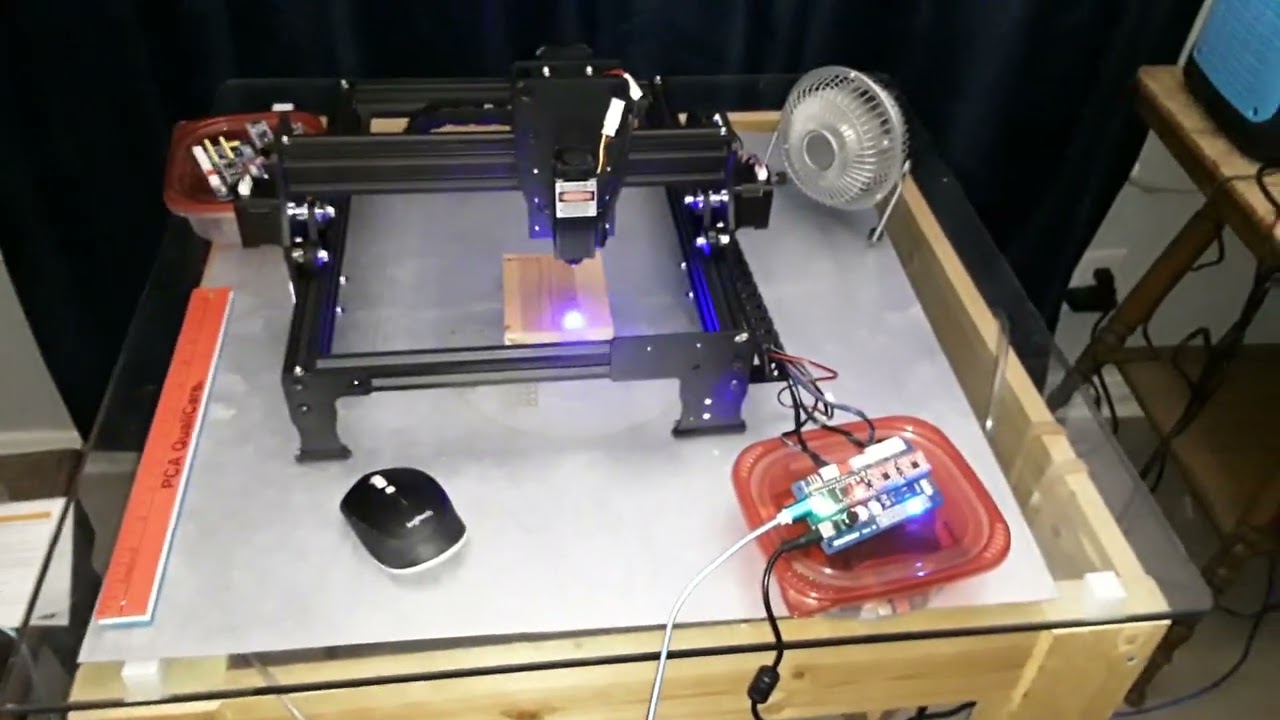
Understanding its key components and features is essential before diving into the wiring process.
These motors provide the necessary precision and accuracy required for engraving intricate designs.
In addition to the stepper motor drivers, the Mana CNC controller also includes connectors for the laser module.
The Mana CNC controller is usually connected to a computer via a USB cable.
Remember, safety should always be the top priority when working with lasers or any electrical equipment.
Having everything in place will streamline the process and make it easier to complete the project smoothly.
This will enable you to work efficiently and avoid any unnecessary delays.
This will greatly simplify the wiring process and minimize the chances of making mistakes.
By properly preparing your laser engraver, you will set a solid foundation for the wiring process.
This step ensures that all components are securely mounted and ready for connection.
Take your time to ensure accurate connections and verify the voltage requirements.
Take your time to ensure accurate connections and double-check the wiring against the diagram.
Conclusion
Congratulations on successfully wiring your DIY laser engraver using the Mana CNC controller!
Remember, safety should always be a top priority when working with lasers and electrical components.
Adhere to the safety precautions outlined in this guide and always exercise caution during the wiring and testing process.
Protect your eyes and follow safe practices to prevent accidents or injuries.
