Introduction
Welcome to the world of immersive audio with a 13.1 surround sound system!
So, lets get started and turn your home into an immersive audio haven!
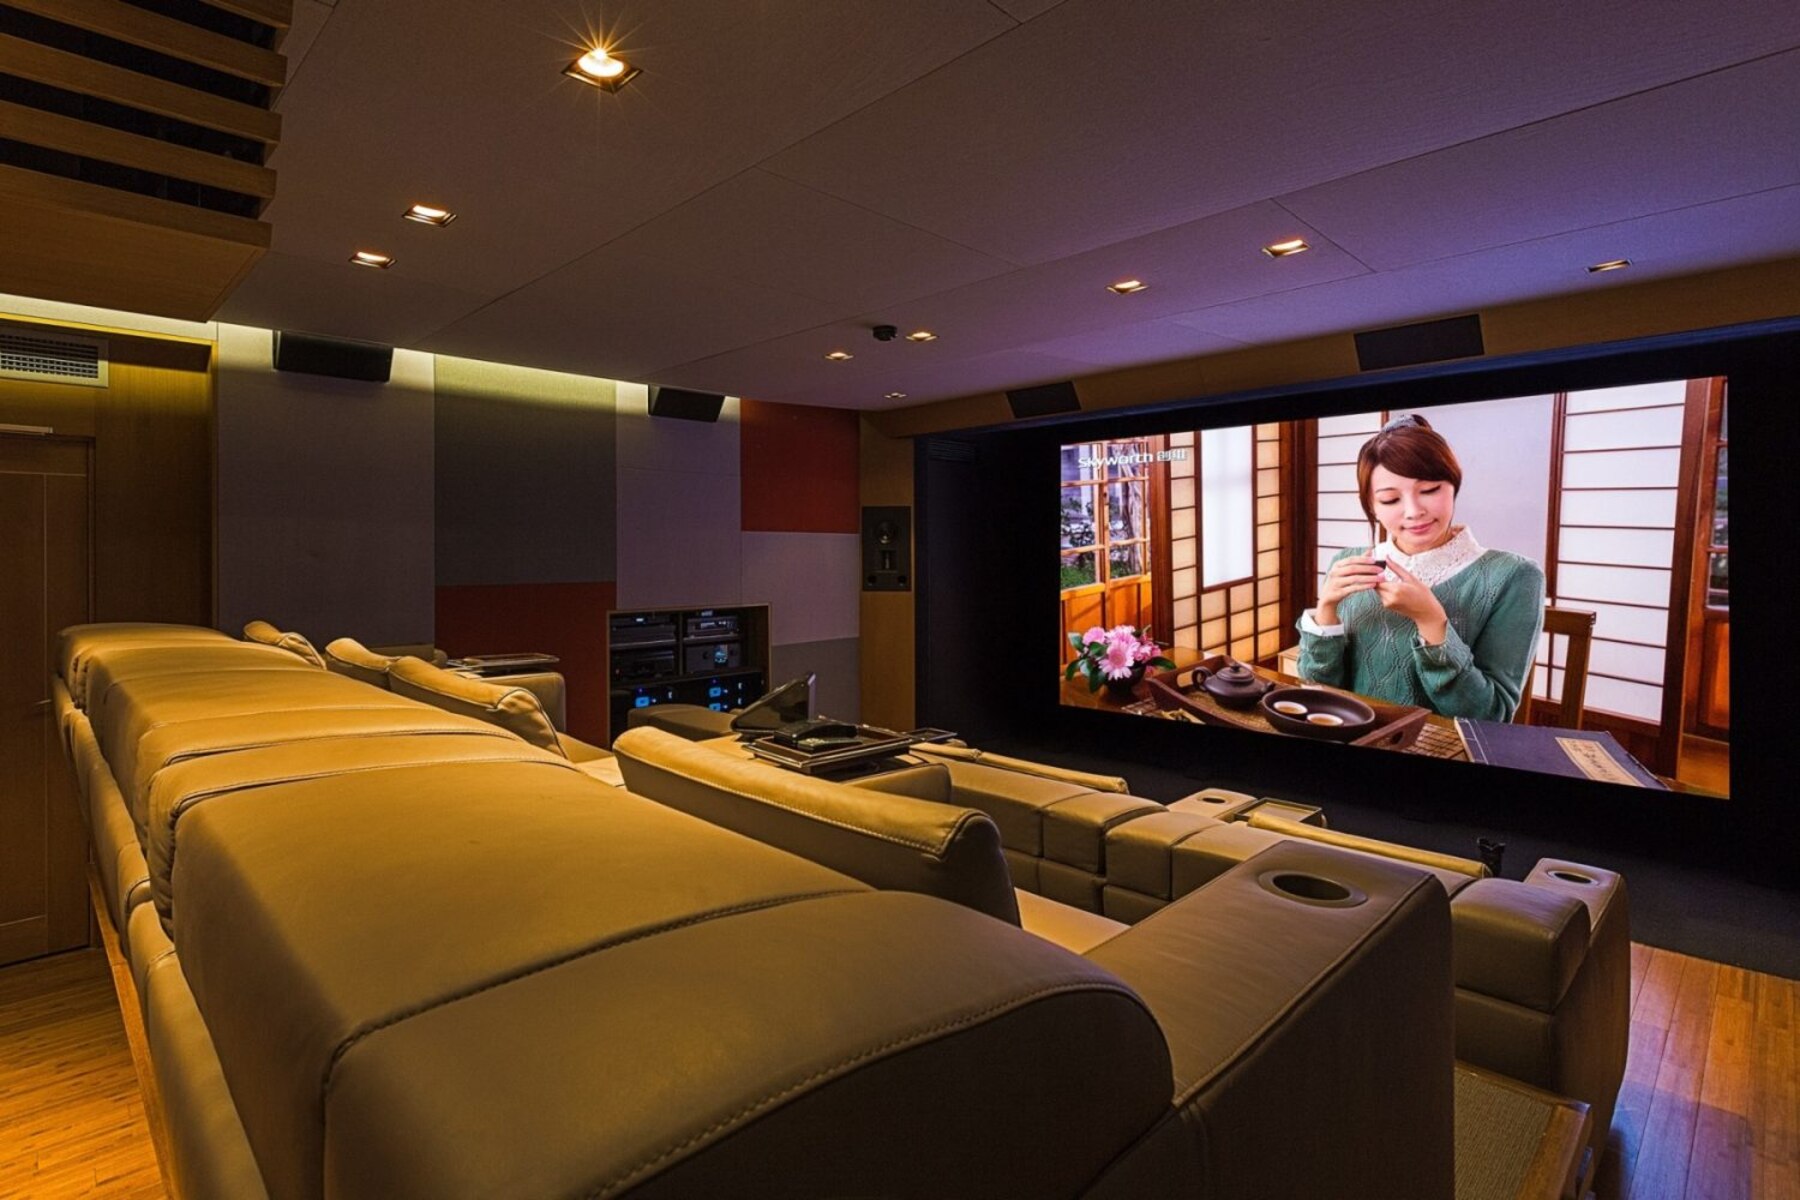
Proper placement ensures optimal audio dispersion, creating an immersive sound experience that envelops you from all directions.
Here are some important factors to consider:
1.
Larger rooms generally allow for more flexibility in speaker placement compared to smaller spaces.
Take note of any architectural features or furniture that may impact sound reflection and absorption.
Ideally, the speakers should form a symmetrical layout around this position, ensuring balanced audio dispersion.
Surround and Side Speakers:The surround and side speakers are responsible for creating the immersive surround effect.
For a 13.1 system, there will be multiple surround speakers placed at different points around the listening area.
These speakers should be positioned slightly above ear level and angled inward towards the primary listening position.
Overhead Speakers:In a 13.1 system, overhead speakers are crucial for creating a three-dimensional sound experience.
These speakers are typically used for object-based audio formats like Dolby Atmos or DTS:X.
They should be mounted directly above the primary listening position or as close to it as possible.
Subwoofers:Subwoofers are responsible for delivering deep and powerful low-frequency sounds.
Take the time to fine-tune the positioning and angles of each speaker to achieve the best possible audio performance.
Here are the items youll need:
1.
Speaker Wire:Invest in high-quality speaker wire with the appropriate gauge for your system.
The length of the wire will depend on the distance between your speakers and the AV receiver.
Ensure you have enough wire to reach each speaker location.
AV Receiver:Your AV receiver serves as the central hub for connecting and powering your speakers.
Choose a receiver that supports 13.1 channel audio and has the necessary speaker terminals and inputs for your system.
Speakers:Of course, youll need the appropriate number of speakers for a 13.1 surround sound setup.
This will save you time and confusion during the installation process.
Here are some steps to follow:
1.
This will provide an unobstructed path for the speaker wires and allow for optimal sound dispersion.
Acoustic Treatment:Consider implementing acoustic treatments to improve the sound quality in the room.
If necessary, consult an electrician to install additional outlets.
Managing Room Lighting:Evaluate the lighting in the room and its impact on the viewing experience.
Concealing Wires:Determine the best method for concealing the speaker wires.
This can include running them through walls, using cable channels, or utilizing decorative wire covers.
Concealing wires not only enhances the overall aesthetics, but also reduces the risk of tripping hazards.
The bang out of connection will depend on your speakers and AV receiver.
Here are the common speaker connection types:
1.
This method requires stripping the insulation off the wire and twisting the exposed strands to create a secure connection.
Banana Plugs:Banana plugs are commonly used for speaker connections.
Banana plugs offer a more convenient and secure connection, especially if you frequently move or reposition your speakers.
Spade connectors provide a reliable and solid connection, particularly for heavier gauge speaker wires.
The spring tension ensures a firm connection and easy installation without any additional tools.
Binding Posts:Binding posts offer a versatile connection option.
They typically consist of a plastic or metal post with a screw-throw in mechanism.
Properly connecting the speakers will ensure accurate sound reproduction and prevent any phase or impedance issues.
Proper placement ensures that sound is accurately distributed throughout the room, creating a captivating audio experience.
Here are some guidelines to consider when mapping out the speaker placement:
1.
These resources usually include diagrams illustrating the recommended speaker placements for optimal performance.
Use these diagrams as a starting point for your setup.
Ensure that the speakers have enough space to be properly positioned and angled towards the listening area.
This position should be the focal point for speaker placement.
Aim to create a symmetrical layout around this position to ensure balanced sound distribution.
These speakers should create an enveloping surround sound experience, immersing you in the audio from all sides.
These speakers play a crucial role in creating a three-dimensional sound experience.
Subwoofer Placement:Subwoofers typically deliver deep bass frequencies and can be placed anywhere in the room.
Experiment with different locations to find the spot that provides the best bass response.
Common placements include near the front speakers or in a corner of the room.
Speaker Angles:To optimize sound projection, angle the speakers slightly towards the primary listening position.
This helps to direct the sound towards your ears and enhances the overall listening experience.
Properly routed and secured speaker wire ensures optimal signal transmission and minimizes interference.
Heres a step-by-step guide on how to spin up the speaker wire:
1.
Measure the Distance:Measure the distance from each speaker location to your AV receiver.
Add some extra length to account for any necessary slack or potential future adjustments.
Choose the Right Speaker Wire:Select speaker wire with an appropriate gauge for your specific setup.
Thicker wire (lower gauge number) is recommended for longer distances or higher-powered speakers to minimize signal loss.
This exposes the bare wire needed for the connection.
Route the Wire:Start by running the speaker wire from the AV receiver to each speaker location.
Ensure the wire is not stretched tightly and has some slack to avoid strain on the connections.
Concealing the Wire:If you prefer a cleaner look, consider concealing the speaker wire.
Cross them at right angles when necessary to minimize potential interference issues.
Secure the Wire:Use cable clips or adhesive clips to secure the wire along its route.
This prevents it from hanging loosely or becoming a tripping hazard.
Be mindful of corners and doorways where the wire may bend or get caught.
In the next section, well discuss how to connect the speakers to the AV receiver.
Connecting the Speakers to the AV Receiver
1.
Locate the Speaker Terminals:On the back of your AV receiver, locate the speaker terminals.
confirm the receiver is powered off before proceeding.
Identify the Speaker Channels:Identify which speaker wire corresponds to each speaker channel.
If you labeled your speaker wires during the wiring process, this step should be straightforward.
Twist the exposed strands to ensure a secure and clean connection.
Ensure a tight and secure connection, avoiding any loose wires that may cause signal interruptions.
Observe Polarity:Pay attention to the polarity of the speaker connections.
Maintaining proper polarity ensures the speakers are in phase, producing accurate sound reproduction.
Double-check the connections to ensure accuracy.
Avoid any loose or strained wires that may affect the audio performance.
Testing and Troubleshooting the System
1.
Adjust the audio prefs to balance the volume levels if necessary.
ensure that the sound is evenly distributed and that no speaker is overpowering or underperforming compared to the others.
Inspect Wire Connections:Physically inspect all the wire connections at both the AV receiver and the speakers.
Ensure that all connections are secure and properly seated in the terminals.
Loose connections can result in audio dropouts or loss of sound from specific speakers.
Verify that the correct speaker configuration is selected and that any sound processing modes are appropriately activated or disabled.
Also, consider checking your audio sources for any compatibility issues.
Check Speaker Phasing:Confirm that all speakers are in phase and producing coherent sound.
Reversing the polarity of a speaker can help resolve phase-related issues.
Consider Room Acoustics:Take into account the impact of your rooms acoustics on the audio quality.
Address any reverberation, echoes, or reflections that may be affecting the sound.
Adding acoustic treatments like rugs, curtains, or sound-absorbing panels can help improve the overall listening experience.
Adjusting the audio balance ensures that all speakers work together harmoniously to deliver an immersive and well-balanced sound experience.
Here are some tips for fine-tuning the sound levels:
1.
This tool helps ensure that all speakers produce sound at the same perceived volume, creating a balanced soundstage.
Adjust the speaker volume levels within the AV receivers options to achieve consistent output.
Adjust Channel Delays:Some AV receivers allow you to adjust the speaker channel delays.
Adjusting the channel delays ensures that the sound arrives at the listeners ears simultaneously.
This feature automatically analyzes and adjusts the audio output based on the characteristics of your room.
Pay Attention to Bass Levels:Fine-tuning the bass levels is important for achieving a well-balanced sound.
Experiment with Audio Modes:Explore the various sound modes or virtual surround options offered by your AV receiver.
These modes can enhance the audio experience based on the content being played.
Make Small Adjustments:Fine-tuning is a process of small adjustments.
Consider Personal Preferences:Ultimately, fine-tuning the sound levels should reflect your personal preferences.
Conclusion
Congratulations on successfully wiring your 13.1 surround sound system!
Next, we emphasized the significance of gathering the necessary tools and materials.
We then covered the importance of preparing the room for installation.
We discussed the process of mapping out the speaker placement in your room.
This ensures optimal signal transmission and prevents interference.
Connecting the speakers to the AV receiver finalized the wiring process.
Testing and troubleshooting the system allowed you to ensure that all components are working correctly.
By using test tones, verifying connections, and addressing any issues, you guaranteed optimal audio performance.
Fine-tuning the sound levels allowed you to achieve a balanced and immersive audio experience.
