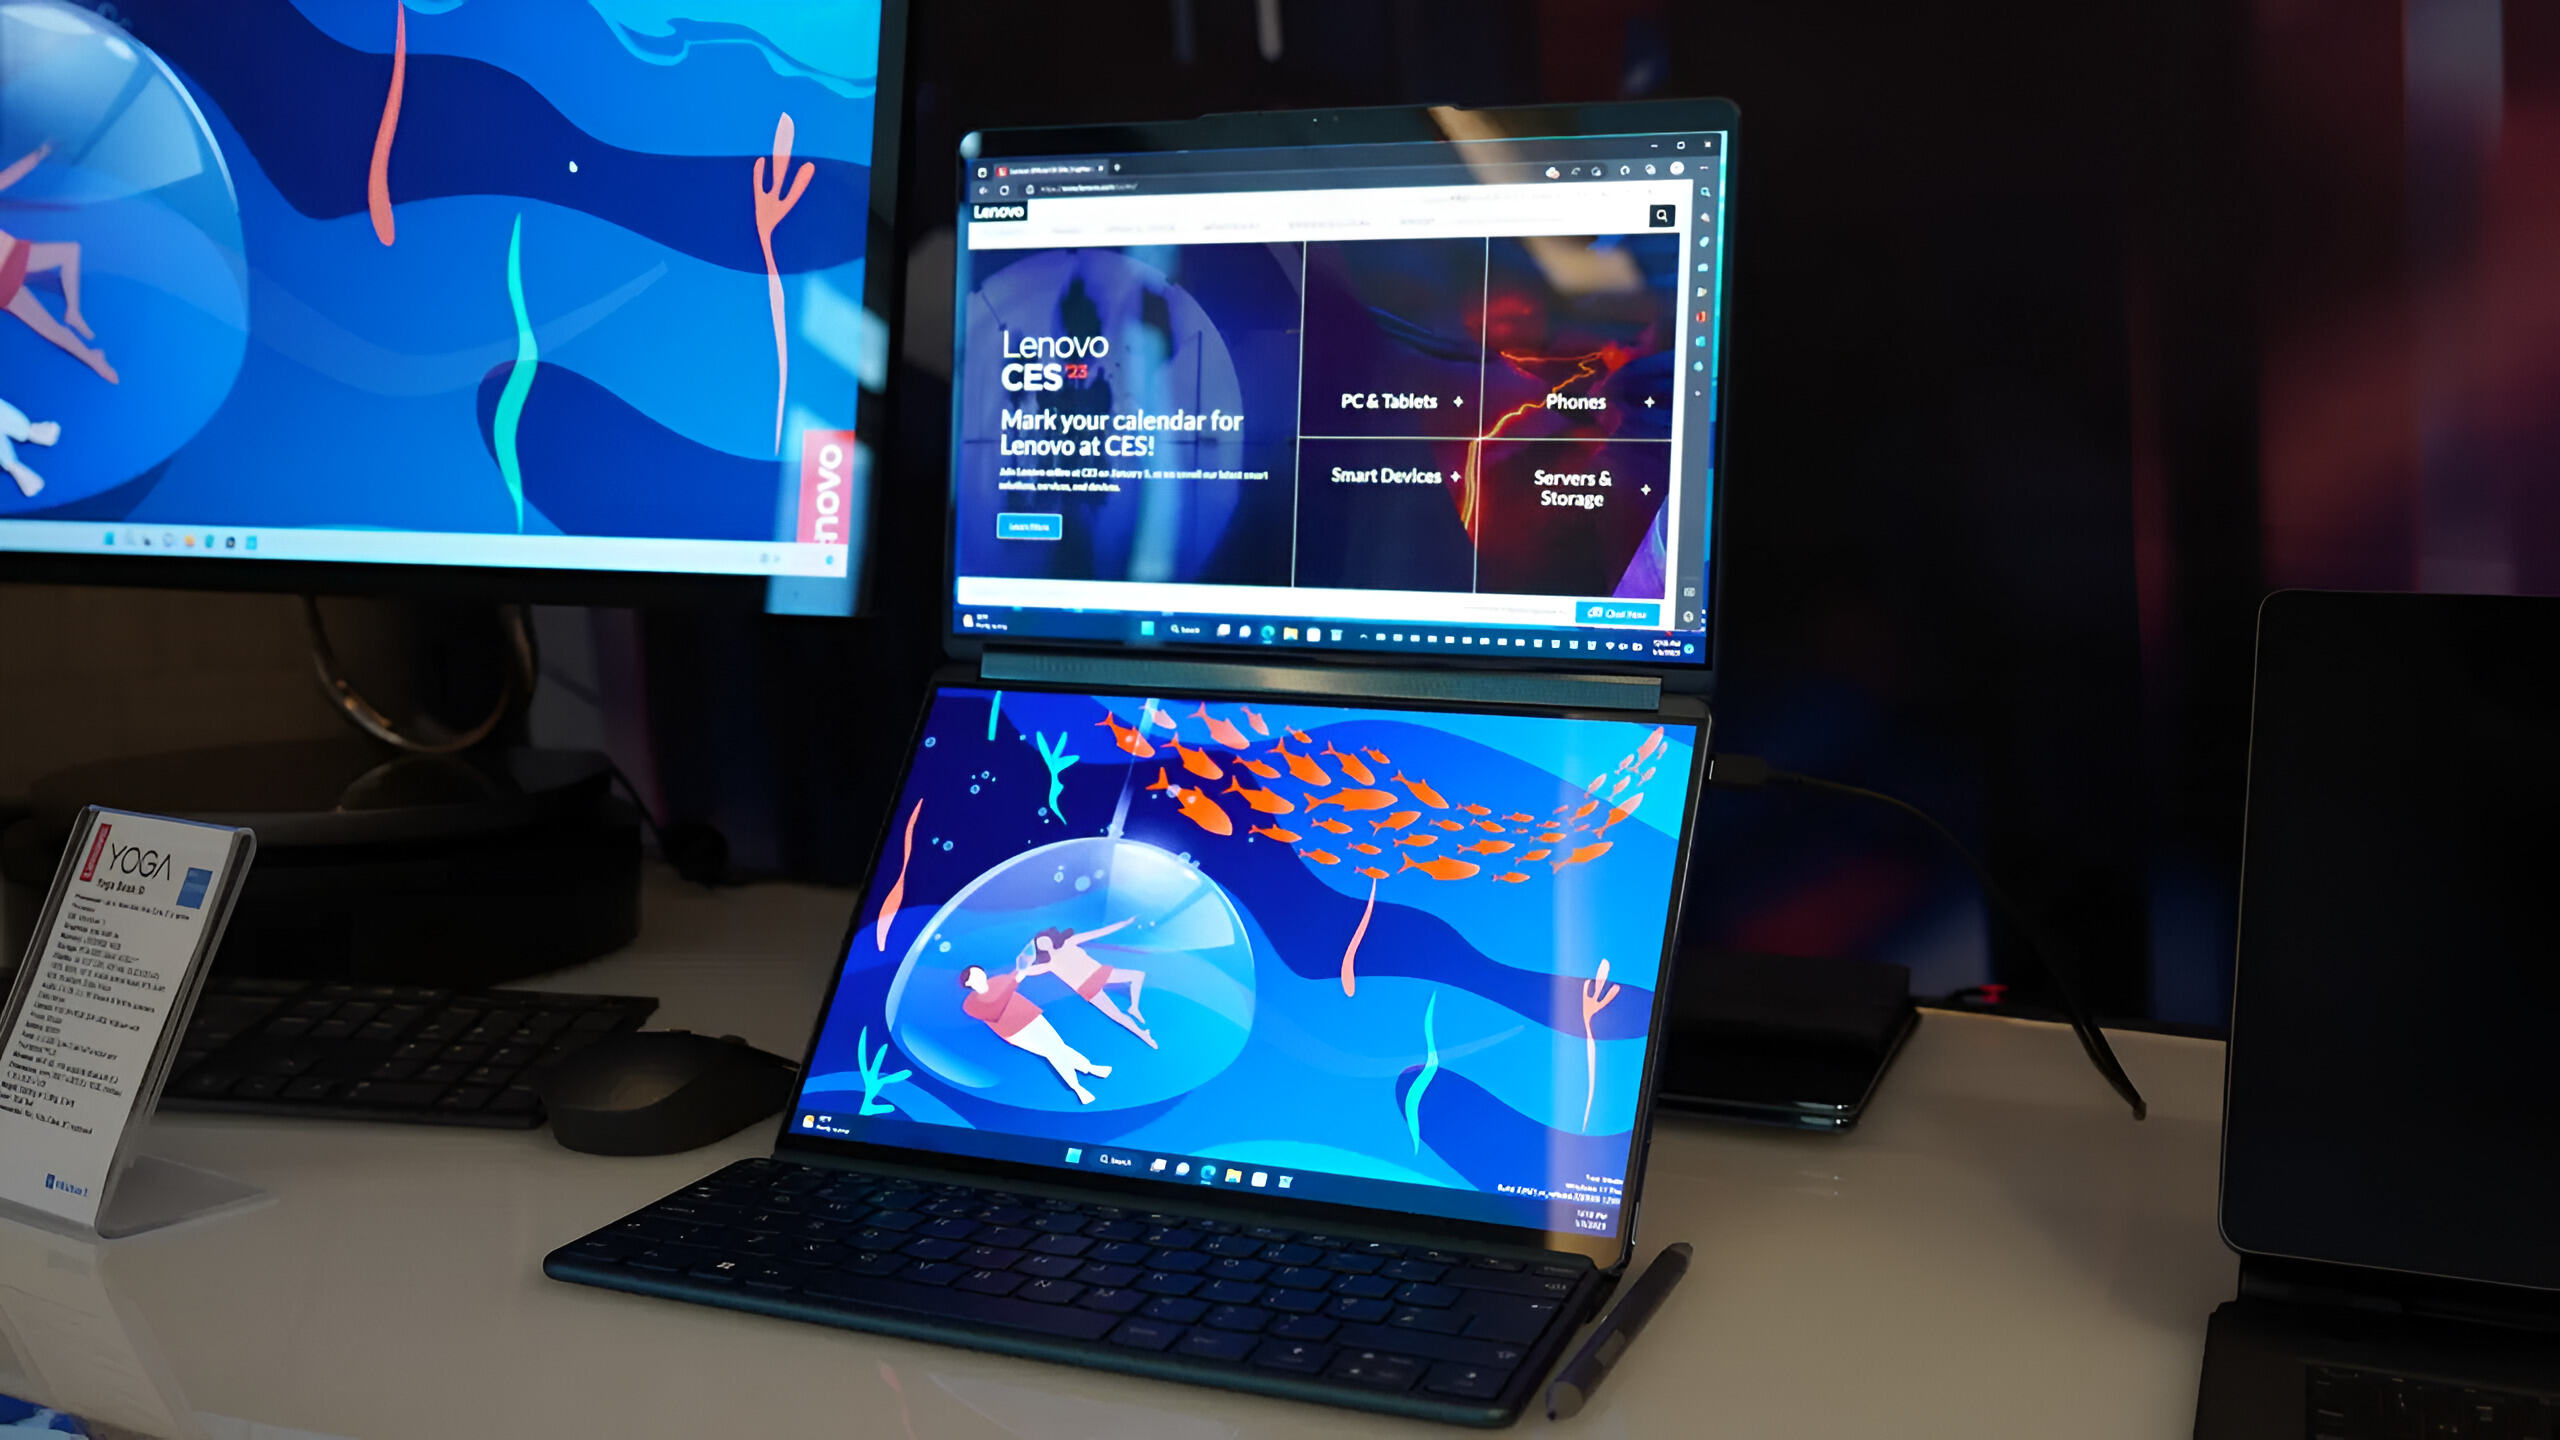
Setting up multiple displays can be a game-changer for many productivity-driven individuals.
Grab your additional monitors, and lets get started!
Heres what you better do to get started:
1.
Check your Ultrabooks video output ports: Identify the available video output ports on your Lenovo Ultrabook.
Common ports include HDMI, DisplayPort, and VGA.
check that you have the appropriate cables and adapters to connect your additional monitors.
- set up the necessary drivers: Ensure that your Lenovo Ultrabook has the latest graphics drivers installed.
Heres how:
1.
Power off your Ultrabook and all external displays.
Power on your Ultrabook and the external monitor.
Repeat the above steps for each additional monitor you want to connect.
when you’ve got connected your additional displays, your Lenovo Ultrabook should automatically detect them.
Heres how you’re free to connect your additional monitors:
- ensure you have the necessary cables or adapters to connect your Ultrabook to the monitor.
Ensure that the connections are secure.
Power on the monitor: After the video cable is connected, power on the external monitor.
Detect and configure the monitor: Your Lenovo Ultrabook should automatically detect the connected monitor.
In most cases, the monitor will display the extended or mirrored desktop.
Once youve connected all the additional monitors, you could configure their positions and resolutions to suit your preferences.
This can be done through the display prefs in your operating system.
Adjusting the monitor arrangement allows you to control the sequence in which the displays appear and their relative placement.
Note that the specific steps for adjusting the display tweaks may vary depending on your operating system.
With your additional monitors connected and configured, you now have a powerful multi-screen setup on your Lenovo Ultrabook.
This will ensure that the monitors are functioning correctly and displaying the content as desired.
Here are the key aspects to consider when adjusting the display parameters:
1.
Resolution: The resolution determines the number of pixels displayed on each monitor.
Higher resolutions provide more screen real estate, while lower resolutions may result in larger text and icons.
Adjust the resolution tweaks in your operating system to find the best balance between screen size and clarity.
Landscape mode is the default orientation, with a wider display horizontally.
This ensures that you could seamlessly move your mouse cursor between the screens.
Scaling: Adjusting the scaling configs ensures that the content on your additional monitors appears sharp and legible.
Some monitors may require different scaling parameters to match the primary display.
Experiment with different scaling options until you find a balance that is comfortable for your eyes.
Each operating system provides different methods for adjusting display parameters.
On macOS, go to System Preferences and tap on Displays.
From there, you’ve got the option to make the necessary adjustments to suit your preferences.
Keep in mind that it may take a little trial and error to achieve the perfect balance.
This allows you to have a larger workspace and work on different applications simultaneously.
Heres how you’re able to enable and make the most of the extended desktop feature:
1.
Adjust the display parameters: Ensure that all the connected monitors are detected and configured correctly.
Use the display prefs in your operating system to arrange the monitors in the desired order.
you’re able to drag and drop the monitors to match their physical placement on your desk.
Look for an option that allows you to choose between Extend these displays or Extend desktop to this display.
Select this option to activate the extended desktop mode.
you might maximize, minimize, or resize windows independently on each monitor.
Take advantage of multitasking: The extended desktop mode allows you to multitask more efficiently.
Designers can have their design software open on one screen and reference images or tools on another.
This way, you’re free to streamline your workflow and increase productivity.
Remember to experiment with different window arrangements and monitor setups to find what works best for you.
Mirroring allows you to duplicate the content from your primary display onto one or more external monitors.
Heres how you’re free to enable and utilize the mirroring feature:
1.
Access display controls: pop swing open the display controls on your operating system.
Look for an option that allows you to mirror the display or duplicate the screen.
This option may vary depending on the operating system youre using.
Use the display controls to ensure that the mirrored content appears correctly on the additional display(s).
This makes it easier to share information with others or collaborate on projects that require a shared view.
This includes moving the mouse, opening applications, or typing on the keyboard.
Keep this in mind when presenting or collaborating, as any actions you take will be visible to others.
If you have higher resolution external monitors, the mirrored content may appear stretched or distorted.
Access display controls: launch the display controls on your operating system.
Look for an option that allows you to manage the arrangement or rearrangement of displays.
This option may vary depending on the operating system youre using.
This will help you determine the specific arrangement you want to achieve.
This ensures that the virtual display order matches the actual placement of your monitors on your desk.
The primary display will serve as the main screen for launching applications and displaying theWindows taskbar.
Your operating system will reconfigure the displays accordingly to reflect the new arrangement.
Rearranging displays to best suit your workflow is a personal preference.
Experiment with different arrangements to find what works best for you in terms of ergonomics and ease of use.
Keep in mind that the arrangement of your displays affects how the mouse cursor moves across screens.
Remember that you could always revisit the display prefs to make adjustments and refinements to the arrangement as needed.
The primary display is the main screen where the Windows taskbar appears and where newly opened applications typically launch.
Changing the primary display can help you optimize your workflow and improve your overall productivity.
Look for an option that allows you to manage the displays and configure their prefs.
This option may vary depending on the operating system youre using.
This will help you identify the specific display you want to set as the primary display.
pick the display you want to set as the primary and apply the changes.
Your operating system will update the configuration accordingly.
you could customize these controls in the taskbar and system management options of your operating system.
Changing the primary display can be beneficial in different scenarios.
Its important to note that changing the primary display affects the behavior of the Windows taskbar and app launching.
Here are some useful keyboard shortcuts for multi-screen setups:
1.
Alt + Tab: This classic Windows shortcut allows you to toggle between open applications across multiple displays.
Windows key + Home: Pressing this combination minimizes all windows except the active window on the current monitor.
This can be handy when you want to focus on the task at hand without distractions from other applications.
It can be useful when you should probably troubleshoot or end unresponsive programs.
Remember to practice using these shortcuts regularly to familiarize yourself with their functionality.
Here are some tips to help you use multiple screens efficiently:
1.
Organize your applications: Assign specific applications to different screens based on your workflow.
This way, you could keep related windows grouped together, reducing clutter and enhancing focus.
Use virtual desktops: If you find yourself frequently juggling between applications and windows, consider using virtual desktops.
Create separate virtual desktops for different tasks or projects, and switch between them using keyboard shortcuts.
This can help you better organize and declutter your workspace, allowing for efficient multitasking.
Customize monitor backgrounds: Set individual wallpapers or backgrounds for each monitor.
This visual separation can help you instantly recognize which monitor contains certain types of applications or tasks.
you’re able to also use different wallpapers to create a more visually appealing and inspirational workspace.
Use these features to quickly divide your displays into different sections for efficient multitasking.
This can include shortcuts for launching specific applications, moving windows between screens, or activating specific features.
Maintain a clean workspace: Avoid cluttering your screens with unnecessary windows or icons.
Keep your desktop organized and remove any shortcuts or files that are not needed for immediate access.
Maintaining a clean workspace promotes a sense of clarity and helps you stay focused on the task at hand.
Fortunately, most issues can be resolved with a few troubleshooting steps.
Here are some common issues and their possible solutions:
1.
If that doesnt work, try using different cables or adapters to rule out any connectivity issues.
Updating your graphics drivers to the latest version may also help resolve detection problems.
Try pressing the input/source button on the monitor to ensure it is set to the correct input source.
If using an adapter, ensure it is compatible with both the Ultrabook and the monitor.
Updating your graphics drivers can also help resolve resolution issues.
This can be sparked by discrepancies in the resolution or display scaling options.
Adjust the display prefs to ensure consistency in scaling across all monitors.
If the issue persists, try reconnecting the monitors or restarting your Ultrabook.
upgrade your graphics drivers and firmware to the latest versions provided by Lenovo.
If the issue persists, try different display cables or consult Lenovos technical support for further assistance.
see if your Ultrabook meets the recommended specifications for multiple displays.
Close any unnecessary applications or processes that may be consuming system resources.
Additionally, optimizing your power configs to prioritize performance over energy saving can help alleviate performance issues.
They can provide tailored guidance and solutions specific to your Lenovo Ultrabook model.
Conclusion
Using multiple displays on your Lenovo Ultrabook can greatly enhance your productivity and multitasking capabilities.
