Introduction
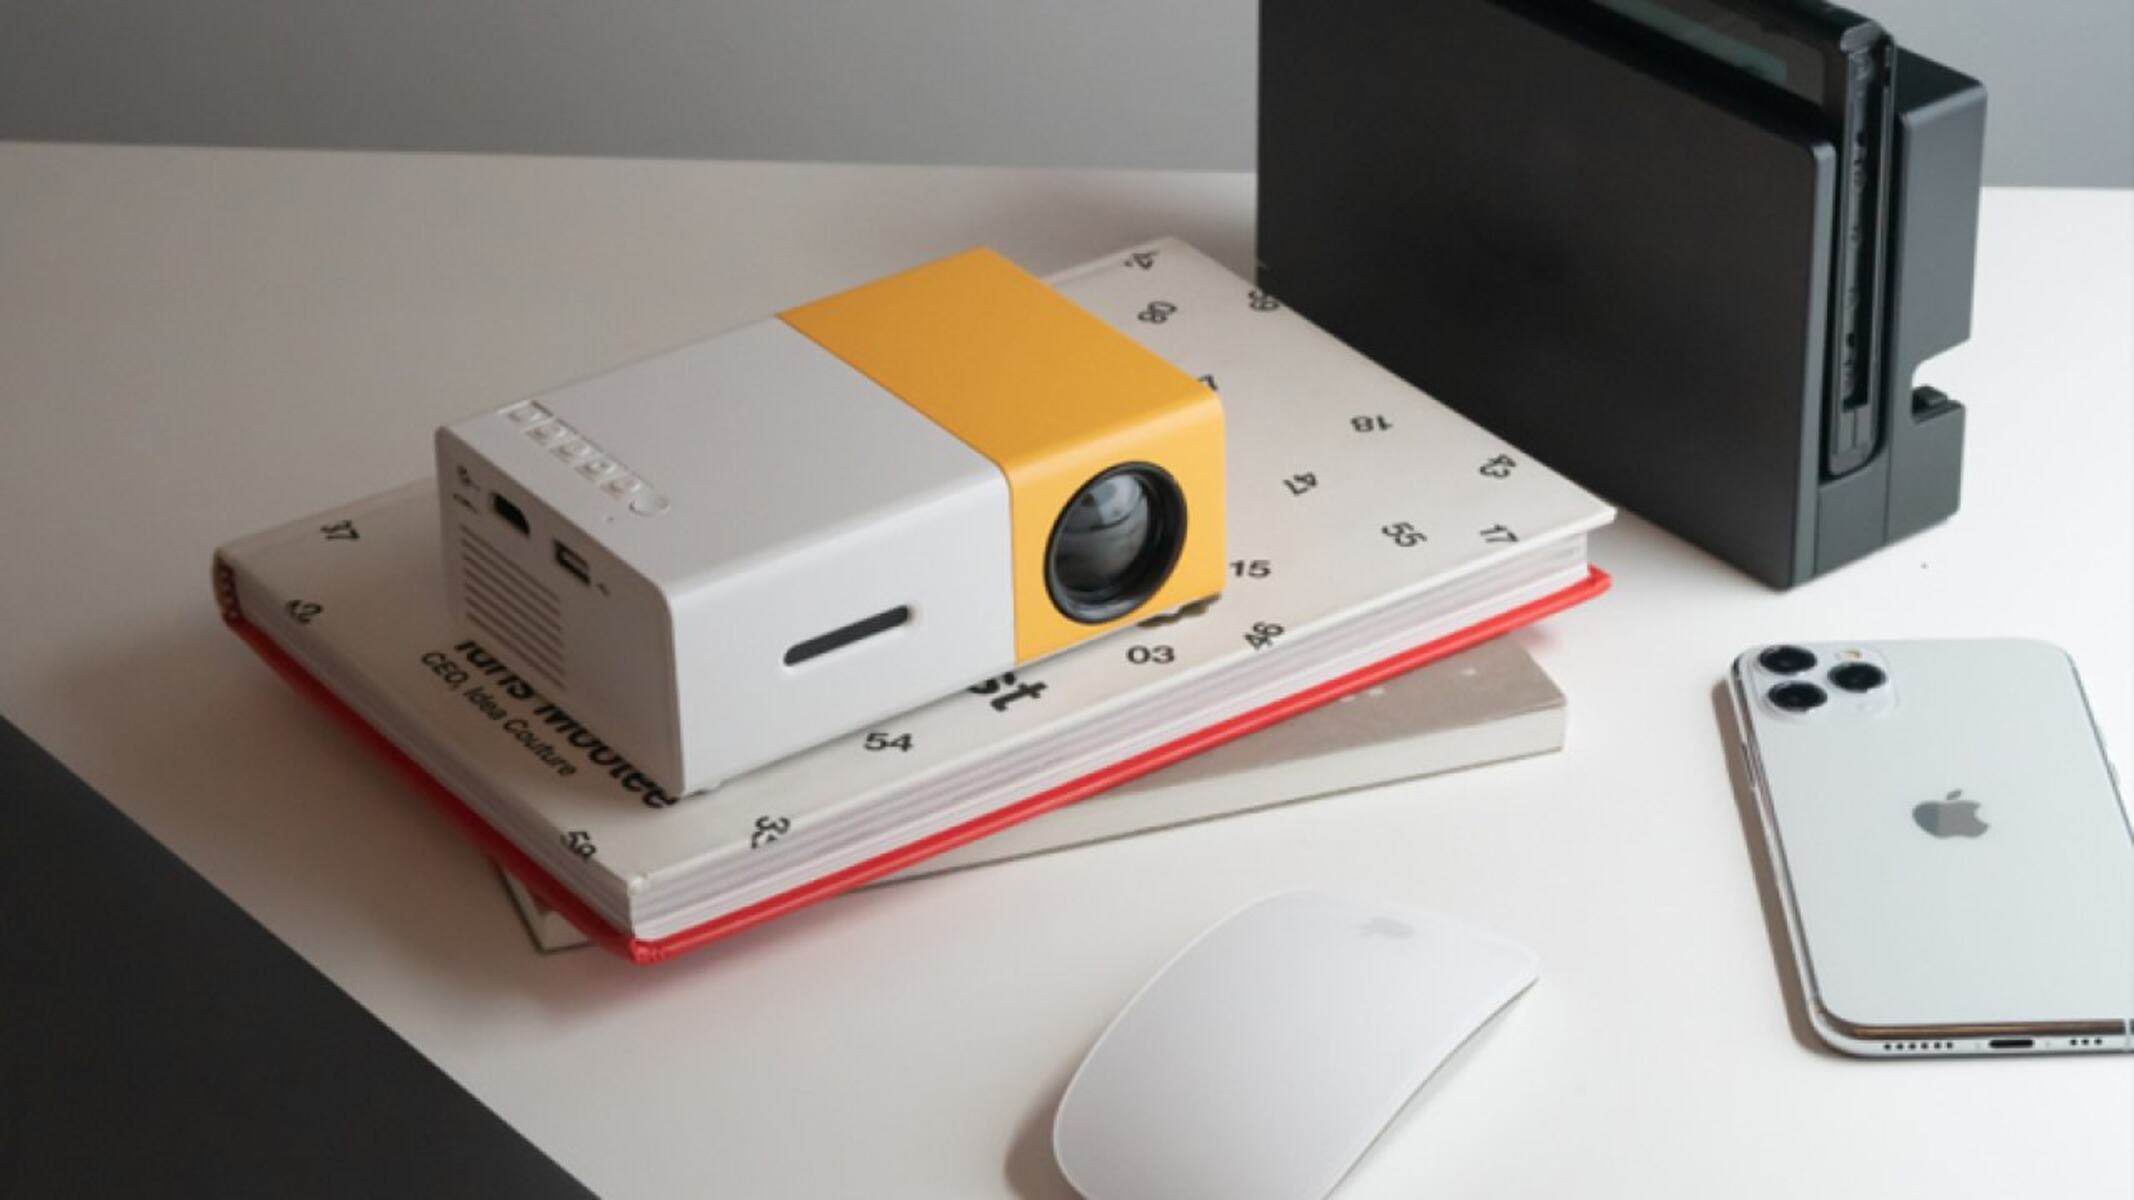
Welcome to our guide on how to use the Meer Mini Projector!
With its advanced features and user-friendly interface, this projector is suitable for both personal and professional use.
What is the Meer Mini Projector?
This versatility ensures that you might easily play your favorite content from various sources without any hassle.
Additionally, the Meer Mini Projector features built-in speakers, eliminating the need for external audio devices.
Its important to take your time and handle the equipment with care to avoid any accidental damage.
Refer to your devices user manual for more information on adjusting display parameters.
For example, iPhones may require a lightning-to-HDMI adapter.
check that to check the compatibility of your devices and have the necessary adapters or cables on hand.
We will cover this in the upcoming section.
Proper screen setup and projector placement play a crucial role in achieving the best viewing experience.
Dimming the lights or using blackout curtains can help enhance the image quality and contrast.
Additionally, avoid placing the projector in direct sunlight or bright light sources to avoid washed-out images.
Take your time to carefully position and adjust the Meer Mini Projector for the best viewing experience.
Simply connect your preferred audio devices to the projectors audio output port.
Experiment with different configs and configurations to find the perfect combination that suits your needs and preferences.
The Meer Mini Projector offers a convenient and versatile solution for home entertainment and professional presentations.
Remember to refer to the user manual for specific instructions and guidelines tailored to your Meer Mini Projector model.
Now, its time to sit back, relax, and enjoy your favorite content on the big screen!
