Introduction
Welcome to the world of portable storage with the Lexar SL100 Portable SSD.
TheLexar SL100 Portable SSDbridges this gap, providing a lightweight and compact storage solution with lightning-fast transfer speeds.
Say goodbye to slow loading times and hello to instant access to your data.
One of the key advantages of the SL100 Portable SSD is its use of solid-state storage technology.
This durability ensures that your data remains safe, even during rough handling or accidental drops.
In terms of performance, the SL100 Portable SSD shines with its high-speed USB 3.1 interface.
This enables lightning-fast data transfers, allowing you to backup or transfer large files in a matter of seconds.
Another notable feature of the SL100 Portable SSD is its compatibility with both PC and Mac systems.
This versatility ensures that the SSD seamlessly integrates into your existing workflow, regardless of your operating system preference.
Furthermore, the SL100 Portable SSD maximizes user convenience with its simple plug-and-play functionality.
Theres no need to go through complicated setup procedures or install any software.
Just connect the SSD to your computers USB port, and its ready to use.
This makes it an ideal choice for users of all levels of technical expertise.
So, lets proceed and explore the incredible features of the Lexar SL100 Portable SSD.
The first step is to unpack your SL100 Portable SSD from its packaging.
Take a moment to inspect the unit for any visible damage.
If everything looks good, youre ready to proceed.
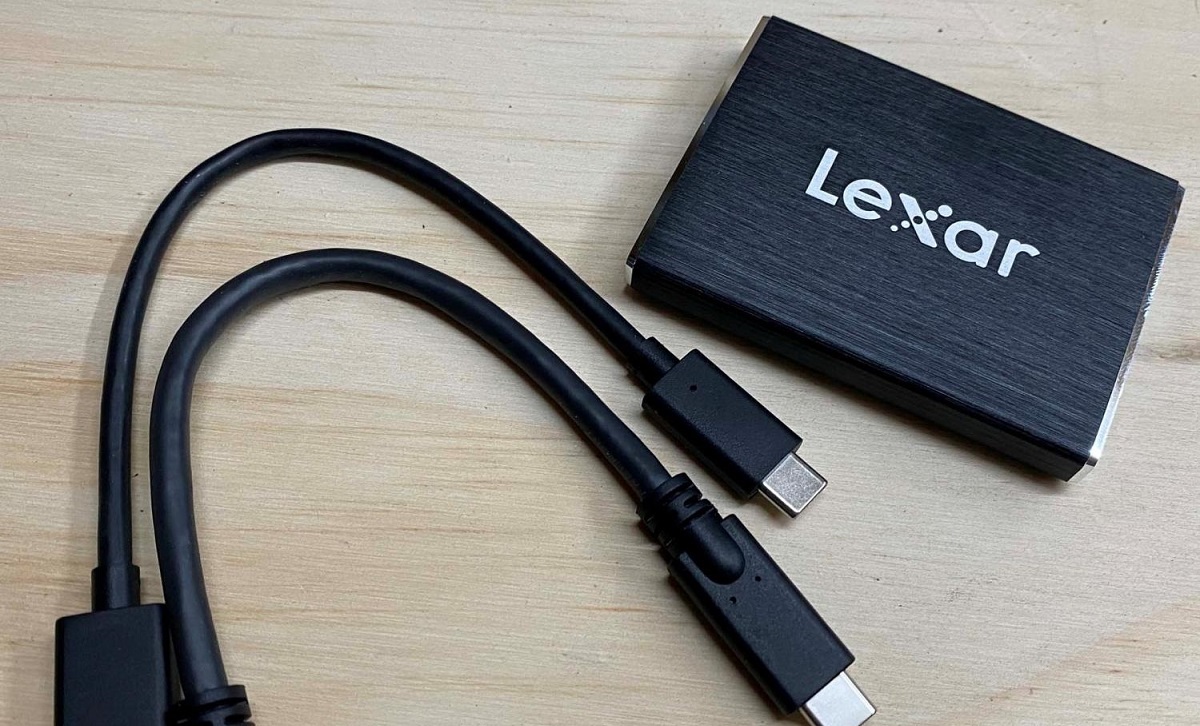
Next, locate the USB cable that came with your SL100.
Now that your SL100 Portable SSD is connected, your gear should recognize it as a new storage gadget.
Here, you should see the SL100 listed as a removable drive.
Simply double-choose the SL100 icon to access your files.
For Mac users, the SL100 will appear as an external drive on your desktop or in the Finder.
Simply snag the SL100 icon to open it and access your files.
So, lets proceed and make the most out of your SL100 Portable SSD.
This section will walk you through the steps of connecting your SL100 to different types of computers and platforms.
To connect your SL100 Portable SSD to a computer, you will need the included USB cable.
This indicates that the SSD is receiving power and is properly connected to the computer.
Depending on your operating system, the SL100 may be automatically recognized and mounted as a new storage gear.
The SL100 should appear as a removable drive.
you’ve got the option to double-grab the SL100 icon to access its contents and start transferring files.
Simply hit the SL100 icon to access its files and folders.
So, lets make the most out of your Lexar SL100 Portable SSD!
Locate and right-hit the SL100 Portable SSD, which should be listed as a removable drive.
From the context menu, select Format.
Optionally, you could give the drive a new name in the Volume label field.
Finally, punch Start to begin the formatting process.
Be aware that formatting may take several minutes to complete.
Once the formatting is finished, you will receive a notification.
Your Lexar SL100 Portable SSD is now ready to use on your Windows computer.
Formatting the SL100 on a Mac Computer:
1.
Connect the SL100 Portable SSD to your Mac computer using the appropriate USB cable or adapter.
bring up the Finder by clicking on the smiley face icon in the dock.
press Go in the menu bar and select Utilities.
Double-choose Disk Utility to launch the program.
In the Disk Utility window, you will see a list of drives on your Mac.
Locate and grab the SL100 SSD.
go for the Erase button located on the toolbar.
press Erase to begin the formatting process.
Depending on the size of the SSD, formatting may take some time.
Once the formatting is complete, you will receive a notification.
Your Lexar SL100 Portable SSD is now ready to use on your Mac computer.
By formatting the SL100, you have prepared it for optimal performance and compatibility with your operating system.
Now you could start using it to store and transfer your files with ease.
So, lets continue to make the most out of your Lexar SL100 Portable SSD!
Transferring Files to the SL100:
1.
Connect the SL100 Portable SSD to your gear using the provided USB cable or adapter.
Once the SSD is connected, it should be recognized as a removable drive by your computers operating system.
- opt for files or folders you wish to transfer to the SL100.
Right-choose the selected files and choose Copy or Cut.
Right-hit an empty space in the destination folder and choose Paste.
Alternatively, you could use the keyboard shortcut Ctrl+V (Command+V on Mac) to paste the files.
The selected files will now be transferred to the SL100 Portable SSD.
The time taken will depend on the size and number of files being transferred.
double-check not to disconnect the SSD during the transfer process.
- choose the files or folders you wish to transfer from the SL100.
Use the same file selection methods described earlier.
Right-choose the selected files and choose Copy or Cut.
Navigate to the destination folder on your rig where you want to transfer the files.
Right-select an empty space in the destination folder and choose Paste.
The selected files will now be transferred from the SL100 Portable SSD to your gear.
The time taken will depend on the size and number of files being transferred.
Again, ensure that the SSD remains connected until the transfer process is complete.
So, lets continue the journey of unlocking the full potential of your Lexar SL100 Portable SSD!
With its user-friendly interface and simple file management options, organizing and accessing your data becomes a breeze.
Ensure that you have proper backups in place before deleting any important files.
So, lets continue our journey of harnessing the full potential of your Lexar SL100 Portable SSD!
In this section, we will guide you through the process of safely ejecting the SL100 from your setup.
Safely Ejecting the SL100 on a Windows Computer:
1.
- choose the Safely Remove Hardware icon to kick off the list of connected devices.
Find the Lexar SL100 Portable SSD in the list and tap on it to select it.
- punch the Eject or Safely Remove option next to the Lexar SL100.
You will receive a notification when it is safe to disconnect the SSD from your box.
Safely Ejecting the SL100 on a Mac Computer:
1.
Locate the SL100 Portable SSD icon on your desktop or in the Finder sidebar.
- choose the SL100 icon to select it.
From the drop-down menu, choose Eject [Name of the SL100 Portable SSD].
This helps safeguard your data and prolong the lifespan of the SSD.
Lets continue our journey of optimizing the usage of your Lexar SL100 Portable SSD!
Issue 1: The SL100 is not recognized by the computer.
Solution: Try the following steps to troubleshoot this issue:
Issue 2: Slow transfer speeds.
Try the following steps to improve transfer speeds:
Issue 3: The SL100 is not recognized after formatting.
Thank you for choosing the Lexar SL100 Portable SSD as your reliable storage companion.
