Introduction
Welcome to the world of 3D printing!
As a 3D printer enthusiast, you know that achieving high-quality prints requires precise calibration of your machine.
One essential tool in your arsenal for this calibration process is a feeler gauge.
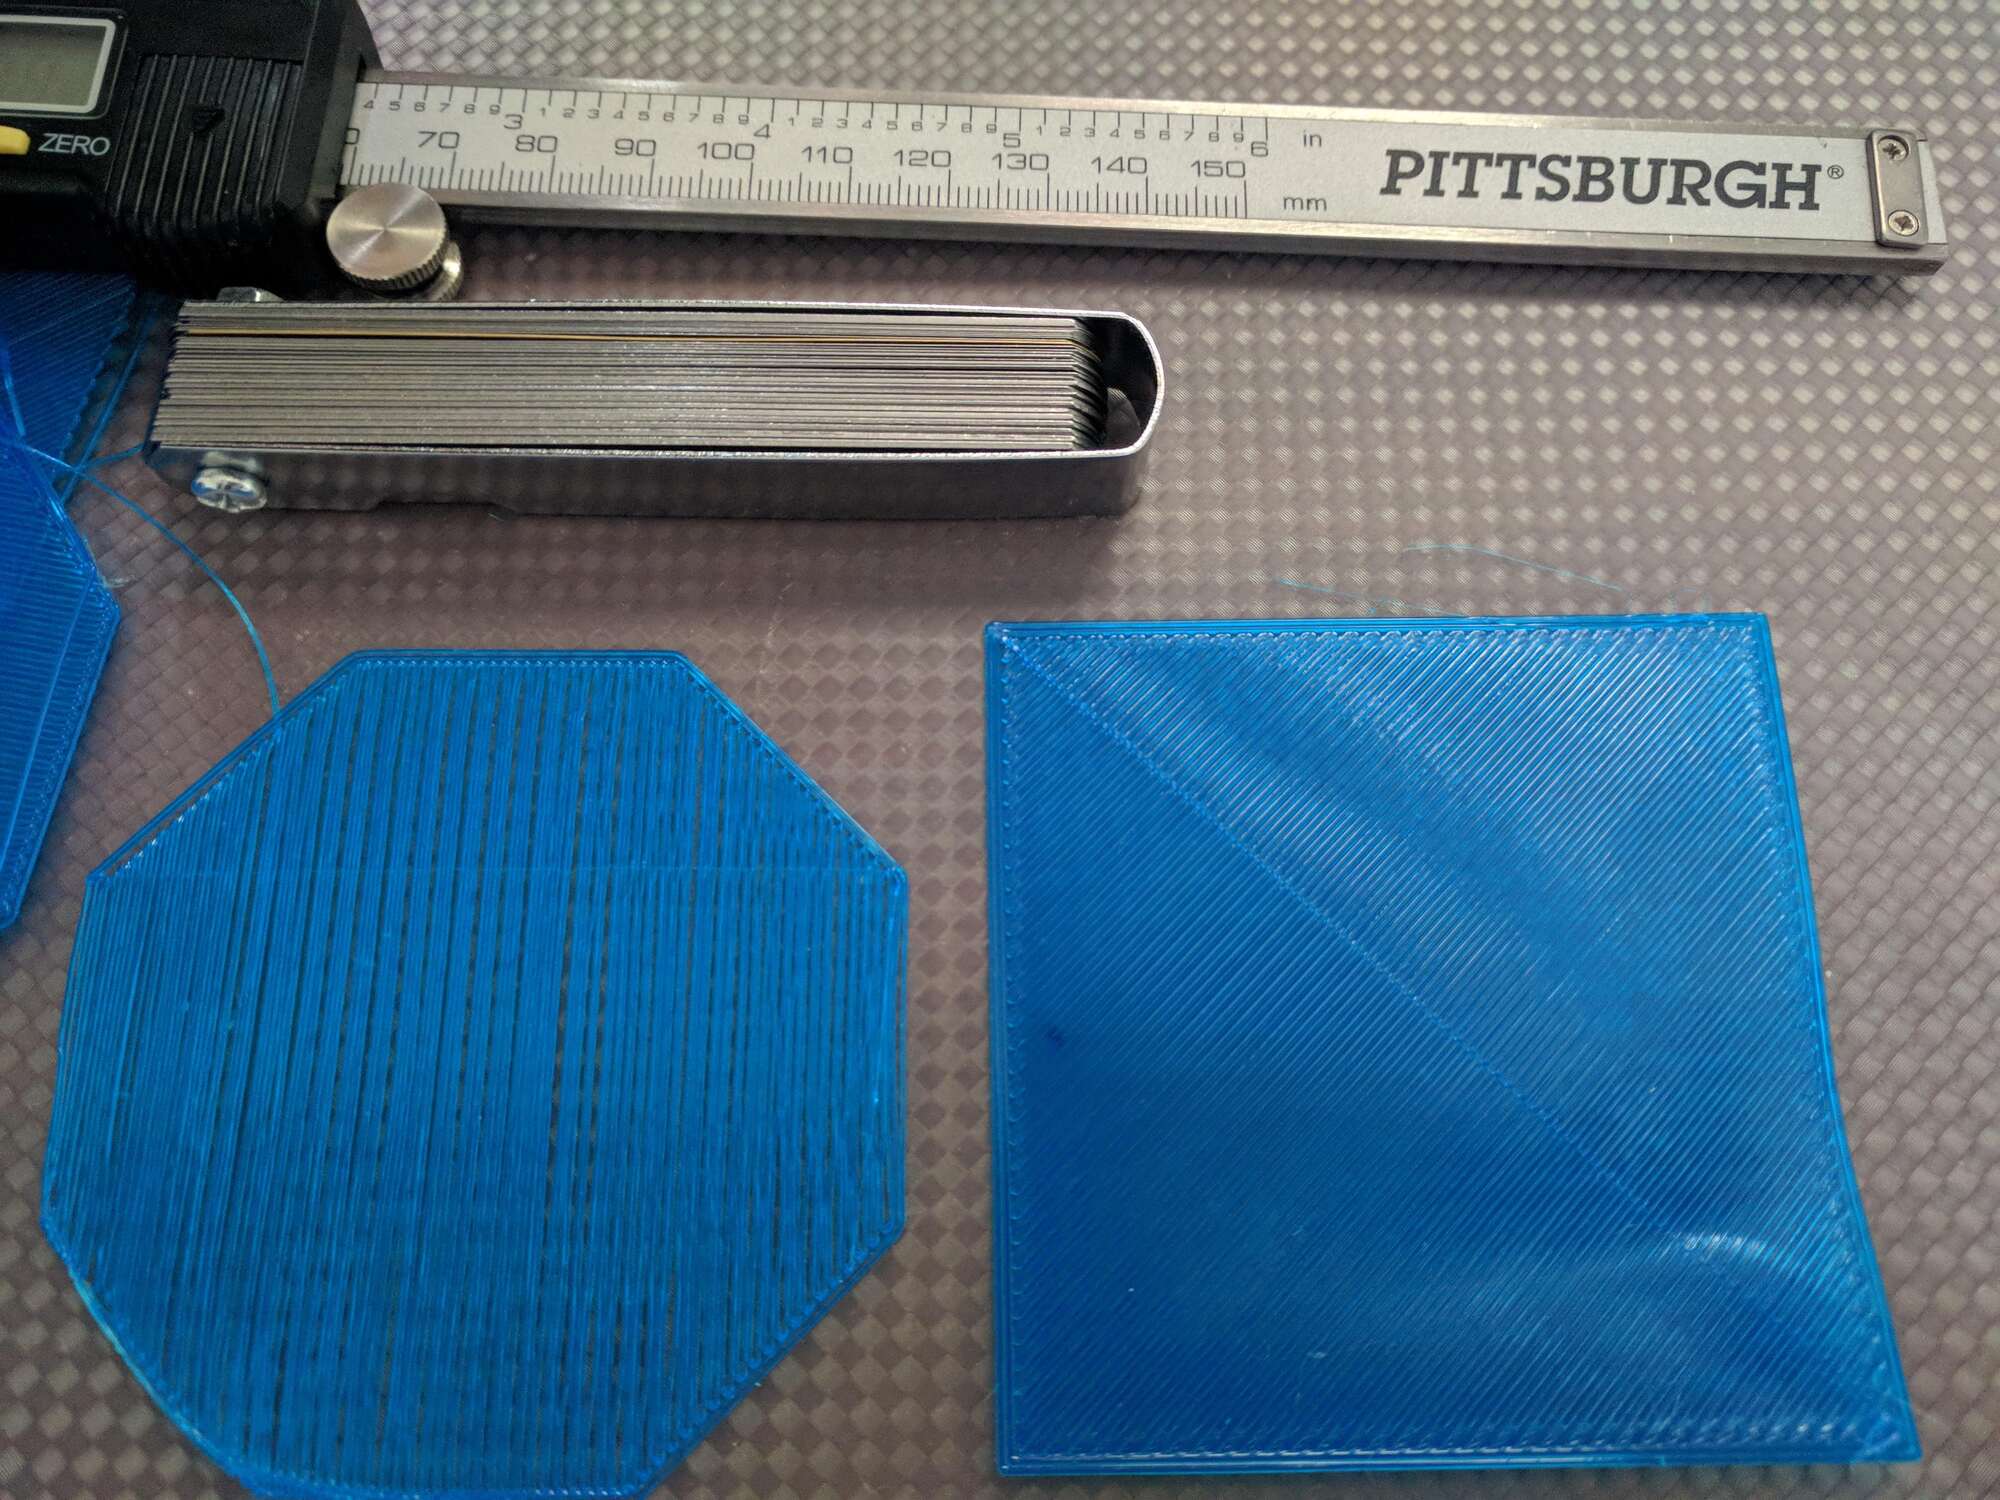
But first, lets understand what exactly a feeler gauge is and why it is crucial for 3D printing.
These measurements are usually in the range of 0.05mm to 1mm.
Feeler gauges are commonly used in automotive and engineering industries to measure gaps and clearances.
Now, you might be wondering why a feeler gauge is so important for 3D printing.
To avoid these problems and achieve high-quality prints, regular calibration using a feeler gauge is necessary.
From choosing the right feeler gauge to fine-tuning the bed level, we will cover the entire process.
What is a Feeler Gauge?
These strips are usually made of stainless steel and have measurements marked along their edges.
The measurements can be in metric or imperial units, depending on the jot down of feeler gauge.
The main purpose of a feeler gauge is to measure the gap or clearance between two objects.
It is commonly used in automotive, engineering, and mechanical applications where precise measurements are crucial.
Feeler gauges are available in different sets, each containing a range of thicknesses.
The feeler gauge is a versatile tool that can be used in various applications.
It is an essential tool in the toolkit of mechanics, machinists, and 3D printing enthusiasts.
Lets get started on your journey to achieving unparalleled print quality!
Why is a Feeler Gauge Important for 3D Printing?
Accuracy is key when it comes to 3D printing.
This is where a feeler gauge becomes essential.
A feeler gauge is important for 3D printing because it helps achieve precise bed leveling and nozzle height.
These factors directly impact print quality and adhesion:
1.
Bed Leveling:Properly leveling the print bed is crucial for ensuring a flat and even surface.
A feeler gauge helps in determining the ideal nozzle height for optimal print quality.
Furthermore, regular calibration using a feeler gauge helps maintain the quality of your prints over time.
Here are some factors to consider:
1.
Thickness Range:Feeler gauges come in different ranges of thickness measurements.
Its important to select a gauge that covers the range of measurements suitable for your printer.
The most common range for 3D printing applications is between 0.05mm and 1mm.
Ensure that the feeler gauge you choose includes thicknesses within this range.
Accuracy:Accuracy is crucial when it comes to measuring small gaps and clearances.
Look for a feeler gauge that offers high precision and accuracy in its measurements.
This will ensure that your calibration process is reliable and results in accurate adjustments.
Material Quality:The material quality of the feeler gauge is important for durability and longevity.
Stainless steel is a common material used for feeler gauges due to its corrosion resistance and strength.
Choose a gauge made from high-quality stainless steel to ensure it can withstand continuous use without bending or breaking.
This flexibility allows for accurate measurements and an efficient calibration process.
Compatibility:Ensure that the feeler gauge you choose is compatible with your 3D printers specifications.
Take into account the size and design of your printers print bed and nozzle.
Ease of Use:Consider the user-friendliness of the feeler gauge.
Look for one with clear and easy-to-read measurement markings.
It should also be comfortable to hold and manipulate during the calibration process.
Remember that investing in a high-quality feeler gauge is an investment in accurate and consistent 3D prints.
Spending a little more on a reliable gauge will save you time and frustration in the long run.
Step 2: Preparing the Printer for Calibration
1.
Use a gentle cleaning solution or isopropyl alcohol to wipe the surface clean.
This will help prevent any interference during the calibration process and ensure proper adhesion of the filament.
This will position the print nozzle at the origin point, ready for calibration and printing.
Disable Auto-Leveling:If your printer has an auto-leveling feature, disable it for the calibration process.
Auto-leveling systems can interfere with the manual adjustments youll be making with the feeler gauge.
Check your printers manual or controls to disable this feature temporarily.
Check Belts and Screws:Take a moment to inspect the belts and screws on your 3D printer.
Ensure that they are tightened properly and free from any damage.
Loose or worn-out belts and screws can cause inaccuracies during printing and calibration.
By properly preparing your 3D printer, you set the foundation for a successful calibration process.
This step is integral to achieving optimal print quality and ensuring proper adhesion of your 3D prints.
Lets dive into the exciting world of 3D printer calibration!
Step 3: Calibrating the Printers Bed Level
1.
Ensure that the nozzle is just above the bed without touching it.
The gauge should have a slight resistance, but you should still be able to move it freely.
If the gauge is too loose or tight, adjust the bed level accordingly.
Repeat the Process:Move the print head/ nozzle to the next calibration point or corner of the bed.
Note: Some 3D printers may have additional calibration features or procedures.
Consult your printers manual or manufacturers instructions for any specific guidelines or configs that may apply.
This promotes optimal first layer adhesion and prevents issues like uneven printing or detached prints.
Regular calibration helps maintain the accuracy and performance of your 3D printer.
Step 4: Checking the Nozzle Height
1.
This measurement will vary depending on your specific printer and desired print prefs.
Ensure that the nozzle is just above the bed without touching it.
Gently slide it back and forth to determine the gap between the two.
The gauge should have slight resistance, but still allow for smooth movement.
Adjust the Nozzle Height:Make adjustments to the nozzle height as necessary.
Ensure consistent nozzle height across all calibration points.
Remember to fine-tune the nozzle height using small incremental adjustments to achieve the desired result.
Be mindful of the feeler gauges thickness and the specific requirements of your printer.
Ensure that the gauge is clean and free from any debris.
Ensure that the gauge touches both the nozzle and the bed with a slight resistance.
Adjust the Z-axis:Use the printers controls to adjust the Z-axis height or nozzle offset.
Incrementally lower or raise the nozzle until the feeler gauge slides smoothly with a slight resistance.
Aim for a snug fit without forcing or jamming the gauge.
Fine-tune the Z-axis adjustment as necessary to maintain a consistent nozzle-to-bed distance.
Proper Z-axis adjustment contributes to the overall success and accuracy of your 3D prints.
Step 6: Fine-tuning the Bed Level
1.
This will help you assess the bed level and make necessary adjustments.
Observe the First Layer:As the test print begins, closely observe the first layer being deposited.
Look for any signs of uneven adhesion or gaps between the lines of filament.
Note any areas that require adjustment.
Raise or lower specific areas of the bed, focusing on problem spots identified during the first layer deposition.
Refer back to the feeler gauge and adjust accordingly.
Assess the first layer and compare it with the previous print.
Note any remaining areas that need fine-tuning.
Remember to make small and incremental adjustments to avoid overcompensating.
These can help improve print bed adhesion and compensate for slight bed level discrepancies.
By fine-tuning the bed level, you ensure that the print bed is uniform and level throughout its surface.
This promotes consistent filament deposition, proper layer adhesion, and overall print quality.
Remember that fine-tuning is an ongoing process.
Therefore, it is necessary to repeat the calibration process periodically or when specific issues arise.
Heres what you better keep in mind:
1.
These issues can indicate a need for readjusting the bed level or nozzle height.
Maintenance Schedule:Establish a routine maintenance schedule for your 3D printer that includes regular calibration.
Monitor Print Quality:Keep an eye on the quality of your prints.
Keep these factors in mind and make necessary adjustments when needed.
Stay informed and incorporate new knowledge into your calibration process for the best results.
The more consistent and precise your calibration, the better your prints will be.
With consistent and careful calibration, youll be able to produce high-quality prints with accuracy and reliability.
Conclusion
Congratulations!
Proper calibration is essential for achieving high-quality prints with accurate layer deposition, optimal adhesion, and consistent results.
Remember, the results of 3D printing depend heavily on the precision and accuracy of your calibration.
Periodically reevaluating and readjusting the calibration is crucial to account for changes that may occur over time.
With your newfound knowledge and skills, you are well-equipped to take your 3D printing to the next level.
Enjoy the journey of creating amazing designs and bringing them to life with precision and excellence!
