So, lets dive in and discover the ins and outs of this fantastic ice cream maker.
Get ready to indulge in creamy, dreamy, homemade frozen treats that will leave you craving for more!
The Cuisinart 2 Qt Ice Cream Maker features a compact and user-friendly design.
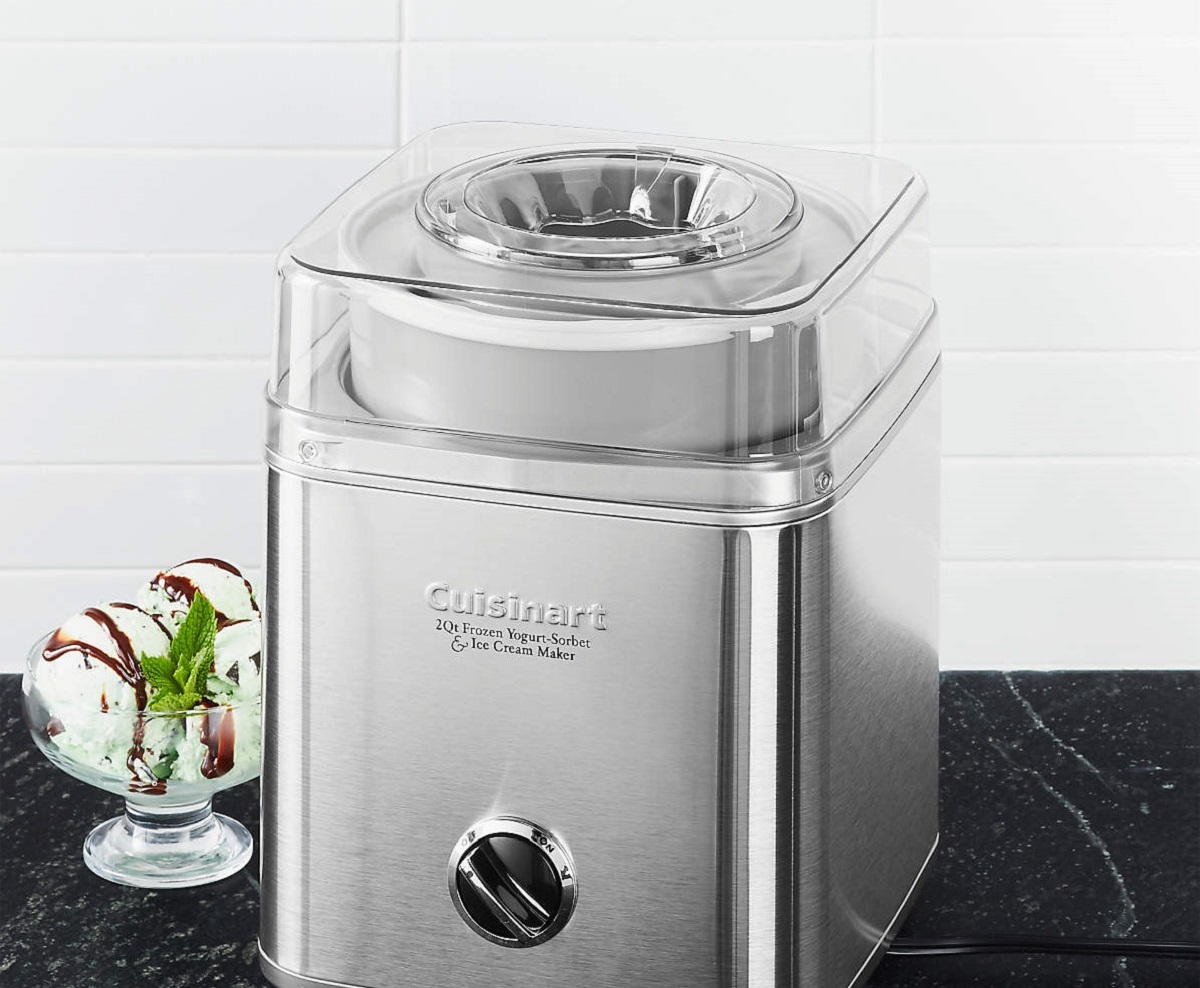
The control panel on the front of the machine offers simple and intuitive operation.
The built-in timer ensures that your ice cream is perfectly frozen, eliminating the need for guesswork.
One of the standout features of the Cuisinart 2 Qt Ice Cream Maker is its versatility.
This allows you to explore an array of delicious frozen treats and cater to different dietary preferences.
This step ensures that the bowl is chilled enough to freeze the mixture effectively.
The paddle rotates slowly, incorporating air into the mixture to create a smooth and creamy texture.
The preparation process involves a few simple steps that ensure optimum performance and frozen dessert perfection.
The first step in preparing your ice cream maker is to ensure that the freezer bowl is thoroughly frozen.
Its recommended to freeze the bowl for around 16-24 hours before making your ice cream.
This can include milk, cream, sugar, eggs, and any desired flavorings or mix-ins.
Having everything ready and at hand will make the process smoother once youre ready to start.
Once the freezer bowl is properly frozen, its time to assemble the ice cream maker.
Start by removing the bowl from the freezer and inserting the mixing paddle into the center of the bowl.
Ensure that the paddle is fitted securely and has a snug fit.
Next, place the assembled bowl and paddle onto the base of the Cuisinart 2 Qt Ice Cream Maker.
double-check it is aligned properly and firmly in place.
Wash them with warm soapy water, rinse thoroughly, and dry completely.
This will ensure that your ice cream doesnt pick up any unwanted flavors or residue from previous use.
Start by placing the base unit of the ice cream maker on a clean and dry surface.
This is the main component that houses the motor and controls the rotation of the mixing paddle.
confirm the base is stable and level to ensure proper operation.
Next, take the frozen freezer bowl out of the freezer and remove any protective packaging or wrapping.
Handle the bowl carefully as it will be very cold to the touch.
The bowl should fit securely into the base unit.
Once the freezer bowl is properly seated, its time to insert the mixing paddle.
Take the mixing paddle and insert it into the opening in the center of the freezer bowl.
Push it down firmly until it is snugly in place.
The paddle should rotate freely without any obstruction.
Before moving on, take a moment to ensure that all the components are properly assembled and secured.
This will prevent any mishaps or accidents during the ice cream-making process.
So, lets get started and continue the journey towards delicious homemade ice cream!
Start by carefully removing the freezer bowl from the assembled ice cream maker.
confirm to handle it with care as it will be very cold.
Its recommended to use oven mitts or a towel to protect your hands from freezing temperatures.
after you snag removed the bowl, check to ensure that it is dry and free from any moisture.
Next, place the freezer bowl in the coldest part of your freezer.
confirm it is set on a flat surface to ensure even freezing.
Its recommended to pre-freeze the bowl for a minimum of 16-24 hours before making your ice cream.
A properly frozen bowl will ensure that the mixture freezes evenly and produces a smooth and creamy consistency.
This will save you time when you are ready to start the next step of the process.
In the following section, we will guide you through the process of creating the perfect ice cream base.
So, get ready to unleash your creativity and make a delectable frozen treat!
Start by gathering all your ingredients.
Be sure to measure the ingredients accurately to ensure the best results.
In a large mixing bowl, combine the milk and cream.
The ratio of milk to cream can vary depending on your desired richness.
For a lighter ice cream, use a higher proportion of milk.
If you prefer a creamier and richer texture, increase the amount of cream.
Next, add the sugar to the milk and cream mixture.
The amount of sugar can be adjusted according to your taste preferences.
Start with a recommended amount and adjust as needed.
Whisk the mixture well until the sugar is fully dissolved.
In a separate bowl, whisk the eggs until they are well beaten.
Gradually add about a cup of the milk and sugar mixture to the beaten eggs, whisking continuously.
This process is called tempering and helps to avoid any curdling or scrambling of the eggs.
Now its time to add your chosen flavorings.
Adjust the amount of flavorings to suit your taste.
Whisk the mixture thoroughly to ensure that all the ingredients are well combined and the flavors are evenly distributed.
Chilling the mixture allows the flavors to meld together and gives the ice cream a smoother texture when frozen.
With your ice cream mixture prepared and chilling, youre one step closer to enjoying your homemade frozen treat.
Get ready to savor the sweet rewards of your efforts!
This step brings your delectable ice cream creation one step closer to reality.
Start by removing the pre-frozen freezer bowl from the freezer.
Retrieve the chilled ice cream mixture from the refrigerator.
Ensure that the bowl is correctly aligned with the component on the base unit and that it fits snugly.
Next, remove the mixing paddle from the freezer bowl.
This will make it easier to pour the ice cream mixture into the bowl without any obstruction.
Now, slowly pour the prepared ice cream mixture into the freezer bowl.
Be cautious not to overfill the bowl, as the mixture will expand as it freezes.
Leave approximately 1/2 inch of space at the top to allow for expansion.
As you pour the mixture, you may notice that it has thickened slightly during the chilling process.
This is normal and will help in achieving a creamy texture as the mixture freezes.
double-check it is fitted securely and can rotate freely.
shut the lid of the ice cream maker if it has one.
Get ready to witness the magic of transformation as your liquid mixture turns into a frozen delight!
Next, plug in the ice cream maker and locate the power switch or button.
Turn the machine on to begin the freezing process.
You may hear a gentle humming sound as the motor starts to rotate the mixing paddle.
During the freezing process, its important to avoid overfilling the freezer bowl or adding additional ingredients.
This can prevent the proper freezing and affect the texture of your ice cream.
Allow the ice cream maker to do its job and maintain a consistent freezing temperature.
The ice cream should have a soft-serve consistency at this point.
Get ready to enjoy the sweet rewards of your homemade ice cream-making adventure!
This is a sign that the freezing process is underway.
Instead, periodically check on the ice cream through the transparent lid or window, if available.
Observe the consistency and texture of the ice cream as it churns.
As the freezing time elapses, the ice cream will gradually thicken, becoming more solid and scoopable.
Its recommended to follow the guidelines provided in the instruction manual for the best results.
Use a spoon or spatula to check the consistency by taking a small scoop.
The ice cream should be soft but not runny, with a slightly firm and smooth texture.
Get ready to unleash your creativity and make an ice cream creation thats uniquely yours!
bring up the lid of the machine and pause the operation to prevent the mixing paddle from rotating.
Start by preparing your mix-ins.
Remove the freezer bowl with the ice cream mixture from the machine.
Using a spatula or mixing spoon, gently fold in the mix-ins into the ice cream.
Ensure that the mix-ins are evenly distributed throughout the ice cream.
Once the mix-ins are fully incorporated, transfer the ice cream back into the freezer bowl of the machine.
This will allow the ice cream to reach a firmer consistency before serving.
Remember to label your ice cream container with the flavor and date to keep track of your homemade creations.
Store the ice cream in the freezer for a few hours before serving to achieve the perfect scoopability.
Get ready to indulge in your delicious homemade ice cream!
Start by turning off the ice cream maker and unplugging it from the power source.
This ensures your safety and prevents any accidental activation of the machine while handling the bowl and ice cream.
Gently lift the lid of the ice cream maker to get into the frozen ice cream bowl.
Using oven mitts or a towel, carefully remove the freezer bowl from the base unit.
Place it on a stable and flat surface, ensuring that it doesnt tip over or spill.
Gently press down each layer to remove any air pockets and ensure a smoother texture.
This will allow for easy scooping once the ice cream hardens further in the freezer.
verify the container is sealed tightly to maintain the freshness and quality of your homemade ice cream.
Label the storage container with the flavor and date of preparation.
This will give the ice cream a firmer consistency, making it easier to scoop and enjoy.
Proper maintenance will also prevent any residual flavors or odors from affecting the quality of your ice cream.
Start by unplugging the ice cream maker and disassembling it.
Remove the freezer bowl, mixing paddle, and any other removable parts.
Avoid using abrasive cleaners or scouring pads that can scratch the surfaces.
Do not submerge the motor base or expose it to water.
Use a mild dish soap and a non-abrasive sponge or cloth to gently clean the parts.
Pay attention to nooks and crevices where residue may accumulate.
Rinse the parts thoroughly with warm water to ensure that all soap residue is removed.
Dry the parts completely before reassembling or storing them.
Wipe the exterior of the ice cream maker with a damp cloth to remove any dirt or spills.
confirm the storage area is clean and free from excessive heat or moisture.
This will help keep the bowl clean and prevent any odors or flavors from permeating it.
Regularly check the ice cream maker and its parts for any signs of wear or damage.
Youve become an expert at adding mix-ins to elevate the flavor and texture of your ice cream.
Remember to unleash your creativity and try new and exciting recipes.
So, dust off your ice cream maker, gather your ingredients, and let your imagination run wild.
