Introduction
Welcome to the world of gaming on Xbox 360!
This is where an external hard drive comes in handy.
In this article, we will guide you on how to use an external hard drive on Xbox 360.
Choosing the right external hard drive is the first step in the process.
when you obtain your external hard drive, formatting it for use with Xbox 360 is crucial.
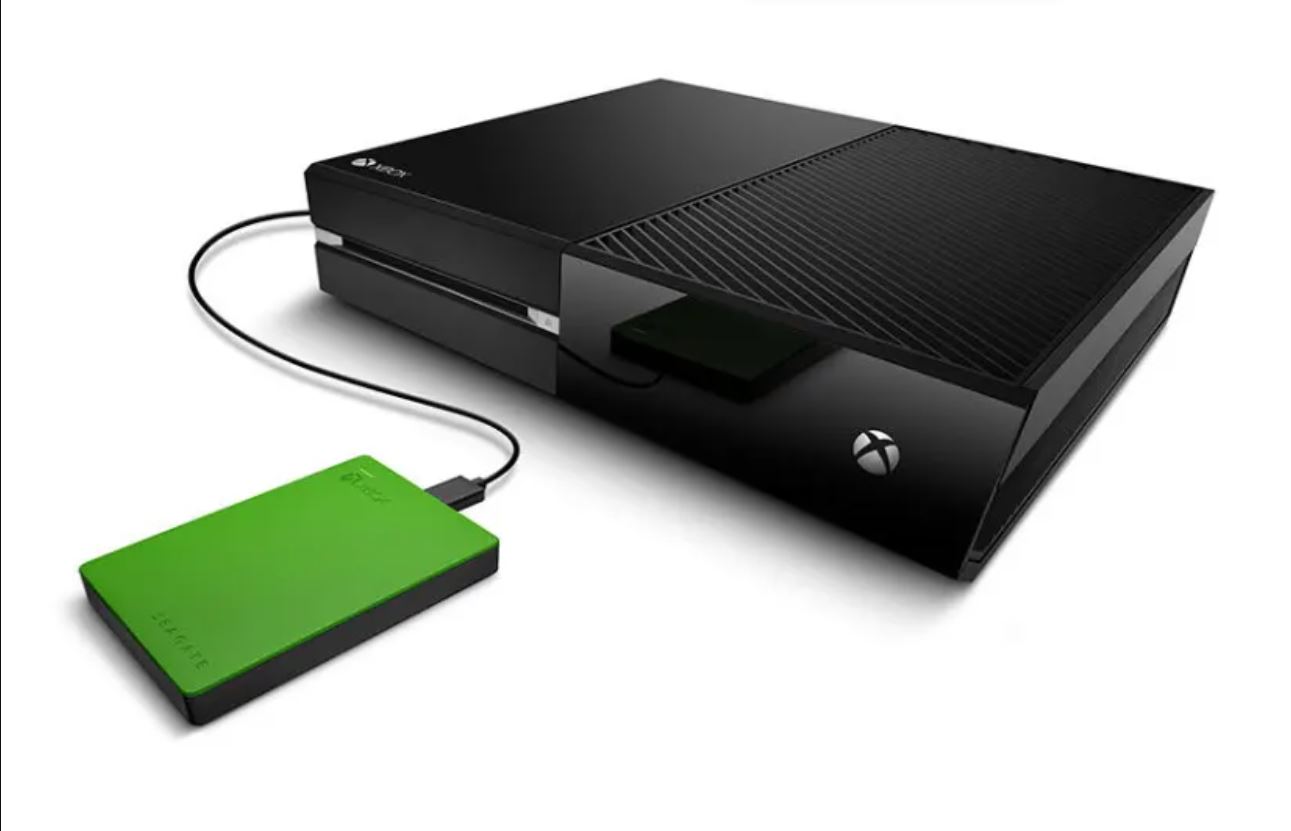
Connecting the external hard drive to your Xbox 360 is the next step.
After the connection is established, transferring game data to the external hard drive becomes imperative.
Managing game data on the external hard drive is crucial to avoid clutter and organize your gaming library efficiently.
Well explore ways to organize your games, create folders, and keep everything easily accessible.
But its not just about games.
An external hard drive can also serve as a repository for your multimedia files.
Well provide troubleshooting tips and common solutions to help you overcome these hurdles and get back to gaming seamlessly.
So, grab your controller, sit back, and get ready to expand your gaming world!
Storage Capacity:One of the most important considerations is the storage capacity of the external hard drive.
Compatibility:Not all external hard drives are compatible with Xbox 360.
Additionally, it should be compatible with the Xbox 360 file system, which is based on FAT32.
Speed:Gaming requires fast data transfer speeds to ensure smooth gameplay and reduced loading times.
Look for an external hard drive with a rotational speed of 7200 RPM for optimal performance.
Higher RPM drives offer faster data access, enhancing your gaming experience.
Portability:If you plan to take your external hard drive with you, portability is a vital consideration.
Look for a compact and lightweight option that is easy to transport.
Compare prices and read reviews to find a balance between affordability and quality.
Brand:Stick to reputable brands when selecting an external hard drive.
see to it its connected securely.
Then, choose Storage from the list of options.
hit it to select it.
Xbox 360 will give you a warning that formatting will erase all data on the hard drive.
If theres any data you want to keep, ensure you back it up before proceeding.
Step 5: Confirm the Formatting:Xbox 360 will ask you to confirm the formatting process.
Read the warning carefully and, if youre sure you want to format the hard drive, select Yes.
The formatting process will begin, and it may take a few minutes to complete.
Step 6: Formatting Complete:Once the formatting is finished, youll receive a notification on your screen.
Your external hard drive is now formatted for Xbox 360 and ready to use.
Therefore, ensure youve backed up any important files before proceeding with the formatting process.
This will prevent any potential issues during the connection.
These are usually rectangular-shaped ports where you’ve got the option to plug in your external hard drive.
Ensure that the connection is secure and that the cable is inserted fully into the port.
The console will automatically detect the connected external hard drive.
You should see the external hard drive listed as one of the storage devices.
Then, choose Storage from the list of options.
go for the internal hard drive and choose Move or Copy depending on your preference.
grab the content you want to transfer to the external hard drive.
it’s possible for you to select individual items or choose to move or copy all content.
Confirm the transfer by selecting Yes or OK.
The transfer can take some time, depending on the amount of data being transferred.
You should see the content listed under theexternal hard drive storage.
Choose the option that suits your storage preference.
In the next section, well explore how to manage game data on the external hard drive.
Create separate folders for different game genres, multiplayer games, or specific franchises.
Use descriptive names that indicate the progress or specific achievements associated with each save file.
Updating Games:Some games require updates or patches to ensure optimal performance.
Regularly check for updates to keep your games up to date.
Game Saves:Game saves are crucial for preserving your progress in games.
Well explore how to use the external hard drive for multimedia storage in the next section.
Ensure a secure connection.
Remember to keep your multimedia files organized and regularly refresh your library as you add new content.
Understanding and troubleshooting these issues can help you overcome any obstacles that may arise.
Try using a different USB port on the console or a different USB cable.
start your console and peek if the hard drive is detected.
If the issue persists, try formatting the hard drive again following the previously mentioned instructions.
Ensure that you are using a USB 3.0 port and a compatible USB 3.0 cable for faster data transfer.
Avoid using USB hubs or extensions, as they can affect transfer speeds.
If needed, consider investing in a larger capacity external hard drive.
Issue: Compatibility with Xbox Live:Some external hard drives may not be compatible with Xbox Live.
Issue: Corrupted Files:In rare instances, files on the external hard drive may become corrupted.
If the problem persists, consider formatting the external hard drive and starting fresh.
They can provide specific troubleshooting steps or guide you through any technical issues you may encounter.
Now youre equipped with the knowledge to make the most of your gaming setup and expand your storage capabilities.
These considerations will ensure that you choose a hard drive that meets your specific gaming needs.
Use folders, rename files, and regularly refresh your library to ensure easy accessibility and a clutter-free experience.
Dont forget that your external hard drive can also serve as a storage hub for your multimedia files.
