Introduction
Welcome to the world of 3D printing!
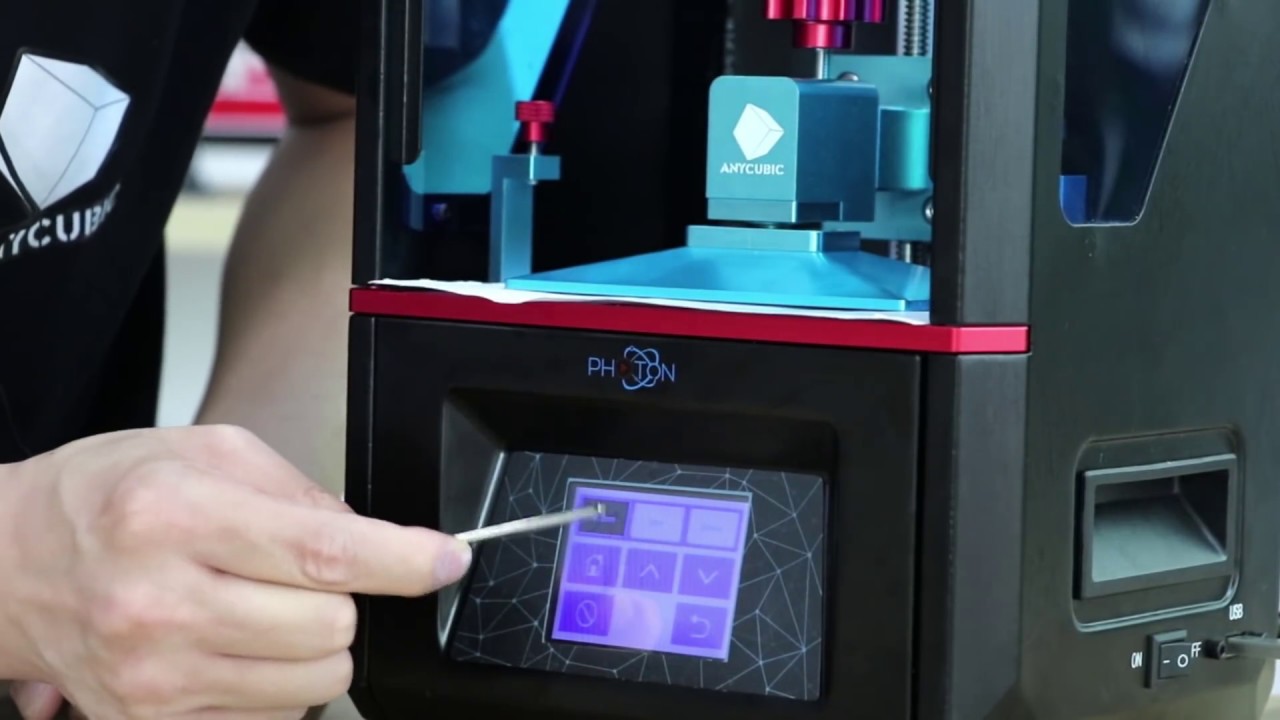
With its user-friendly interface and high-quality prints, the Anycubic 3D printer is a popular choice among enthusiasts.
Before we dive into the technical details, lets take a moment to appreciate the magic of 3D printing.
It allows you to bring your imagination to life, transforming virtual designs into tangible objects.
Setting up yourAnycubic 3D printeris the first step on your 3D printing journey.
The process of 3D printing involves converting a digital 3D model into a physical object layer by layer.
Understanding this process is essential to optimize your prints and achieve the desired results.
Choosing the right filament is crucial for successful 3D printing.
Each filament has its own unique properties, such as strength, flexibility, and temperature resistance.
Selecting the appropriate filament for your project will ensure that your prints are durable and meet your requirements.
Preparing your 3D model for printing involves several steps, including scaling, orientation, and support generation.
These steps are crucial for achieving the desired outcome and minimizing print failures.
Loading the filament into your Anycubic 3D printer is a straightforward process, but it requires attention to detail.
Proper filament loading ensures a steady flow of material during printing, preventing jams and uneven extrusion.
We will guide you through the steps of loading the filament correctly, ensuring a smooth printing experience.
Calibrating your Anycubic 3D printer is essential to achieve precise and accurate prints.
This involves adjusting the printers configs, such as the nozzle height and bed leveling.
Calibration ensures that the first layer adheres properly, minimizing print failures and improving overall print quality.
We will provide you with step-by-step instructions to calibrate your printer effectively.
Adjusting print configs is another crucial aspect of achieving high-quality prints.
Parameters such as layer height, print speed, and infill density can significantly impact the final outcome.
Initiating a print job is the moment when your virtual design comes to life.
We will guide you through the process of transferring your sliced file to the printer and initiating the print.
Once your print is complete, post-processing can enhance the final result.
Post-processing allows you to add that personal touch and take your prints to the next level.
Despite our best efforts, sometimes things go wrong during the 3D printing process.
We will address common issues and provide troubleshooting tips to help you identify and fix problems.
From print adhesion issues to extrusion problems, weve got you covered.
Finally, we will share some tips and tricks to help you achieve successful prints.
These include optimizing print configs, using different infill patterns, and utilizing supports effectively.
Get ready to unlock your creativity and bring your ideas to life!
Remember to refer to the manufacturers instructions for specific details related to your model.
Understanding the basics of this process will help you optimize your prints and achieve the desired results.
The 3D printing process involves building a three-dimensional object layer by layer.
This is in contrast to traditional manufacturing methods that involve subtracting or molding material to create the final product.
The material used in the 3D printing process is typically a thermoplastic filament, such as PLA or ABS.
Layer height, also known as the resolution, determines the thickness of each layer.
A smaller layer height results in finer details and smoother surfaces but also increases print time.
Finding the optimal configs for your specific filament and print job may require some experimentation and adjustments.
Support structures are often necessary for prints that have overhangs or complex geometries.
These structures provide temporary support for the layers above and are removed after the print is complete.
Some slicing software allows you to generate support structures automatically, while others require manual placement.
Understanding the 3D printing process will help you identify potential issues and make informed decisions when optimizing your prints.
One of the most commonly used filaments for 3D printing is PLA (Polylactic Acid).
PLA is a biodegradable and eco-friendly material that is easy to print with.
It has a low printing temperature, minimal warping, and produces less odor compared to other materials.
ABS (Acrylonitrile Butadiene Styrene) is another popular filament choice.
ABS is known for its durability, strength, and heat resistance.
ABS is commonly used for functional parts, engineering prototypes, and objects that need to withstand higher temperatures.
If youre looking for a filament with excellent mechanical properties, consider PETG (Polyethylene Terephthalate Glycol-Modified).
PETG offers a good balance between strength, flexibility, and temperature resistance.
It is less prone to warping compared to ABS and has high impact resistance.
For specialized applications, there are filaments with unique properties.
It is commonlyused for 3D printingphone cases, rubber-like objects, and prosthetics.
These specialized filaments can add a unique touch to your prints and open up new possibilities for creativity.
When choosing a filament, its essential to also consider the diameter and color options.
Before purchasing a filament, check the manufacturers recommendations and guidelines to ensure compatibility with your Anycubic printer.
Preparing your 3D model involves several steps, including scaling, orientation, and generating support structures if needed.
Most 3D modeling software allows you to scale your model up or down according to your needs.
Consider the capabilities of your printer and the intended purpose of the print when determining the appropriate scale.
Examining your model from different angles and considering how it will be printed layer by layer is crucial.
Avoid overhangs and ensure that the models surfaces are well supported to minimize the need for supports.
Support structures provide temporary support for areas of the print that would otherwise sag or collapse during printing.
Carefully consider the impact on the aesthetics and post-printing cleanup when generating support structures.
This involves setting parameters such as layer height, print speed, and infill density.
Take the time to explore the slicing softwares features and experiment with different tweaks to achieve the desired outcome.
The most common file formats for 3D printing are .STL and .OBJ.
Check the software and printer specifications to confirm the recommended file format.
Look for intersecting or overlapping geometry, incomplete surfaces, or missing details.
Utilize 3D modeling software or specialized repair tools to fix any identified issues and ensure a smooth printing process.
Popular choices include Cura, Simplify3D, PrusaSlicer, and more.
Choose software that suits your preferences and provides the features you need for your specific print job.
Loading the Model:Import your 3D model file into the slicing software.
confirm the model sits properly on the virtual build platform to ensure accurate printing.
Refer to the printers specifications and material recommendations to make informed decisions.
The preview feature allows you to visualize each layer and examine how the print will progress.
Check for overhangs that may require support structures and assess the overall print quality.
If necessary, make adjustments to the prefs and reslice the model to achieve the desired outcome.
Exporting the G-code:Once you are satisfied with the controls and preview, export the generated G-code file.
Verify that the correct file is selected, and the printer is ready to start the print job.
Always refer to the manufacturers instructions for guidance and follow any specific loading procedures provided.
Regularly check and adjust the calibration controls to maintain consistent and high-quality prints.
Keep track of any changes and document successful configs for future reference.
Remember to consult your Anycubic printers manual or online resources specific to your model for detailed calibration instructions.
This will ensure that you follow the recommended procedures and achieve the best results with your printer.
A smaller layer height produces finer details but increases print time.
Consider your desired level of detail and the capabilities of your printer when selecting the layer height.
Common values range from 0.1mm to 0.3mm, depending on filament and printer capabilities.
Print Speed:Print speed determines how quickly the printer moves during the printing process.
Higher speeds reduce print time but may sacrifice print quality, especially in complex or detailed models.
Experiment with different print speeds while monitoring the results.
Find the optimal balance between speed and print quality for your specific print job.
Infill Density:Infill refers to the pattern and density of material inside the object.
Higher infill percentages create stronger prints but increase material usage and print time.
For non-structural components, a lower infill density, such as 20-30%, may be sufficient.
For stronger, load-bearing parts, consider higher infill densities, such as 50% or more.
Support Structures:Support structures are especially important for prints with overhangs or complex geometries.
Most slicing software offers automatic support generation.
However, you might manually add or remove supports as needed.
Evaluate the geometries of your model and determine whether support structures are necessary.
Selecting the right support prefs helps maintain the integrity of the print and minimize post-print clean-up.
Temperature:The extruder and bed temperatures play a key role in filament melting and adhesion.
Refer to filament manufacturer guidelines for recommended temperature ranges.
Experiment with temperature parameters to achieve optimal extrusion and print quality.
Observe the printers performance and adjust the temperatures accordingly to prevent issues like under-extrusion or stringing.
Print Cooling:Cooling is crucial for maintaining print quality, especially for small features and overhangs.
Most slicing software allows you to control cooling fan speed and layer-specific fan configs.
Experiment with different orientations to find the optimal balance.
Consider the aesthetics, support requirements, and functional requirements of your design when choosing the orientation.
Remember, not all models require the same print parameters.
This will enable you to replicate successful prints and optimize future projects with your Anycubic 3D printer.
Always refer to your printers manual and follow the manufacturers instructions for specific details related to your particular model.
Take your time to ensure that all supports are fully removed without damaging the printed object.
Sanding or filing may be necessary to smooth any rough edges left behind.
Sanding and Smoothing:Use sandpaper or sanding blocks to smooth the printed surfaces.
This step helps remove layer lines and imperfections, resulting in a more refined finish.
This technique is particularly useful for achieving a flawless finish on decorative or display objects.
Painting and Finishing:Apply paint or other finishes to enhance the appearance of your 3D print.
Use acrylic paint or spray paint to add colors and finer details.
Consider priming the print before painting to improve paint adhesion.
Experiment with different techniques, such as dry brushing or airbrushing, to achieve the desired effect.
Use a polishing compound or sandpaper with a high grit count to buff the surface of the print.
This technique can help to eliminate minor imperfections and give the print a more polished appearance.
Assembly and Joining:If your print consists of multiple parts, use adhesives or fasteners to assemble them.
Take care to align the parts properly and allow adequate time for the adhesive to cure.
Remember to exercise caution when performing post-processing techniques, especially when using sharp tools or toxic materials.
Safety goggles, gloves, and proper ventilation are recommended for certain post-processing steps.
Experiment with different post-processing techniques and find the combination that best suits your desired outcome.
Each print may require unique post-processing approaches, so keep notes and document successful techniques for future reference.
Knowing how to troubleshoot common problems can help you overcome obstacles and achieve better results.
Check the nozzle height and ensure proper bed leveling.
Stringing and Oozing:Stringing happens when there are thin strands of filament between printed parts or surfaces.
To minimize stringing, adjust retraction controls to retract filament during non-printing moves.
Lowering the print temperature slightly can also help reduce stringing.
Additionally, ensure your print cooling is sufficient to allow the filament to solidify quickly.
Additionally, consider using a heated bed and/or an enclosure to minimize temperature fluctuations and improve overall print adhesion.
Under-Extrusion:Under-extrusion happens when the printer does not extrude enough filament, resulting in weak or incomplete prints.
Check the filament path for any obstructions or jams, ensuring the filament can flow freely.
Verify that the extruder gear is clean and the extrusion assembly is properly aligned.
Adjust the extrusion multiplier or flow rate in your slicing software to increase filament flow if necessary.
Over-Extrusion:Over-extrusion is the opposite of under-extrusion and happens when the printer extrudes too much filament.
This can cause blobbing or excessive material buildup.
Verify that the filament diameter in your slicing software is correct.
Adjust the extrusion multiplier or flow rate to reduce the amount of extruded filament.
Additionally, ensure that the print speed is not too slow, as this can contribute to over-extrusion.
Filament Jams:Filament jams occur when the filament gets stuck in the printers extruder or nozzle.
Examine the filament path for any obstructions or tangled filament.
Clear any debris or filament remnants from the extruder gear or nozzle.
Check that the extruder temperature is appropriate for the filament being used, as overheating can contribute to jams.
Ensure that the print bed is properly cleaned and leveled.
Adjust the nozzle height and consider using a raft or brim for better bed adhesion.
Using enclosure or increasing print cooling can also help minimize print lifting or detaching.
in case you find any of these issues, dont be discouraged.
Troubleshooting is an integral part of the 3D printing process.
Online communities and support forums can also provide valuable insights and solutions to specific problems.
Remove any residue or leftover filament that may affect print quality or cause mechanical issues.
A clean printer ensures smooth and consistent prints.
Use High-Quality Filament:Invest in high-quality filament from reputable manufacturers.
Lower quality filaments may contain impurities or inconsistent diameter, leading to printing issues.
Quality filament contributes to better print resolution, improved strength, and reduced clogging.
Utilize a Stable Printing Surface:Secure a stable and level surface for your printer.
Vibrations or instability during printing can negatively impact print quality.
Consider placing your printer on a dedicated stand or dampening any vibrations that may affect the printing process.
Optimize Print Bed Adhesion:Ensure proper bed adhesion to prevent warping or detachment during printing.
Clean the print bed with isopropyl alcohol or a specialized cleaning agent to remove any oils or residue.
Monitor the First Layer:Pay close attention to the first layer of your print.
It is crucial for proper adhesion to the print bed.
Experiment with Print Speed:Find the ideal balance between print speed and print quality.
Higher print speeds can shorten print time, but excessive speed may impact print accuracy and surface finish.
Explore different print speeds for different types of prints and filaments to optimize for quality and efficiency.
Keep the Printing Environment Stable:Maintain a stable printing environment by avoiding sudden temperature changes or drafts.
This helps ensure the printers overall performance and extends its lifespan.
This will help you replicate successful prints and serve as a reference for future projects.
Be Patient and Persistent:3D printing is a learning process, and it often involves trial and error.
Dont be discouraged by failed prints and instead learn from them.
Be patient, persistent, and open to experimenting with different prefs and techniques to continually improve your prints.
Embrace the learning process and enjoy the satisfaction of seeing your digital designs come to life in physical form.
Conclusion
Congratulations!
Youve embarked on a journey into the exciting world of 3D printing with your Anycubic printer.
Remember to practice patience, persistence, and creativity as you explore the possibilities of 3D printing.
Each project is an opportunity to learn and improve your skills.
Documenting successful print tweaks and maintaining your printers cleanliness and maintenance will contribute to consistent results and long-term performance.
Continue to experiment, push boundaries, and seek inspiration from the vibrant 3D printing community.
Now, its time to unleash your imagination and turn your ideas into tangible creations.
