Digital SLR cameras are known for their superior image quality, advanced features, and versatility.
So lets get started and unlock the true capabilities of your digital SLR camera!
Why use a digital SLR camera as a webcam?
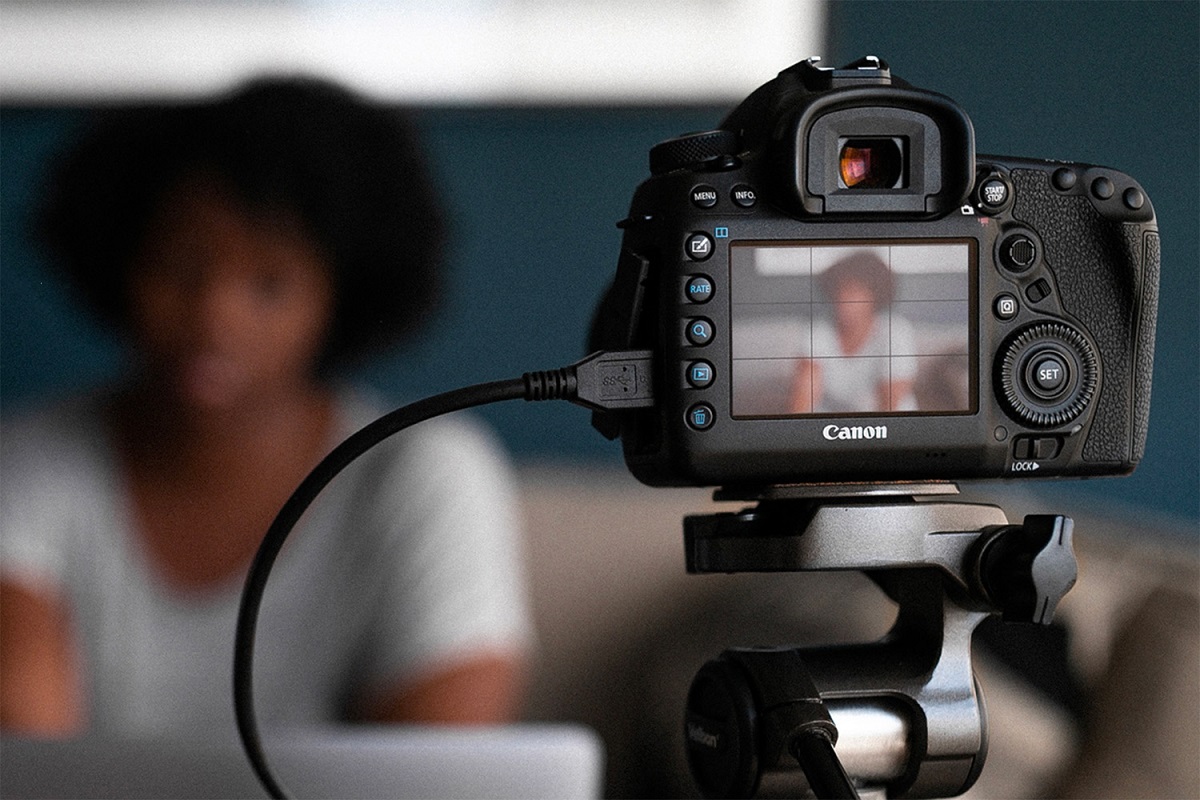
Using a digital SLR camera as a webcam offers several advantages over traditional webcams or built-in laptop cameras.
Superior Image Quality: DSLR cameras are renowned for their exceptional image quality.
This enhanced image quality can elevate your online presence and make a lasting impression on your audience.
Interchangeable Lenses: One of the biggest advantages of DSLR cameras is the ability to use different lenses.
Low-Light Performance: DSLR cameras excel in low-light conditions, thanks to their larger sensors and greater ISO range.
Heres a list of items youll need:
1.
DSLR Camera: Of course, youll need a digital SLR camera to get started.
see to it your camera is compatible and can be used as a webcam.
While some newer models have built-in webcam functionality, older models might require additional software or hardware.
Most cameras come with a USB cable that can be used for data transfer.
Tripod or Mounting Solution: A stable camera setup is crucial for a professional-looking video.
Consider using a tripod or a mounting solution to securelyposition and hold your DSLR camera.
This will help eliminate camera shake and keep your video steady during online meetings or streaming sessions.
Power Adapter: Using your DSLR camera as a webcam can consume a significant amount of battery power.
To ensure uninterrupted operation, its advisable to connect your camera to a power source using a power adapter.
Lighting Equipment: Good lighting is essential to enhance the quality of your video.
Heres how you’re able to check camera compatibility:
1.
Manufacturers Website: Visit the official website of your camera manufacturer and look for information regarding webcam functionality.
Many camera manufacturers provide software or firmware updates that enable webcam capabilities for their cameras.
Look for camera compatibility checkers or software tools specifically designed for your camera brand and model.
Keep in mind that not all DSLR cameras can be used as webcams directly.
Some older models might require additional software or hardware solutions to function as a webcam.
Heres what you gotta do:
1.
Manufacturers Software: test whether your camera manufacturer provides specific software or firmware updates that enable webcam functionality.
Visit the manufacturers website and search for the software downloads section.
Look for any webcam-related software or drivers available for your camera model.
Download the appropriate software and follow the installation instructions provided.
Some popular choices are OBS Studio, ManyCam, or SparkoCam.
These software applications allow you to connect your camera to your machine and transform it into a webcam.
Here, you’re free to configure the webcam prefs specific to your DSLR camera.
Its important to note that different software applications may have different interfaces and parameters.
Take some time to explore the software you choose and familiarize yourself with its functionality.
Step 3: Connect your camera to your box
1.
Ensure that the cable is securely plugged in on both ends.
Power On your Camera: Turn on your camera and set it to the appropriate mode for webcam use.
Typically, this is the Live View or video mode.
Refer to your cameras manual for specific instructions on setting the camera to the correct mode.
Launch the Software: fire up the software you downloaded in Step 2.
Open your preferred video conferencing or streaming platform and test whether your camera is recognized as a webcam.
Start a video call or streaming session to verify that the video is being captured from your DSLR camera.
Step 4: Set up your camera prefs
1.
Exposure parameters: Adjust the exposure parameters on your camera to achieve a well-balanced and properly lit video.
Experiment with these prefs to find the right balance for your environment and desired video quality.
Focus options: Ensure that your camera is properly focused on you or the subject you want to capture.
If using autofocus, see to it it is set to continuous autofocus to track any movements accurately.
White Balance: Adjust the white balance controls on your camera to ensure accurate color reproduction.
This will help avoid any unwanted color casts in your video.
Use the cameras automatic white balance setting or manually set it based on the lighting conditions in your environment.
Experiment with different styles to find the one that best suits your desired video aesthetic.
Framing and Composition: Consider the framing and composition of your video.
Position your camera at a comfortable eye level and ensure that you are well-framed within the frame.
This will help minimize camera shake and deliver a smooth and professional-looking video.
Remember to periodically check your camera controls, especially if you use it for different purposes or environments.
Adapt the controls based on the specific requirements, lighting conditions, or video platforms you are using.
Step 5: Set up your audio
1.
Microphone Selection: Determine the microphone you want to use for capturing audio.
You have a couple of options here:
Built-in Microphone: Many DSLR cameras have built-in microphones.
While these can capture audio, they often produce lower-quality sound compared to external microphones.
External Microphone: Consider using an external microphone for improved audio quality.
There are various types to choose from, including lapel microphones, shotgun microphones, or USB microphones.
Select a microphone that best suits your needs and budget.
Ensure that the microphone is compatible with your camera or computer.
If using the camera, connect the microphone to the cameras audio input or hot shoe, if available.
Check the audio levels and make any necessary adjustments.
Speak into the microphone and monitor the audio input to confirm that it is clear and loud enough.
Monitor Audio: Its essential to monitor your audio while recording or streaming.
Use headphones or speakers to ensure that you’re free to hear the audio output in real-time.
Noise Reduction: Background noise can be distracting and negatively impact the audio quality.
Step 6: Positioning and framing
1.
Camera Placement: Position your camera at eye level or slightly above for a natural and flattering angle.
Avoid placing the camera too high or too low, as it can create unflattering perspectives.
Distance from the Camera: Maintain an appropriate distance from the camera.
Too close, and your face may appear distorted, and other features may be exaggerated.
Too far, and you may appear distant and less engaging.
Rule of Thirds: Utilize the rule of thirds when framing yourself within the cameras view.
Imagine dividing the frame into thirds both horizontally and vertically.
Position your eyes near the upper third line to create a visually pleasing composition.
Background Selection: Consider the background when positioning yourself.
Choose a clean and uncluttered background free from distractions.
Lighting: Pay attention to lighting when positioning yourself.
Position yourself facing a light source, such as a window, for even and flattering lighting.
Avoid backlighting or harsh, direct light that can cast shadows on your face.
Posture and Body Language: Sit up straight and maintain good posture during video calls or streaming sessions.
Good posture will make you appear more confident and engaged.
test whether the framing looks balanced and if you are comfortable in the cameras view.
Make any necessary adjustments to achieve the desired framing.
Step 7: Test and troubleshoot
1.
Test the video and audio quality in real-time.
Pay attention to any lag, freezing, or audio distortion that may occur.
Ensure that your camera and microphone are detected and selected as the input sources.
Check Internet Connection: A stable and reliable internet connection is vital for smooth video streaming and online communication.
Ensure that you are connected to a strong and stable Wi-Fi internet.
If possible, use a wired Ethernet connection for a more stable and consistent internet connection.
Monitor Performance: While in the test call or streaming mode, carefully monitor the performance of your camera.
Look out for any issues like overheating, frequent disconnections, or unusual noises.
if you stumble on such problems, consult the cameras manual or the manufacturers support resources for troubleshooting guidance.
Audio and Video Sync: Pay attention to the synchronization between your audio and video.
This can help ensure that your audio and video are in perfect harmony during your online interactions.
Updates may provide bug fixes, enhancements, or improved compatibility, ensuring a better overall experience.
Stay up to date with the latest software versions to take advantage of any updates or improvements.
They can provide additional guidance and troubleshooting steps specific to your setup.
Practice and Experiment: Take the time to practice using your DSLR camera as a webcam.
Experiment with different prefs, lighting conditions, and angles.
Conclusion
Congratulations!
Regularly checking for updates and troubleshooting any issues will ensure a smooth and professional video experience.
Embrace the possibilities and unleash your creativity in your online interactions and content creation endeavors.
Remember, using a DSLR camera as a webcam is just the beginning.
So, go ahead and make the most of your DSLR camera as a webcam.
Embrace the power of high-quality video and take your online presence to a whole new level!
