Introduction
Welcome to our comprehensive guide on how to use a DI box for acoustic guitar.
We will also address common troubleshooting issues that may arise and provide solutions to overcome them.
What is a DI Box?
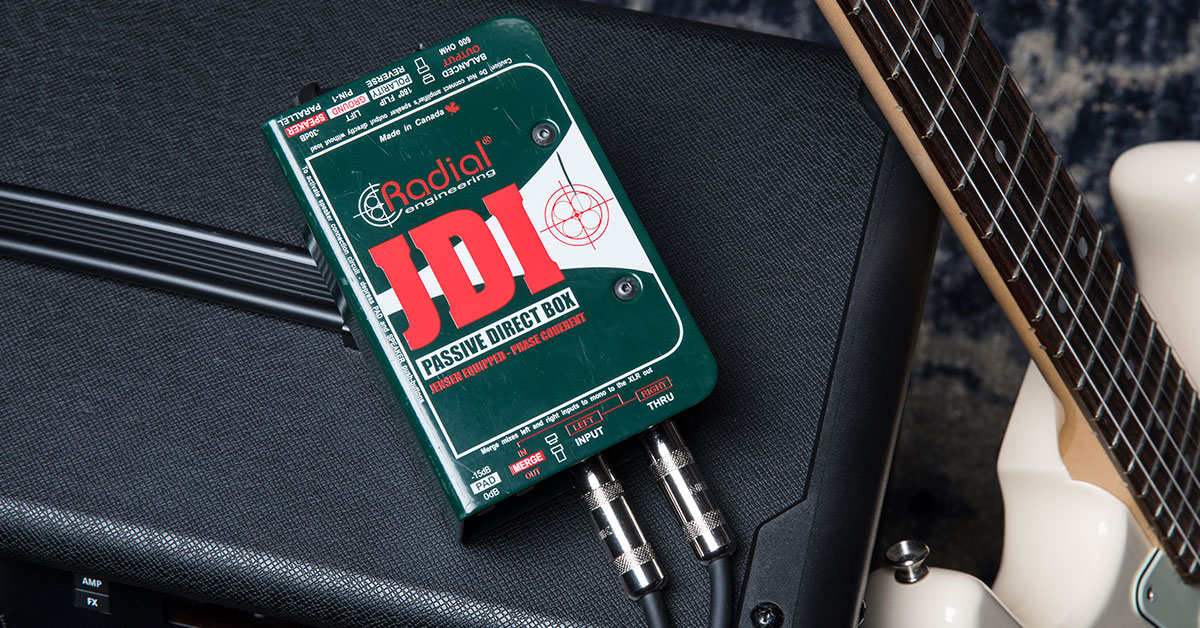
Others are active, incorporating built-in preamps and requiring batteries or phantom power to operate.
Additionally, DI Boxes often provide other useful features to further enhance your signal quality and offer connectivity options.
Overall, a DI Box is an essential tool for any acoustic guitarist seeking professional sound quality.
Why Use a DI Box for Acoustic Guitar?
Lets take a closer look at why utilizing a DI Box is highly recommended for acoustic guitarists:
1.
Impedance Matching:Impedance matching is crucial for maintaining the integrity of your guitars tone.
This prevents signal degradation and ensures the accurate reproduction of your instruments sound.
Noise Reduction:Anacoustic guitar pickupcan be sensitive to external interference, resulting in unwanted noise.
This results in a cleaner sound and a more professional performance.
Here are the steps to follow when setting up your DI Box:
1.
Choose the Right DI Box:Select a DI Box that suits your specific needs and preferences.
Connect the DI Box:Begin by connecting your acoustic guitar to the input of the DI Box.
Most DI Boxes have a 1/4 instrument input designed to accommodate the standard output jack of an acoustic guitar.
Ensure a secure connection is made.
Experiment with different gain controls to find the optimal balance between volume and clarity.
This helps maintain consistent volume levels and prevents overloading or distorting the inputs on the mixer or PA system.
Consult the user manual of your DI Box for specific instructions on adjusting the output level.
Play your acoustic guitar and listen for any issues such as signal distortion, noise, or imbalances.
Use the controls on your DI Box and audio equipment to fine-tune the sound to your liking.
Connecting your Acoustic Guitar to the DI Box
1.
Locate the Instrument Input:Identify the instrument input on your DI Box.
It is typically labeled as Input or Instrument In.
This input is designed to accommodate the standard 1/4 output jack found on acoustic guitars.
Ensure that the connection is secure to avoid any signal dropouts or interference.
Again, ensure a secure connection is made to maintain signal integrity.
Check for Signal:Once the guitar is connected to the DI Box, check for signal flow.
Aim for a clear and balanced signal without any distortion or clipping.
This helps ensure optimal signal transmission and reduces the risk of signal degradation or interference.
Adjusting the Input Gain
1.
Find the Input Gain Control:Locate the input gain control on your DI Box.
It is often labeled as Gain, Input Level, or a similar term.
This control allows you to adjust the level of the incoming signal from your acoustic guitar.
Start with a Neutral Position:Begin by setting the input gain to a neutral or default position.
This ensures that you have a balanced starting point to work with.
Listen for any distortion or clipping.
If the signal is too low and lacks clarity, gradually increase the input gain.
If the signal is too strong and distorts, reduce the input gain accordingly.
Ensure that the acoustic guitars natural tone and dynamics are accurately represented.
Avoid Extreme options:When adjusting the input gain, its important to avoid extreme options.
Aim for a balanced setting that allows your acoustic guitars sound to shine through without any unwanted artifacts.
Ensure that the output level is appropriate for connecting to your mixer, recording interface, or PA system.
Lets delve into the importance of the ground lift switch and how to use it effectively:
1.
What is a Ground Lift Switch?
When to Use the Ground Lift Switch?
In such cases, engaging the ground lift switch can help break the loop and eliminate the unwanted noise.
How to Use the Ground Lift Switch?
Engaging the ground lift switch is a simple process that involves flicking the switch to the lift position.
In some cases, engaging the ground lift switch may successfully address ground loop noise.
While the ground lift switch can help in certain situations, adequate grounding is essential for safety reasons.
Always ensure that your DI Box and audio equipment are properly grounded according to local electrical standards.
Heres how to properly connect your DI Box:
1.
Identify the Output Connections:
Locate the output options on your DI Box.
Some DI Boxes may also have additional output options such as 1/4 TRS or RCA connectors.
If your DI Box has an XLR output, use an XLR cable.
If it has a 1/4 TRS output, use a 1/4 TRS cable.
Ensure that the cables are of good quality to minimize signal loss or interference.
double-check the connection is secure.
Consult the mixer or PA systems user manual for specific instructions.
Assigning each instrument to its own input channel allows for independent control and mixing.
Heres how to effectively set the output level:
1.
Identify the Output Level Control:
Locate the output level control on your DI Box.
This control may be labeled as Output Level, Level, or similar terminology.
This ensures that you have a balanced starting point to work with.
In the case of recording, connect to the recording interface.
Take note of the input level meters or indicators on the receiving equipment.
Aim for a healthy signal level without exceeding the maximum threshold or causing distortion.
Overloading the inputs can lead to distortion, clipping, and a compromised sound quality.
Adjust for Different Audio Devices:
Keep in mind that different audio devices may have varying input sensitivity.
Adjust the output level accordingly to match the input requirements of the specific equipment you are connecting to.
Play your acoustic guitar across different dynamic ranges and listen for any distortions, inconsistencies, or imbalances.
Make further adjustments to the output level as needed to achieve a balanced and clean sound.
Here are some troubleshooting tips to address these issues:
1.
First, check your cables and connections to ensure they are secure.
Additionally, check that your audio equipment is properly grounded, as inadequate grounding can contribute to noise problems.
Lower the input gain if the signal is too hot, causing distortion.
Similarly, reduce the output level if the signal is clipping the input of the connected audio equipment.
Making these adjustments can help regain a clean and undistorted signal.
Increasing the input gain can boost the level of your signal.
double-check your guitars volume is sufficient as well.
This can result in a thin or hollow sound.
Listen carefully and make incremental adjustments until the sound is balanced and full.
A loose or faulty cable connection can cause signal dropouts.
Replacing the batteries or using a reliable power source can help resolve signal dropout issues.
Utilizing a feedback suppressor or an EQ pedal can also help in managing feedback issues.
Adjust the input gain or volume on the mixer or other devices to achieve a balanced mix.
Keep in mind that each situation may require unique adjustments and experimentation to achieve the best results.
In this comprehensive guide, we explored the various aspects of using a DI Box for acoustic guitar.
We also covered troubleshooting common issues that may arise during the setup and usage of a DI Box.
Remember, proper setup and understanding of your DI Box are key to achieving the best sound quality.
