Introduction
Welcome to the wonderful world of commercial ice cream making!
In this guide, we will walk you through the step-by-step process of using acommercial ice cream makereffectively.
Having a good understanding of your ice cream maker is crucial before you dive into the creative process.
This will help you maximize its potential and achieve consistently great results.
Preparing your ingredients is another important step to guarantee delicious ice cream.
We will provide tips on selecting high-quality ingredients and share some tried-and-true recipes to inspire you.
Once your ingredients are ready, its time to add them to the machine and start the churning process.
Youll also learn how to monitor the freezing process and make adjustments if needed.
From chocolate chips to cookie dough, the possibilities are endless.
We will provide tips on when and how to incorporate these tasty additions into your frozen treat.
After churning, extracting the ice cream from the machine is the next step.
Proper storage and serving techniques will be discussed to ensure your ice cream retains its optimal texture and flavor.
Cleaning and maintaining your commercial ice cream maker is essential for its longevity and performance.
Get ready to indulge in the sweet delight of homemade ice cream!
Take the time to read the user manual that comes with your machine.
Understanding the freezing process of a commercial ice cream maker is key to creating the perfect ice cream.
In the next section, well guide you through preparing the ingredients for your frozen treat.
By using fresh and flavorful ingredients, youll enhance the taste and texture of your frozen treat.
Lets dive into the essential steps of ingredient preparation.
Selecting your ingredients:Start by choosing the best ingredients for your ice cream.
Use fresh dairy products like milk, cream, and eggs for a rich and creamy base.
Opt for organic and locally sourced ingredients whenever possible for the best taste.
Whisk together the milk, cream, sugar, and any flavoring extracts to ensure they are well combined.
Variations and adaptations:Dont be afraid to get creative with your ingredient choices.
Well explore this process in the following section.
Pre-chilling the machine
1.
Refer to the manufacturers instructions for the appropriate cleaning process for your specific model.
A clean machine will ensure that your ice cream remains fresh and uncontaminated.
This allows the canister to become sufficiently cold and ready for churning.
Consult your machines user manual for the recommended pre-freezing time.
Typically, it ranges from 12 to 24 hours.
This helps maintain their freshness and prevents premature melting during the churning process.
It should be frozen solid or at the optimal temperature range specified in your machines instructions.
Ensure that all components, such as the dasher or paddle, are securely attached.
Pre-chilling your commercial ice cream maker is a crucial step in achieving the best results.
Adding the mixture to the machine
1.
Remove the freezing canister from the freezer:Start by taking the pre-chilled freezing canister out of the freezer.
Handle it with care as it will be extremely cold.
Attach the dasher or paddle:Attach the dasher or paddle to the motor shaft inside the freezing canister.
Ensure that it is secured tightly to avoid any issues during the churning process.
Pour the mixture into the freezing canister:Slowly pour your prepared ice cream mixture into the freezing canister.
Be careful not to overfill it, as the mixture will expand during churning.
Leave some space at the top to allow for proper expansion and aeration.
Check that it is tightly fitted to maintain a stable environment inside the machine.
check that the machine is positioned on a stable surface that allows for proper ventilation during operation.
Monitor the churning:Keep a close eye on the churning process as it unfolds.
Watch for the ice cream mixture to thicken and increase in volume.
The churning time can vary depending on the recipe and the capacity of your machine.
In the next section, well guide you through the steps of monitoring the freezing process effectively.
Churning the ice cream
1.
It will gradually thicken and increase in volume.
Refer to the recommended churning times in your machines instructions as a starting point.
However, be prepared to make adjustments based on the consistency you desire.
Only check the ice cream occasionally and if necessary.
Be mindful of the room temperature:The temperature of the room can affect the churning process.
Alternatively, if the room is too cold, it may slow down the freezing process.
Ideally, the room temperature should be moderate, around 68-72F (20-22C), for optimal churning results.
Experiment with these prefs to achieve the desired consistency.
Refer to your machines instructions for guidance on adjusting these parameters.
This ensures that the mix-ins are evenly distributed throughout the ice cream.
Well explore this in the following section.
Monitoring the freezing process
1.
Observe the texture:As the churning process progresses, pay attention to the texture of the ice cream.
It should gradually thicken and become more solid as it freezes.
Monitor the consistency to ensure that it is not too soft or too firm.
The ideal texture should be smooth, with a slight resistance when scooped.
Ice crystals can form if there are temperature fluctuations or if the mixture is not churned properly.
This helps ensure a smooth and creamy consistency in the finished product.
Prolonged freezing can lead to excessive ice crystal formation and a loss of the creamy texture.
Taste-testing:As you monitor the freezing process, feel free to do some taste-testing.
Scoop a small sample of the ice cream and assess its flavor and texture.
Taste-testing ensures that you are satisfied with the final product before transferring it to storage containers.
you might always adjust the firmness by allowing it to thaw slightly before serving.
With proper monitoring and adjustments, you might ensure that your ice cream achieves the perfect texture and consistency.
Heres how to incorporate mix-ins into your frozen treats:
1.
Chop chocolate into small chunks, dice fruit into bite-sized pieces, or crush cookies into small crumbs.
Preparing the mix-ins in advance will make it easier to add them to the ice cream.
Timing is key:The timing of adding mix-ins is crucial.
You want to incorporate them into the ice cream at the right moment to ensure even distribution.
For most mix-ins, its best to add them during the last few minutes of churning.
This will create distinct layers of mix-ins within the ice cream.
This will create beautiful ribbons of flavor throughout the ice cream.
Experiment with flavors:Dont be afraid to get creative with your mix-ins.
Play around with different combinations to create unique flavor profiles.
Let your imagination run wild and experiment with exciting mix-in combinations.
This will help prevent them from melting too quickly and becoming overly soft in the ice cream.
Adding mix-ins to your ice cream allows you to personalize each batch and create unique flavor combinations.
Well cover this in the following section.
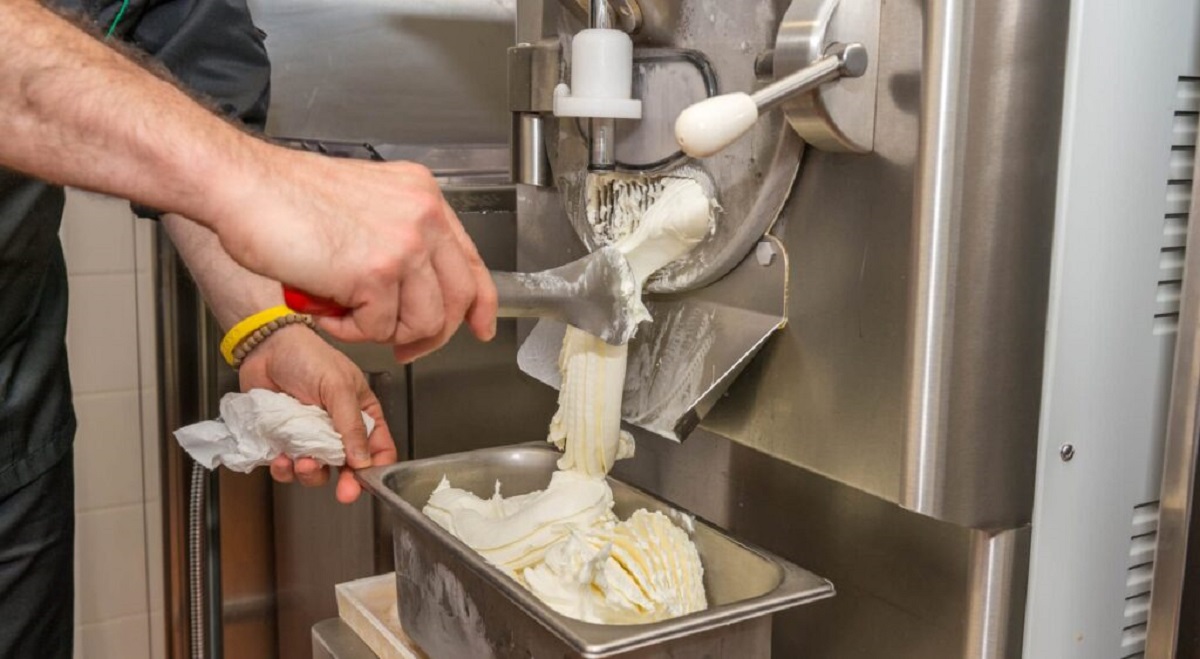
Extracting the ice cream
1.
Turn off the machine:Begin by turning off the power to the commercial ice cream maker.
This will stop the churning process and ensure the machine is in a safe state for extraction.
Lift out the dasher or paddle and place it aside for cleaning.
This helps to collect any ice cream that may have clung to the walls during the churning process.
Ensure that all the ice cream is collected and returned to the main portion of the mixture.
This can be airtight plastic or metal containers, or even freezer-safe glass jars.
Fill the containers, leaving a small space at the top to account for possible expansion during freezing.
This helps create an even and attractive presentation when serving the ice cream later on.
Seal and label the containers:Seal the containers tightly with their respective lids or covers.
Return to the freezer:Place the containers of freshly made ice cream in the freezer promptly.
Ensure that they are placed in an area where they can freeze undisturbed and maintain a consistent temperature.
This will give it time to harden and develop its full richness.
Storing and serving the ice cream
1.
Freezer storage:Place the containers of ice cream in the coldest part of your freezer.
This is usually towards the back or bottom of the freezer, where the temperature remains consistently low.
Air-tight containers:Ensure that the containers you use for storing the ice cream are air-tight.
This prevents the formation of ice crystals and helps maintain the creamy texture.
If you are using reusable containers, verify they are clean and free from any odors.
This gives the ice cream time to firm up and develop its full richness.
Dip the scoop into warm water between each serving to prevent it from sticking to the ice cream.
Garnish and toppings:Enhance the presentation and flavor of your ice cream by adding garnishes and toppings.
Sprinkle crushed nuts, chocolate shavings, or a drizzle of chocolate or caramel sauce on top.
Accompanying desserts:Get creative with your ice cream and serve it alongside other desserts.
Create indulgent ice cream sundaes by layering different flavors with sauces, nuts, and whipped cream.
Stack scoops between warm, homemade cookies for a delicious ice cream sandwich.
This will slightly soften the texture, making scooping smoother and more effortless.
Cleaning and maintaining your machine
1.
Scrub gently to remove any ice cream residue or buildup.
Avoid using abrasive scrubbers or harsh chemicals, as they may damage the surfaces of the machine.
Air dry the components:After washing, allow all the components to air dry thoroughly.
Placing them on a clean towel or drying rack can help speed up the drying process.
Ensure that each piece is completely dry before reassembling the ice cream maker.
Remember to rinse thoroughly and dry well after using these cleaning solutions.
Understanding these issues and knowing how to troubleshoot them can help you overcome any challenges and achieve delicious results.
Here are some common problems and their solutions:
1.
Check that the freezer temperature is set to the appropriate level, typically around 0F (-18C).
Adjusting these factors should help the ice cream freeze as desired.
To minimize ice crystal formation, verify the ice cream mixture is thoroughly chilled before churning.
Avoid leaving the ice cream in the machine for too long after it has reached the desired consistency.
Properly sealing the containers when storing the ice cream can also help prevent the formation of ice crystals.
Check the recommended churning time for your specific recipe and machine.
Be cautious of over-churning, as this can also result in a softer texture due to excessive air incorporation.
Adjust the churning time accordingly to achieve the desired consistency.
Uneven freezing:Inconsistent freezing can result in varying textures in your ice cream.
To achieve even freezing, see to it the ice cream mixture is evenly distributed in the freezing canister.
Avoid overfilling the canister, as this can hinder proper freezing.
Conclusion
Congratulations!
Youve now become well-versed in the art of using a commercial ice cream maker.
To ensure the longevity of your machine, we detailed the importance of cleaning and maintaining it regularly.
