What is a Capture Card?
Capture cards come in different shapes and sizes, with varying features and capabilities.
From budget-friendly options to high-end professional-grade cards, theres a capture card available for every level of gamer.
Why use a Capture Card for Xbox One?
Here are some compelling reasons why you should consider using a capture card:
1.
It allows you to live stream your gameplay with ease, offering viewers a more professional and polished experience.
More Control and Customization:Capture cards provide advanced prefs and options to fine-tune your recordings and streams.
Here are some key points to keep in mind:
1.
Compatibility:Ensure that the capture card you choose is compatible with your Xbox One console.
Most capture cards are designed for specific gaming platforms, so double-check the compatibility information provided by the manufacturer.
Software Requirements:Take note of any software requirements for the capture card.
confirm the software is compatible with your operating system and offers the features you need.
Features and Additional Functionality:Consider any additional features or functionality that you may require.
Assess your needs and choose a capture card that offers the desired features.
Budget:Set a budget for your capture card.
Prices can vary extensively depending on the features, brand, and quality.
Look for capture cards with positive reviews and recommendations from fellow gamers or content creators.
Support and Warranty:Check the manufacturers support options and warranty coverage for the capture card.
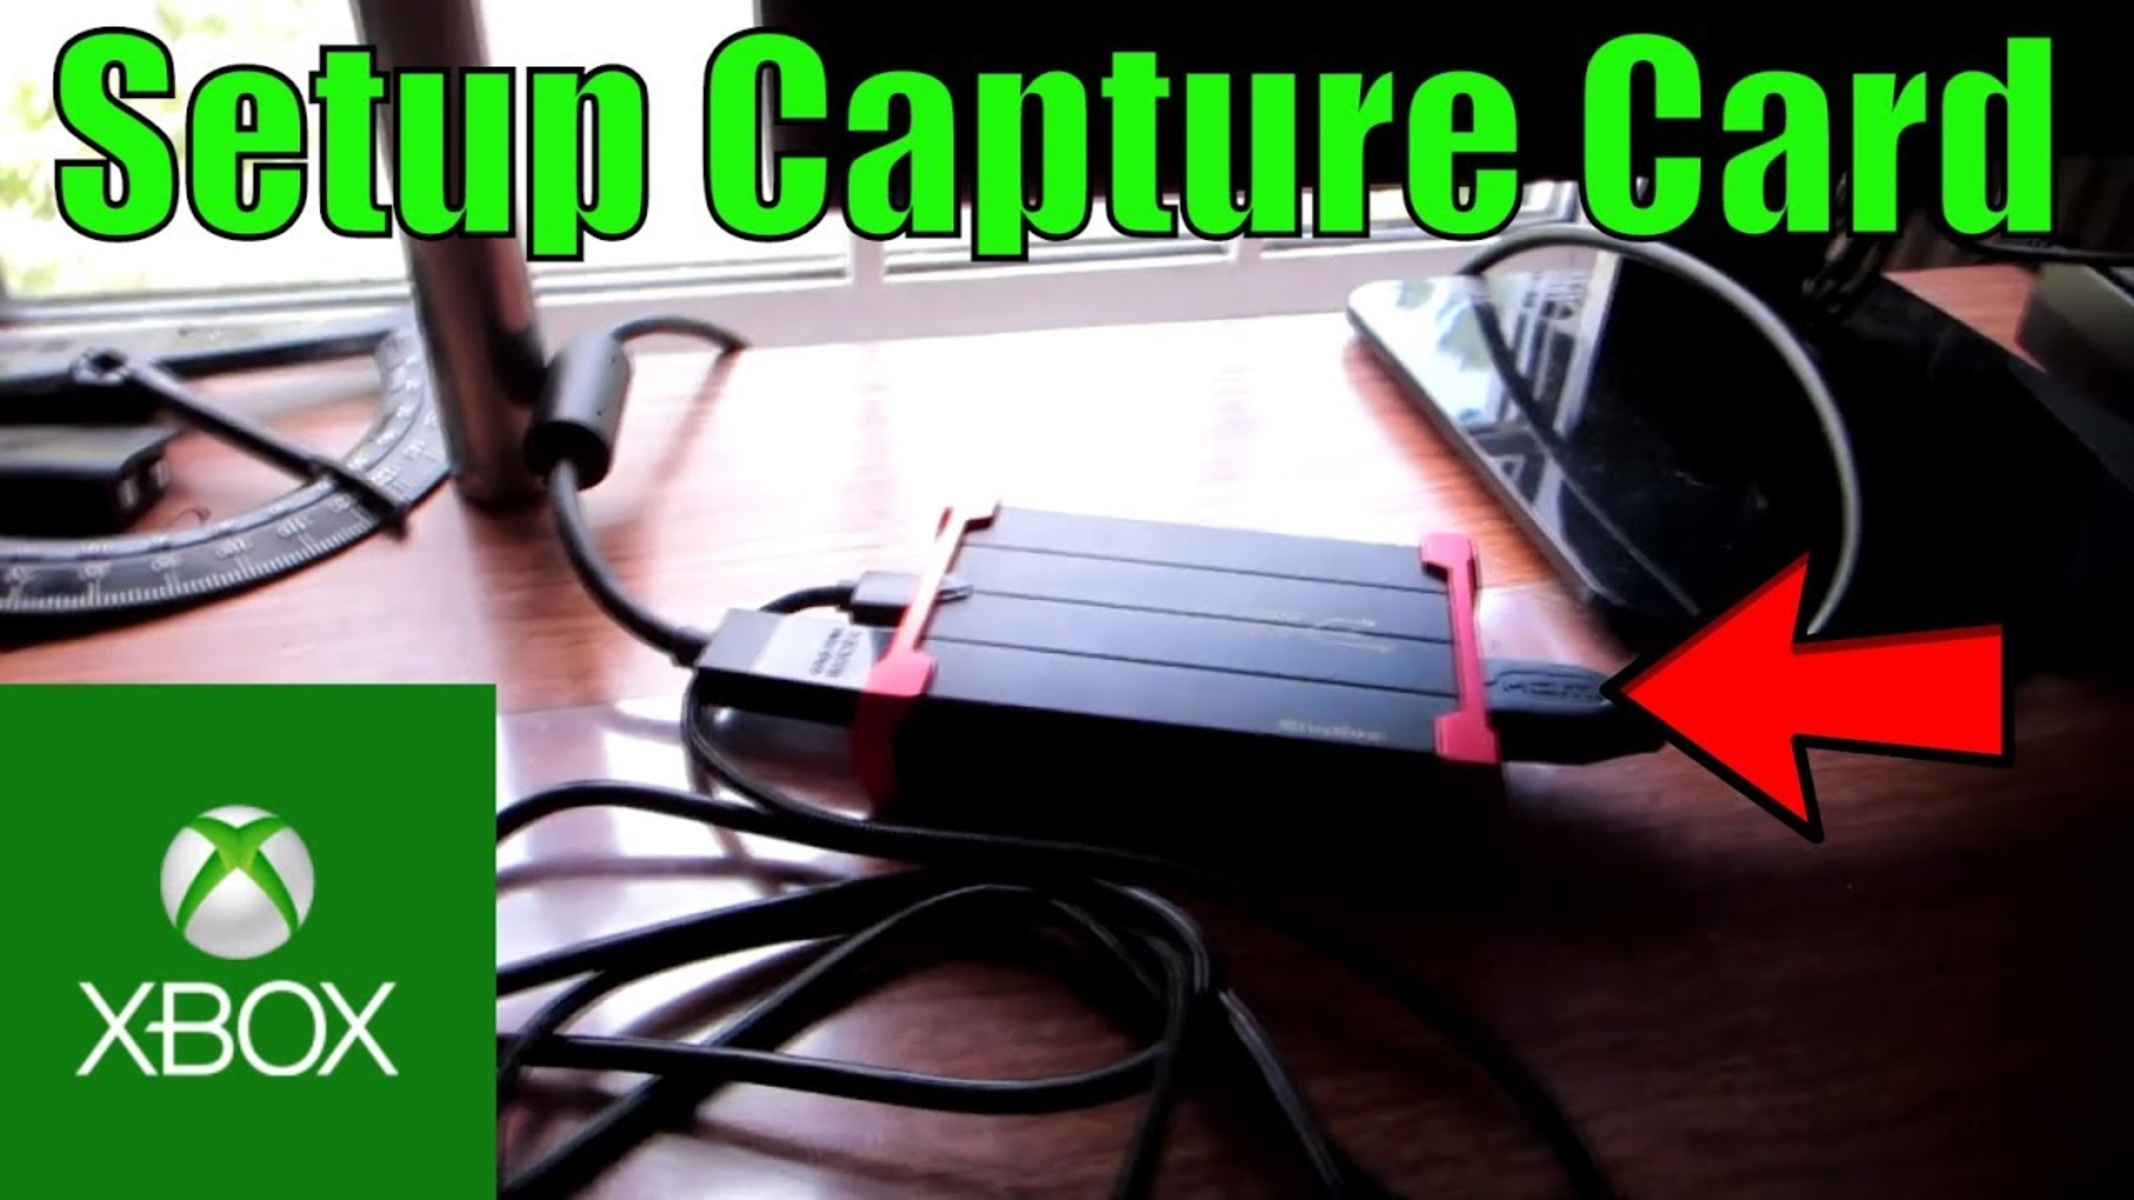
Setting up Your Capture Card
1.
Read the Documentation:Start by carefully reading the user manual or documentation that came with your capture card.
This will provide specific instructions and guidance on how to set up the rig.
Prepare Your Equipment:Ensure that you have all the necessary equipment and cables.
Ensure that the cables are securely connected, and double-check that you have plugged them into the correct ports.
verify the connection is secure and that your gear recognizes the capture card.
Install any necessary drivers if prompted.
You should see the gameplay on your machine screen through the capture software.
If not, double-check all the connections and prefs.
Adjust and Fine-tune:Take some time to adjust and fine-tune the configs to achieve the best results.
Connecting Your Xbox One to the Capture Card
1.
Gather the Necessary Cables:check that you have the required cables and adapters for the connection.
Most capture cards use HDMI cables, so verify if your Xbox One also has an HDMI output.
This will avoid any potential issues or disruptions during the setup process.
Ensure that the connection is secure on both ends.
Inspect the Capture Card Outputs:Check the output ports on your capture card.
Take note of these outputs for future reference.
Power On Your Xbox One and Display equipment:Turn on your Xbox One console and your display equipment.
If needed, adjust the display options on your Xbox One to match the desired resolution and output options.
Ensure that the gameplay is visible and that the audio is working correctly.
see if your capture card is detecting and capturing the gameplay on your gear through the associated software.
check that you are using compatible cables and that they are not damaged or defective.
Installing Capture Software
1.
Look for any installation instructions or software recommendations provided by the manufacturer.
Ensure that you snag the correct software for your capture card model.
Configure Installation tweaks:During the installation process, you may be presented with additional configuration options.
These could include choosing the installation language, creating shortcuts, or specifying additional software components.
Adjust these configs as desired and proceed with the installation.
The installer will then copy the required files and components onto your box.
Double-hit the software icon to launch it.
Familiarize Yourself with the Software:Take some time to explore the capture softwares interface and features.
Familiarize yourself with the various parameters, options, and tools available.
Refer to the softwares user manual or online documentation for detailed information and tutorials.
Configuring the Capture Software
- initiate the Capture Software:Launch the capture software on your setup.
it’s possible for you to usually find it in the Start menu, desktop, or system tray.
launch the software and allow it to initialize.
This allows the software to recognize and communicate with your capture gear.
Choose the appropriate capture card from the list, or follow any recommended steps to establish the connection.
Set the Video Source:Determine the video source you want to capture from your Xbox One.
This could be the entire screen, a specific window, or a defined region on your display.
Choose the appropriate video source option in the software, and confirm it is correctly configured.
Adjust Video and Audio options:get into the video and audio options within the capture software.
Customize these options according to your preferences and the requirements of your recording or streaming platform.
Configure Format and Output Options:Determine the file format and output controls for your captured videos.
Choose a compatible format that meets your needs, such as MP4 or AVI.
Configure additional controls like file name conventions, output directory, and any other preferences provided by the software.
Customize these options based on your desired workflow and personal preferences.
Start capturing or streaming a short gameplay session and review the output.
look to see if the video and audio quality meets your expectations, and make adjustments as necessary.
Utilize Additional Features:Explore any additional features or tools offered by the capture software.
This may include options for adding overlays, editing videos, or integrating with streaming platforms.
Familiarize yourself with these features to enhance your captured content.
Experiment with different options and options to find the perfect setup for your capturing needs.
Here are some key configs you could adjust to maximize performance:
1.
Bitrate:Adjust the bitrate setting to optimize the file size and quality of your recorded or streamed content.
A higher bitrate will result in better quality but may require more bandwidth for streaming.
Encoding configs:Explore the encoding configs in your capture software to determine the most efficient and compatible options.
Hardware encoding generally reduces the strain on your CPU, resulting in better overall performance.
Use filters or noise reduction features to improve audio quality.
Monitor and Optimize System Resources:Keep an eye on your computers system resources while capturing or streaming.
Monitor CPU and GPU usage, available memory, and online grid resources to ensure they are not overtaxed.
Close any unnecessary background applications or processes that may interfere with performance.
Lighting and Background:Consider the lighting and background of your recording area.
Ensure that you have adequate lighting to avoid grainy or dark video footage.
A clutter-free and visually appealing background can enhance the overall presentation of your gameplay recordings or streams.
Check for dropped frames, audio sync issues, or any other potential performance hiccups.
Adjust prefs as needed to maintain smooth and high-quality recordings or streams.
Take the time to experiment and find the tweaks that work best for your specific setup and requirements.
Capturing Gameplay Footage
1.
Launch the Capture Software:pop swing open the capture software on your machine.
Preview the Gameplay:Use the capture softwares preview window to check that the gameplay is being displayed correctly.
Verify that the audio and video signals are captured and in sync.
Make any necessary adjustments to the capture tweaks or the position of overlays, if applicable.
choose the designated button to commence the recording process.
Alternatively, use hotkeys if they are set up in the software to start and stop recording.
Play the Game:Start playing your Xbox One game as you normally would.
The capture software will record the gameplay in real-time, capturing all your actions, audio, and visuals.
Focus on enjoying the game while the software handles the recording process.
Avoid excessively long recordings that may be difficult to manage or edit later.
Monitor Performance:Keep an eye on the performance of your capturing setup while recording.
Check for dropped frames, audio issues, or any other performance concerns.
Adjust configs if needed to maintain smooth and high-quality recordings.
The capture software will finalize the recorded file and save it to the specified location on your rig.
- Review and Edit:After recording, take the time to review the captured footage.
Use the playback functionality of the capture software to assess the quality and content of the recording.
Upload the videos to your preferred content-sharing platform, such as YouTube, Twitch, or social media.
Share the highlights, tutorials, or entertaining moments with your audience.
Heres how you could record and stream using a capture card:
1.
Check that the video and audio options are configured correctly for recording or streaming.
Some software may have dedicated modes for each function, while others may offer both options simultaneously.
Specify the output file format, resolution, frame rate, and other desired parameters.
Set the destination folder where the recorded videos will be saved.
Enter the necessary streaming platform information such as your account credentials and stream key.
Adjust the streaming quality tweaks, which includes video resolution, bit rate, and audio tweaks.
Ensure that the audio and video are synchronized and of satisfactory quality.
Make any necessary adjustments to achieve the desired outcome.
Start Recording or Streaming:When youre ready, begin recording or start the live stream.
hit the appropriate button in the capture software or use the designated hotkeys.
The capture software will now capture and save the gameplay footage as you play.
Use the corresponding button in the capture software or utilize the specified hotkey.
The recording will be finalized, and the stream will be terminated.
Edit and trim the clips as desired, adding annotations or overlays if needed.
Save the edited videos and share them with your audience on platforms like YouTube or social media.
Here are some troubleshooting tips to help address common problems:
1.
Update Drivers and Software:Regularly update the drivers for your capture card and the capture software itself.
These updates often include bug fixes, performance enhancements, and compatibility improvements.
Check the manufacturers website for the latest versions.
This can resolve minor software glitches or conflicts that may be causing the issues.
Disable Unnecessary Processes:Close any unnecessary background processes or applications that may be consuming system resources.
This can free up valuable CPU and GPU power for the capture card and improve overall performance.
Lowering the streaming quality, such as bit rate or resolution, can help maintain a stable stream.
Consider using a wired Ethernet connection for improved stability.
Update Firmware:Some capture cards have firmware that can be updated.
Check the manufacturers website for any available firmware updates for your specific capture card model.
Updating the firmware can address known issues and improve the overall performance and compatibility.
Here are some final thoughts and recommendations to keep in mind:
1.
Quality Matters:Invest in a high-quality capture card that can handle the video and audio quality you desire.
Research and Compare:Before purchasing a capture card, conduct thorough research and compare different models.
Consider factors such as compatibility, features, user reviews, and price.
Find a capture card that meets your specific needs and offers the best value for your money.
Staying up to date ensures optimal compatibility and performance with your capture card and gaming setup.
Find Your Niche:Consider the bang out of content you want to create and find your niche.
Be Consistent:Establish a consistent schedule for publishing your content.
- online grid and Collaborate:Connect with other content creators and gamers in your niche.
Collaborate on projects, learn from one another, and cross-promote each others content.
Networking can expand your reach and provide valuable opportunities for growth.
Have Fun:Most importantly, enjoy the process of creating content and sharing your gaming experiences.
Embrace the joy of gaming and the creativity that comes with content creation.
Have fun, be authentic, and let your passion shine through in your recordings and streams.
