However, over time, the limited capacity of the original SSD may become a limiting factor.
We will cover everything from backing up your important data to the actual installation of the new SSD.
To begin the backup process, identify the files and folders that are essential to you.
This may include documents, photos, videos, music, and any other personal or work-related files.
when you’ve got chosen your backup method, its time to start the process.
Its important to double-check that all your files have been successfully backed up before proceeding to the next step.
This ensures that the new SSD will work seamlessly with your gadget and provide optimal performance.
Having the right tools will make the process easier and help prevent any damage to your laptop or components.
if you catch any resistance or difficulty, double-check the manufacturers documentation or seek assistance from a professional.
If you notice any issues, its recommended to hit up the manufacturer or a professional for further assistance.
This will help prevent any issues or performance problems once your XPS 13 is reassembled and powered on.
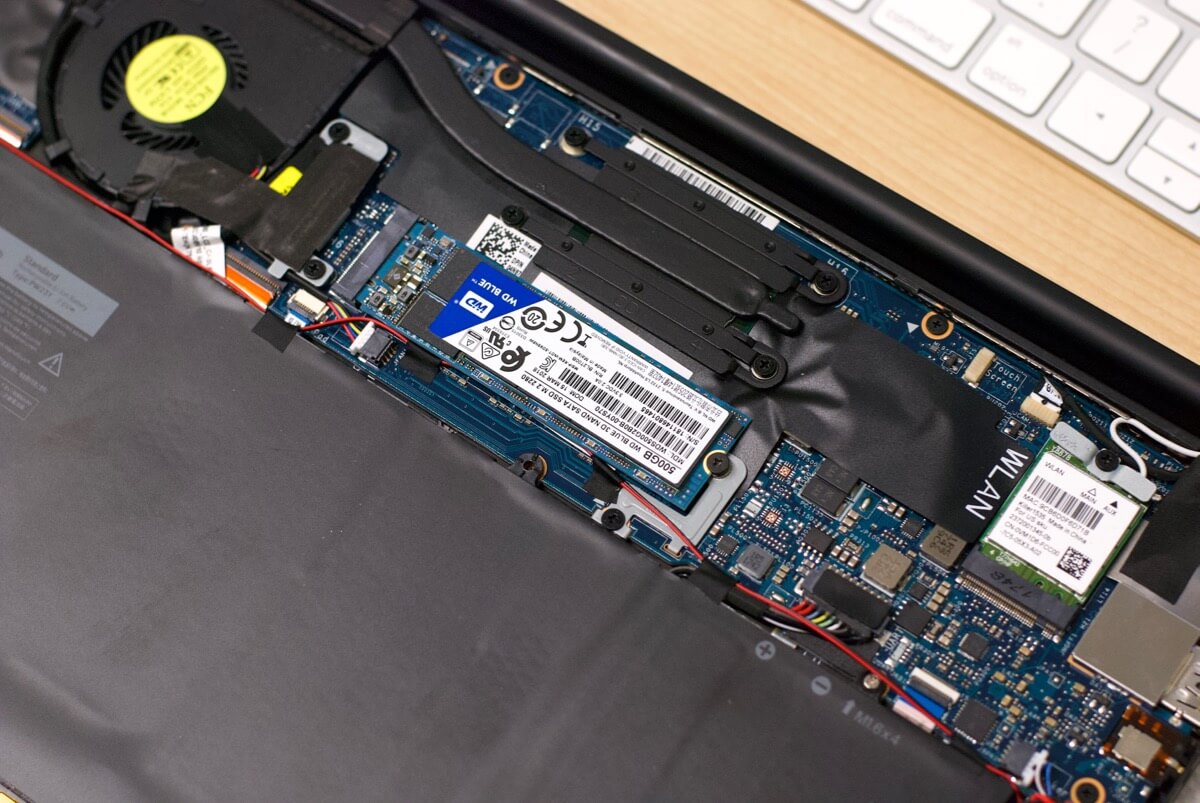
You have successfully installed the new SSD in your XPS 13.
Youre now one step closer to enjoying the enhanced performance and storage capacity of your upgraded laptop.
Congratulations on completing the testing phase!
Your XPS 13 is now upgraded with a new SSD, providing faster performance and increased storage capacity.
Throughout this guide, we have covered the essential steps to successfully upgrade the SSD in your XPS 13.
Embrace the improved performance, increased storage capacity, and faster data access that your upgraded SSD brings.
Enjoy your upgraded XPS 13 and make the most of its enhanced capabilities!
