In this guide, we will walk you through the process of upgrading the SSD on your Steam Deck.
Upgrading the SSD can provide several benefits.
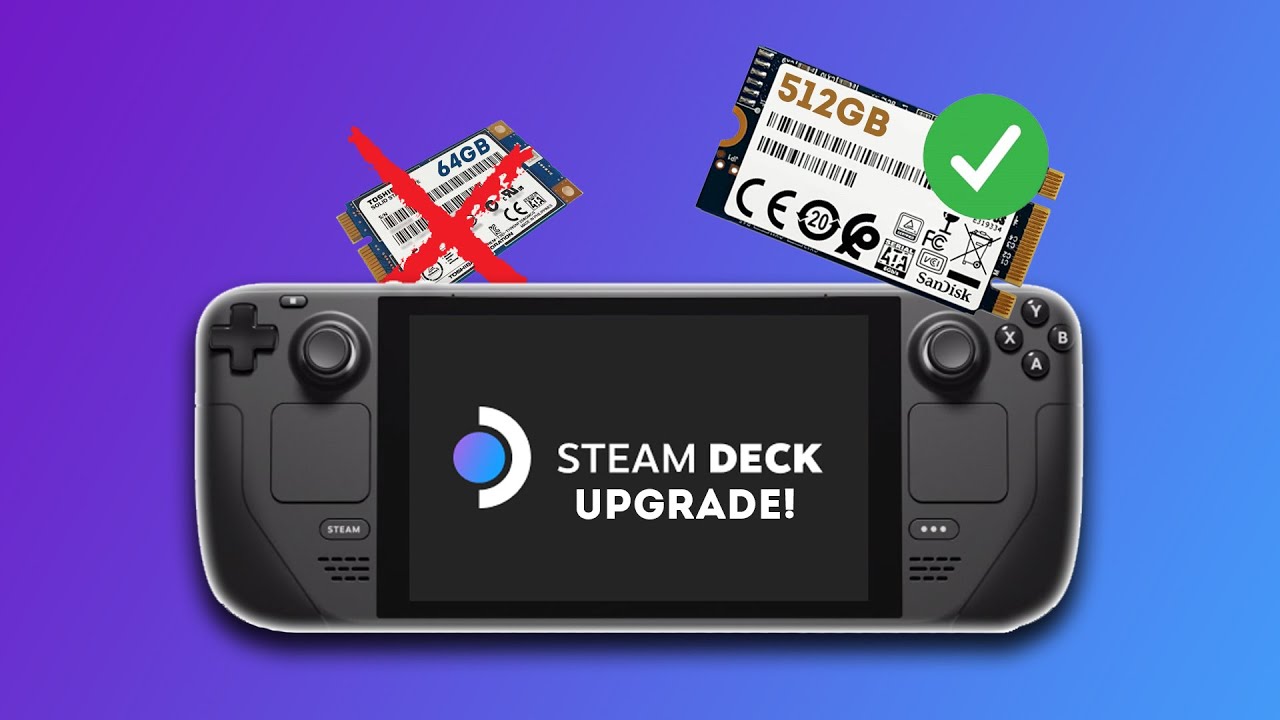
Secondly, a higher-capacity SSD ensures that you wont run out of storage space anytime soon.
Before we begin the upgrade process, its essential to gather the necessary tools and equipment.
This makes them the ideal choice for a portable gaming equipment like the Steam Deck.
This form factor refers to the physical dimensions and connector jot down of the SSD.
The M.2 2230 size is compact and fits perfectly within the slim design of the Steam Deck.
The Steam Deck supports PCIe Gen3 x4 NVMe SSDs, which offer excellent performance and speed.
This can greatly improve your gaming experience, reducing the waiting time and providing a smoother overall gameplay experience.
Lets move on to the next section and get ready to upgrade your Steam Deck!
Taking the time to understand these details will help ensure a smooth and successful upgrade process.
Next, its crucial to check the warranty status of your Steam Deck.
Upgrading the SSD might void the warranty, depending on the manufacturers policy.
They can guide you through the upgrade process without compromising your warranty.
Additionally, ensure that you have a clean and well-lit workspace to work on your Steam Deck.
Lastly, gather all the necessary tools and equipment for the upgrade.
Its important to have the appropriate screwdriver sizes for the different screws used in the Steam Deck.
Now that youve taken care of these pre-upgrade considerations and preparations, youre ready to proceed with confidence.
So lets grab our tools and embark on this exciting journey of enhancing your Steam Decks storage capacity!
These tools will enable you to disassemble and reassemble your Steam Deck safely and efficiently.
Remember to handle all tools and equipment with care and follow safety precautions throughout the upgrade process.
Take your time and be patient to avoid any accidental damage to your Steam Deck.
Proper preparation ensures a smoother and safer upgrade, decreasing the risk of damage to your rig or components.
The SSD you select should be compatible with the Steam Deck and meet your storage needs.
Look for reviews, benchmarks, and user feedback to make an informed decision.
Remember, opening up your Steam Deck should be done with precision and care.
Avoid applying excessive force or twisting motions.
With the existing SSD successfully removed, youre one step closer to upgrading your Steam Decks storage capacity.
Its crucial to handle the gadget with care to prevent any accidental damage.
With the Steam Deck successfully closed up, youre almost there!
Step 8: Powering On and Verifying the Installation
If everything is working well, congratulations!
You have successfully upgraded the SSD on your Steam Deck.
Enjoy the enhanced storage capacity and improved performance that the new SSD brings.
Conclusion
Congratulations on successfully upgrading the SSD in your Steam Deck!
Upgrading your SSD offers numerous benefits for your Steam Deck gaming experience.
Proper preparation sets the stage for a smoother and safer upgrade process.
Choosing the right SSD for your Steam Deck is an important decision.
Throughout the upgrade process, handle your Steam Deck and its components with care.
Take note of the orientation and position of screws and connectors to ensure proper reassembly.
