Before attempting to upgrade the RAM in yourAndroid phone, there are a few important things to consider.
First and foremost, you oughta ensure that your rig is compatible with RAM upgrades.
It requires technical expertise and knowledge of the phones hardware components.
If you are not confident in your abilities, wise to seek professional help or consult with the manufacturer.
We will provide step-by-step instructions to help you navigate the process smoothly.
Before proceeding with theRAM upgrade, it is essential to back up your data to prevent any potential loss.
Additionally, ensure that you have the necessary tools and equipment to disassemble and reassemble your phone.
Compatibility:The first step is tocheck if your Android phone supports RAM upgrades.
Not all devices are designed to allow for RAM expansion.
Warranty:Its crucial to be aware that upgrading the RAM in your Android phone may void the warranty.
Technical Expertise:Upgrading RAM in an Android phone requires technical knowledge and expertise.
It involves disassembling your equipment and working with delicate hardware components.
Research and Preparation:Before starting the upgrade, conduct thorough research on your specific phone model.
Data Backup:Before performing any hardware modifications, it is essential to back up all your important data.
Upgrading the RAM involves disassembling and potentially resetting your equipment, which could result in data loss.
Budget Considerations:RAM upgrades may come at a cost.
Research the compatible RAM modules for your machine and consider your budget before making any purchases.
Step 1: Check the Compatibility
1.
Check your phones specifications:Start by checking your phones specifications.
Look for details about the RAM capacity and whether it can be upgraded.
Look for forums, community discussions, or articles specific to your phone model.
Contact their customer support or visit their official website to inquire about RAM upgrades for your specific unit.
They will be able to provide accurate information and guide you accordingly.
They will have the expertise and experience to assess your devices compatibility and provide you with accurate information.
It is important to note that even if your phone supports RAM upgrades, there may be certain limitations.
Step 2: Purchase the Compatible RAM
1.
Look for reputable brands and models that offer compatibility with your phone model.
Consider the RAM capacity:Determine how much RAM you want to upgrade.
Depending on your phones capabilities, you may have different options for RAM capacity.
Consider your specific needs and usage patterns while choosing the appropriate capacity.
Keep in mind that some Android phones have a maximum RAM capacity limit that cannot be exceeded.
Check the RAM speed:Pay attention to the speed of the RAM module.
Match it with the recommended speed mentioned in your phones specifications.
as specified by your phones requirements.
Using an incompatible RAM key in may result in the module not being recognized by your rig.
Trust reputable sources:Purchase the RAM module from reputable sources to ensure that you receive a genuine product.
Step 3: Back Up Your Data
1.
Choose a backup method:Determine the most suitable method for backing up your data.
Alternatively, you’re able to use a computer to manually transfer and store your data.
This ensures that you’re free to easily restore them on your gear later.
Alternatively, you’re free to use dedicated photo backup apps available in your app store.
you could create a specific folder on your desktop or use cloud storage services to store these files.
find out if any of your important apps offer this feature and turn on the data backup option.
Remember, backing up your data is a precautionary step to prevent potential loss during the RAM upgrade process.
Step 4: Power Off Your Android Phone
1.
This step ensures that your data is properly saved and prevents any potential data loss.
Press and hold the power button:Locate the power button on your Android phone.
Press and hold this button until the power options menu appears on your screen.
Tap on the Power off option to shut down your phone.
If prompted, follow the on-screen instructions to proceed with the power off.
You may see a spinning icon or a blank screen indicating that the rig is powering off.
This process may take a few seconds.
This step helps prevent accidental power surges or damage to the phones internal components during the installation process.
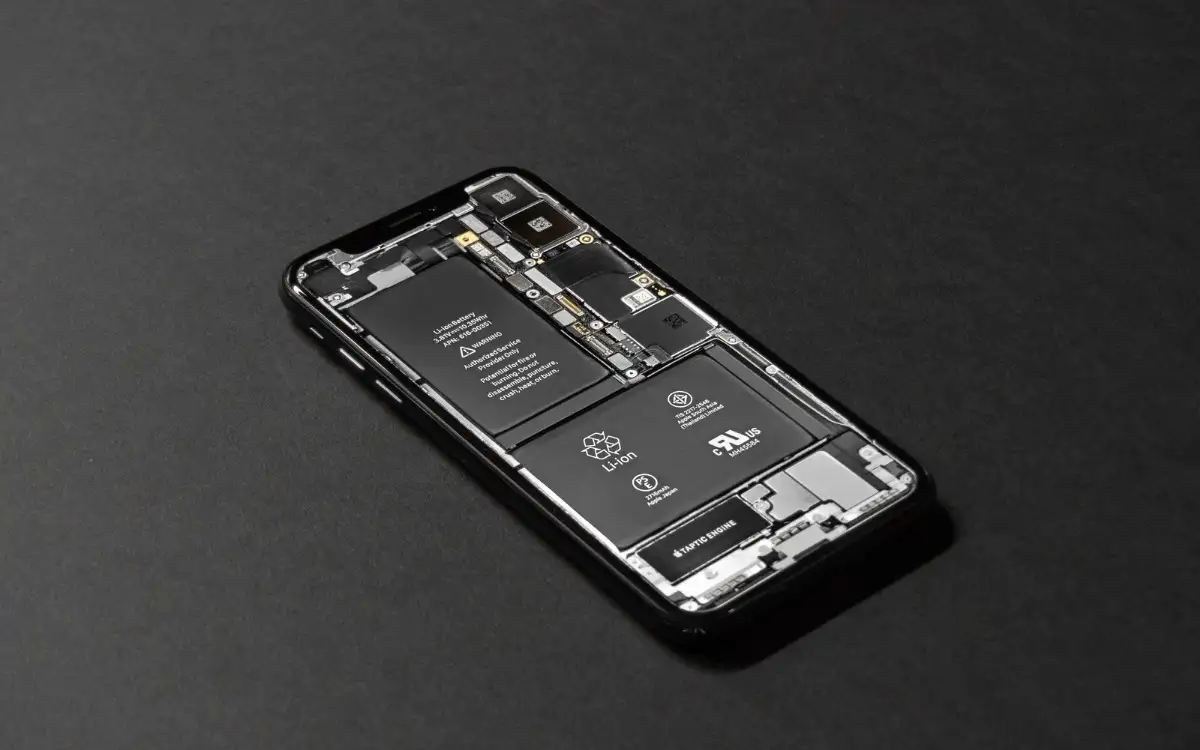
Step 5: Locate the RAM Slot
1.
Look for information about the location of the RAM slot.
The user manual may also include diagrams or illustrations that can help you identify the RAM slot easily.
Online forums and community websites dedicated to your phones brand or model can provide valuable insights and visual references.
Use a small screwdriver or a plastic prying tool, if necessary.
It may be referred to as RAM, Memory, or have a symbol that represents memory modules.
Look for a rectangular or square-shaped slot with notches at the bottom.
This is where the RAM module will be inserted.
It is important to note that the location of the RAM slot can vary depending on the phone model.
Take your time and be patient during this process to avoid any damage to the unit.
With the RAM slot located, you are one step closer to upgrading the RAM in your Android phone.
Step 6: Remove the Old RAM Module
1.
ESD precautions:Before you begin, take necessary precautions for electrostatic discharge (ESD).
This helps protect the internal components of your phone from potential damage.
Release the securing mechanism:Most RAM modules are held in place by a securing mechanism.
Gently push or pull the tabs or clips away from the RAM module to release it.
Hold it by the edges and avoid touching the gold contacts or any sensitive components.
confirm to keep the old RAM module in a safe place or dispose of it appropriately.
By following these steps, you have successfully removed the old RAM module from your Android phone.
Step 7: plant the New RAM Module
1.
Handle the module by its edges, avoiding contact with the gold contacts or any sensitive components.
If required, use an anti-static wrist strap to discharge any static electricity.
Firmly push the module down until it is fully seated in the slot and the securing mechanism engages.
double-check that the module is locked in place and does not move or wiggle when gently pressed.
Double-check the installation:Take a moment to double-check the installation of the new RAM module.
Check that the gold contacts are not visibly dirty or damaged.
Pay attention to any clips or screws that need to be tightened to hold the panels in place.
By following these steps, you have successfully installed the new RAM module into your Android phone.
Step 8: Put Everything Back Together
1.
Align the tabs or clips and apply gentle pressure to secure them into place.
verify all screws, if any, are tightened appropriately.
Ensure they are properly aligned and secured.
Avoid forcing anything into place, as this could lead to damage.
Double-check that all connectors, cables, and ribbons are intact and correctly positioned.
Close and secure the phones back cover:If applicable, reattach the back cover of your phone.
Pay attention to any unusual noises, creaking, or loose parts.
If you notice any abnormalities, double-check the specific area to ensure proper positioning or fastening.
This helps maintain a clean and aesthetically pleasing appearance.
Step 9: Power On Your Android Phone
1.
Locate the power button:Identify the power button on your phone.
It is typically located on the side or top of the machine.
Take note of its position for easier access.
Keep the button pressed until the screen lights up, and the phone powers on.
Wait for the phone to start up:Allow your phone a few moments to boot up.
Depending on your gadget, this process may take a short while.
You may see the manufacturers logo or an animation during this time.
This step is necessary to dive into the home screen.
see if the phone recognizes the new RAM module and correctly displays the updated RAM capacity.
Monitor the phones performance:As you use your phone, pay attention to its overall performance.
Monitor how apps open and close, multitasking capabilities, and any noticeable improvements in responsiveness.
With your Android phone successfully powered on and verified, you have completed the upgrade process.
Enjoy the improved performance and responsiveness that the new RAM module brings to your equipment.
Step 10: Test the New RAM Module
1.
Monitor system resource usage:Check the system resource usage on your phone while performing various tasks.
Use the phones built-in task manager or a third-party monitoring app to monitor the RAM usage.
Compare it to the previous usage with the old RAM module to see if there is any noticeable difference.
Multitasking test:Open multiple applications simultaneously and switch between them.
Pay attention to the speed at which the apps open, close, and switch.
Apps that previously took longer to open should now load faster with the increased RAM capacity.
Gaming performance:If you use your gadget for gaming purposes, test out some resource-intensive games.
Monitor the games performance, including frame rates, smoothness, and overall responsiveness.
Compare the gaming experience to how it was with the old RAM module to assess any improvements.
General phone responsiveness:Pay attention to the overall responsiveness of your phone.
If you previously experienced lag or delays, the new RAM module should help alleviate these issues.
Observe any changes in battery drain or standby time after the RAM upgrade.
Check for any unexpected crashes, freezes, or unusual behavior.
A stable and reliable performance is essential for a satisfying user experience.
