Introduction
Welcome to our comprehensive guide on how to upgrade your M.2 SSD without reinstalling Windows.
With this step-by-step tutorial, well walk you through the entire process, ensuring a smooth and hassle-free upgrade.
Upgrading yourM.2 SSDcan bring significant benefits, including faster boot times, quicker program loading, and smoother multitasking.
So lets get started!
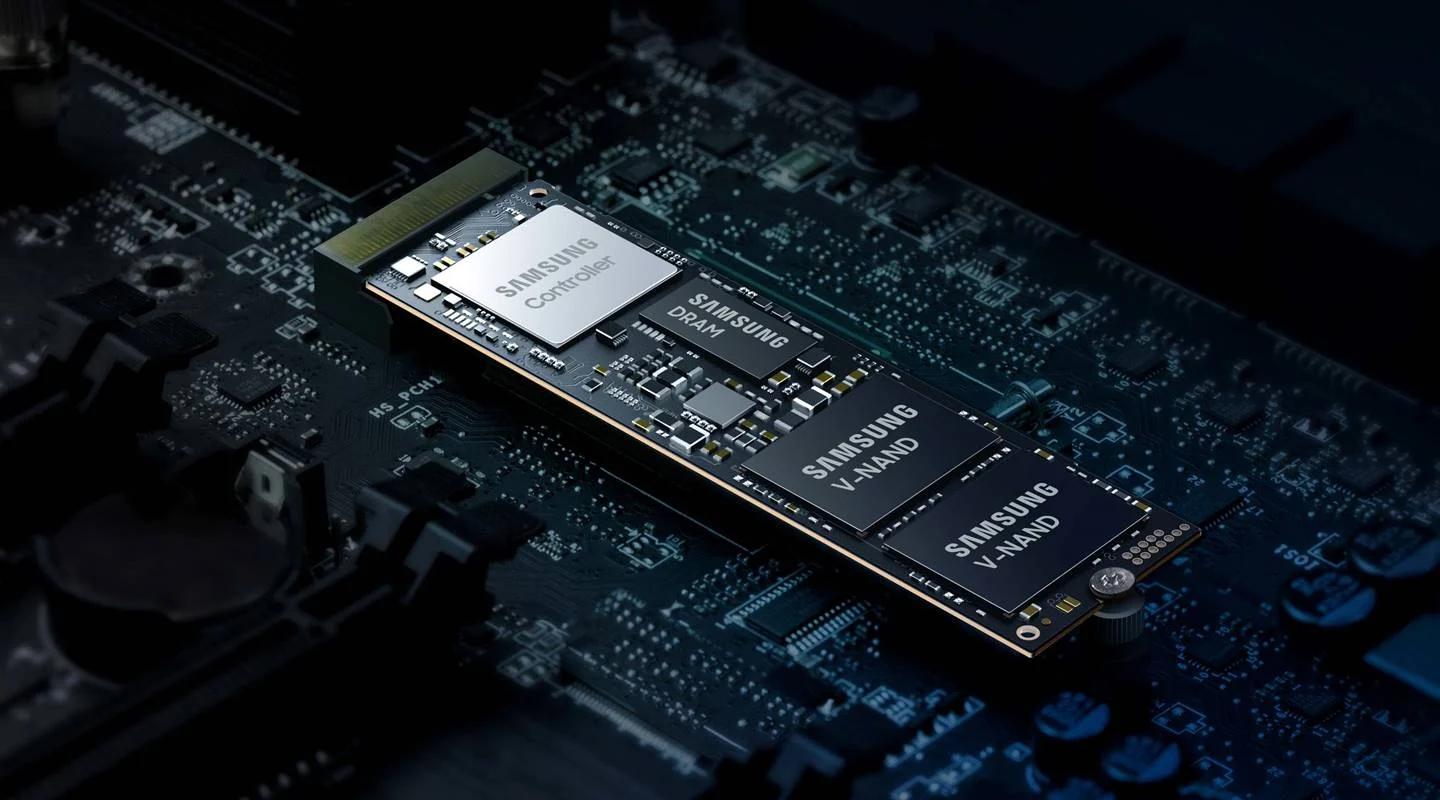
One of the key advantages of M.2 SSDs is their impressive speed.
Another notable aspect of M.2 SSDs is their compact size.
Its important to note that M.2 SSDs come in different physical sizes.
The size you choose should be compatible with your systems M.2 slot.
In terms of storage capacity, M.2 SSDs can offer a wide range of options.
Overall, M.2 SSDs are a game-changer when it comes to storage technology.
Here are the key steps to follow:
1.
Backup Your Data:Before making any hardware changes, its crucial to back up all your important data.
This includes documents, photos, videos, and any other files you dont want to lose.
This precautionary measure will give you peace of mind in case anything goes wrong during the upgrade process.
Gather the Required Tools:To perform the M.2 SSD upgrade, youll need a few tools.
Finally, verify you have a clean and well-lit workspace to work on your setup comfortably.
Check for Compatibility:Its essential to confirm that your system supports an M.2 SSD upgrade.
Check the documentation provided by your operating system to determine if any specific drivers or updates are required.
A spareexternal hard drive or a USB flash drivewith enough capacity to hold your data will suffice.
By following these essential preparation steps, youll ensure a smooth and trouble-free M.2 SSD upgrade.
Heres how to clone your current SSD:
1.
Choose the software that best suits your needs and download it onto your system.
double-check to choose a version that supports M.2 SSD cloning.
Connect the M.2 SSD:Carefully insert the new M.2 SSD into the M.2 slot on your motherboard.
Ensure that it is properly aligned and firmly seated.
Use the screw provided with your motherboard to secure the M.2 SSD in place.
Launch the Cloning Software:launch the cloning software and follow the on-screen instructions to start the cloning process.
Review the cloning software documentation for specific guidance on configuring options.
Start the Cloning Process:when you land configured the cloning options, start the cloning process.
The software will begin copying all the data from your current SSD to the new M.2 SSD.
This process may take some time, depending on the amount of data being transferred.
start your box and enter the BIOS options by pressing the appropriate key during startup.
Check the list of installed drives to ensure that the new M.2 SSD is detected and listed correctly.
This step ensures that the system boots from the new M.2 SSD.
Once the cloning process is complete, youre ready to proceed with installing the new M.2 SSD.
Installing the New M.2 SSD
1.
This will prevent any potential electrical damage and ensure your safety.
Locate the M.2 slot:Identify the M.2 slot on your motherboard where the new SSD will be installed.
The slot may be labeled and can usually be found near the PCIe slots or the DIMM slots.
Refer to your motherboards manual for the exact location.
Insert the M.2 SSD:Carefully insert the M.2 SSD into the slot at a slight angle.
Ensure that the gold connectors on the M.2 SSD are aligned with the socket on the motherboard.
Gently press the drive down until it is fully seated in the slot.
Secure the M.2 SSD:Some motherboards have screws or retention clips to secure the M.2 SSD in place.
Use the provided screw or clip to secure the SSD, ensuring it is firmly attached to the motherboard.
Be cautious not to overtighten the screw or apply excessive force.
Additionally, ensure that the screw or retention clip is tightened adequately without damaging the SSD or the motherboard.
Ensure that all cables are properly connected, and everything is in place.
Power on your gear:Plug in the power cord and turn on your gear.
The system should recognize the new M.2 SSD.
To confirm this, jump into the BIOS tweaks by pressing the appropriate key during startup.
Check the list of installed drives to ensure that the new M.2 SSD is detected and listed correctly.
You have successfully installed the new M.2 SSD into your system.
The key to reach the BIOS may vary depending on your motherboards manufacturer.
Common keys include Del, F2, or F10.
Refer to your motherboards manual for precise instructions.
Here, you should see a list of recognized drives.
Ensure that the new M.2 SSD is listed and detected correctly.
The drive information, such as its model number and capacity, should be displayed.
Check the Boot Priority:In the BIOS options, navigate to the boot options or boot priority section.
Confirm that the new M.2 SSD is set as the primary boot drive.
This ensures that your rig boots from the M.2 SSD and utilizes its speed and performance benefits.
The computer will restart, and the operating system should load from the M.2 SSD.
Open applications, browse the web, and perform other tasks to evaluate the overall system performance.
You should notice a significant improvement in speed and responsiveness compared to your previous SSD or hard drive.
Check Drive Capacity:Verify that the M.2 SSDs capacity is accurately shown in the operating system.
Look for an option called Boot Mode or Boot Configuration.
choose the UEFI mode if its not already enabled.
The UEFI mode is required for optimal performance and compatibility with modern hardware.
In the BIOS parameters, navigate to the SATA Configuration or Storage Configuration section.
Look for an option called SATA Mode or SATA Operation.
opt for AHCI mode if its not already enabled.
Disable Legacy Boot:In the BIOS configs, navigate to the Boot or Boot Options section.
Look for an option called Legacy Boot or Compatibility Support Module (CSM).
shut down the legacy boot option if its enabled.
This ensures that your system boots in the modern UEFI mode, which provides better compatibility and performance.
The computer will restart, and the new prefs will take effect.
Its important to note that the specific BIOS prefs may vary depending on your motherboards manufacturer and model.
Testing Your System
1.
Boot Time:Start by assessing the boot time of your machine.
Compare it to the boot time before the M.2 SSD upgrade.
- software Loading:Open various applications and observe the loading times.
File Transfers:Copy large files or folders to and from the M.2 SSD to test its transfer speeds.
The M.2 SSD should provide faster data transfer rates compared to traditional hard drives or SATA-based SSDs.
System Responsiveness:Perform regular tasks such as web browsing, media streaming, and multitasking.
The system should feel more responsive and snappy, with smoother performance and quicker response times.
Compare the results to the specifications of the drive to ensure that it is performing within the expected range.
Temperature Monitoring:Monitor the temperature of the M.2 SSD using software such as HWiNFO or SSD-specific monitoring tools.
Ensure that the temperatures remain within acceptable ranges to prevent any performance degradation or potential hardware issues.
Overall System Stability:Continue using your system for an extended period to assess its stability.
Monitor for any unusual behavior, crashes, or performance issues.
Ensure that all functions and features of your system continue to work correctly.
Conclusion
Congratulations!
Youve successfully upgraded your M.2 SSD without reinstalling Windows.
Remember to regularly monitor the performance and temperature of your new M.2 SSD to maintain optimal functionality.
Enjoy the improved performance, increased storage capacity, and faster data access that your new M.2 SSD brings!
