However, one area where it may fall short is storage.
hey note that performing this upgrade will require opening your laptops case and handling delicate components.
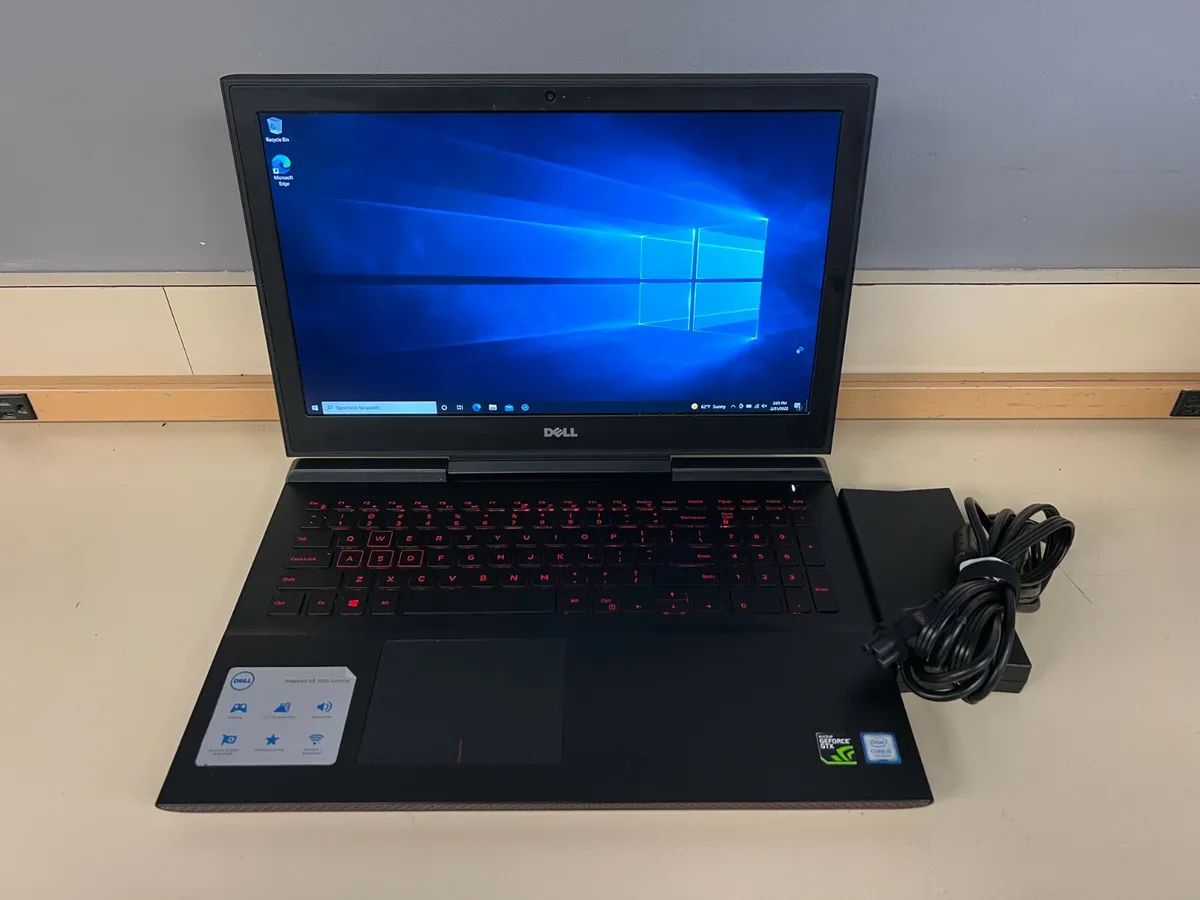
Be sure to check your warranty status with Dell before proceeding, and make an informed decision.
Preparing for the Upgrade
1.
Taking this precautionary measure will give you peace of mind and prevent any potential data loss.
Create a Recovery Drive:Its recommended to create a recovery drive before beginning the upgrade.
This will allow you to restore your system to its factory state if anything goes wrong during the process.
Ensure you have these tools readily available to avoid any interruptions during the upgrade process.
Having these configs handy will make it easier to reconfigure your BIOS once the new SSD is installed.
Storage Capacity:The first consideration is the storage capacity you require.
SSDs come in various sizes, ranging from 120GB to 2TB or more.
Think about how much storage space you currently need and how much you may require in the future.
Its important to strike a balance between sufficient storage capacity and staying within your budget.
Most laptops support the 2.5-inch SATA form factor, which is the standard for many SSDs.
However, some laptops, including newer models, may require an M.2 NVMe SSD.
Check your laptops user manual or specifications to determine the supported form factors.
Speed and Performance:SSDs define the speed and performance of your system.
Consider SSDs with features like NVMe or PCIe Gen3 interface for optimum performance.
However, keep in mind that these features may come at a higher cost.
Go for well-known brands that have a track record of producing high-quality and reliable SSDs.
Reading customer reviews and seeking recommendations from trusted sources can also help you make an informed decision.
Budget:Lastly, consider your budget when choosing an SSD for your Dell Inspiron 15 7000 Gaming laptop.
SSDs vary in price based on capacity, speed, and brand.
This step is essential to prevent any potential loss or corruption of files during the upgrade process.
Heres how you’re free to back up your data:
1.
Identify Important Files:Take some time to identify the files and data that you want to back up.
Make a list of these files or create a separate folder to easily locate and copy them later.
Use External Storage:The most common method of backing up your data is by using external storage devices.
This includes external hard drives, USB flash drives, or even cloud storage services.
These programs allow you to schedule regular backups and ensure that all your important data is securely stored.
Simply upload your files to the respective cloud storage service and ensure the synchronization is complete.
Open a few files from different folders to ensure they are accessible and intact.
This will give you peace of mind knowing that you have successfully backed up your important data.
Having the right tools will make the upgrade process smoother and help you avoid any unnecessary issues or delays.
Here are the essential tools youll need:
1.
Anti-Static Wristband:An anti-static wristband is essential to prevent static electricity from damaging sensitive components of your laptop.
This wristband grounds you, preventing any static charges from building up and potentially harming your laptops internal hardware.
These tools will help you neatly secure and manage the cables inside your laptop as you work.
This will ensure a clean and pristine work environment and help maintain the longevity of your hardware.
These tools provide leverage to safely separate the case and jump into the internal components.
Thermal Paste:Depending on the specific upgrade you plan to perform, you may need thermal paste.
Opening the case gives you access to the internal components of the laptop.
Heres how you’re free to safely pop pop the laptop case:
1.
Power Off and Disconnect:verify that your laptop is powered off and unplugged from the power source.
Prepare a Clean Workspace:Find a clean, well-lit area to work on your laptop.
If your laptop has a removable battery, confirm to remove it first.
Most laptops have a latch or release button that allows you to slide out the battery.
Use a screwdriver that fits the screw heads properly and unscrew them in the correct order.
This helps dissipate any static charges you may have built up.
This will help you remember the cable connections and component placement when reassembling the laptop.
Remember to work slowly and carefully, keeping track of the screws and any removable parts.
Removing the old hard drive involves disconnecting cables and screws that secure it in place.
Heres how you’re free to safely remove the old hard drive:
1.
Identify the Old Hard Drive:Locate the old hard drive inside your laptop.
It is typically a rectangular-shaped rig connected to the motherboard with a data cable and a power cable.
Use a screwdriver to remove these screws, making sure to keep track of them for reassembly.
Be cautious not to damage the connectors or any nearby components while removing the drive.
It may require some gentle wiggling or slight upward pressure to free the drive from its position.
This will protect it from static electricity and physical damage.
Remember to disconnect the cables and remove the screws with caution.
Take your time and ensure that all components are properly disconnected before removing the old hard drive.
Installing the new SSD involves connecting cables and securing it in place with screws.
Heres how you’re free to safely plant the new SSD:
1.
Ensure that it is aligned correctly and fits securely in the mounting bracket or caddy.
Connect the Cables:Attach the data cable to the appropriate port on the new SSD.
This is usually a SATA connector, which matches the shape and size of the cable connector.
double-check to align the connectors properly and gently push them together until they fit snugly.
Connect the Power Cable:Connect the power cable to the power port on the new SSD.
This cable provides the necessary power supply for the SSD to function correctly.
Again, ensure that the connectors are aligned correctly and fully inserted.
Be careful not to overtighten the screws, as this may damage the SSD or the laptops components.
Check Cable Connections:Double-check the data and power cable connections to ensure they are securely fastened.
Press down firmly to secure the case and ensure that any clips or latches are engaged.
Then, reinsert and tighten all the screws that secure the case without overtightening.
Remember to handle the SSD and connectors with care, ensuring proper alignment and secure connections.
Closing the case ensures that all internal components are properly protected and secured.
Heres how you’ve got the option to safely exit the laptop case:
1.
Confirm that the data cable and power cable are properly inserted and fastened.
This step will help prevent any connectivity issues or potential data transfer problems.
Carefully position the case and ensure that any clips or latches are properly engaged.
Use a screwdriver to tighten them, but be cautious not to overtighten.
Start with the screws near the center of the case and work your way outward.
This will help ensure even pressure distribution and prevent any uneven gaps or misalignment.
Look for any noticeable gaps or misalignments.
Gently press on the case to confirm that there are no loose or creaking sections.
A properly closed laptop case should feel solid and secure.
Check that the laptop boots up normally and that the new SSD is recognized by the operating system.
Run some basic tasks to ensure that the laptop is performing optimally.
Heres how you might update the BIOS:
- you could typically find this information by restarting your laptop and entering the BIOS setup utility.
Look for a section that displays the BIOS version, usually located in the main or system information tab.
Search for the latest BIOS update available for your laptop.
Download the BIOS update file and save it to a location on your laptops hard drive.
Wait for the Update to Complete:The BIOS update process may take several minutes to complete.
During this time, your laptop may restart automatically or display a progress bar.
Its essential to be patient and not interfere with the update process.
Once the update is completed successfully, your laptop will restart again.
Check the version number displayed to ensure that it matches the latest version you downloaded.
This serves as confirmation that the update was successful.
Reinstalling the operating system on the new SSD ensures a fresh start and optimal performance.
Heres how you’re free to do it:
1.
Prepare the Installation Media:Obtain a bootable installation media for the operating system you want to install.
This can be a USB flash drive or a DVD containing the operating system installation files.
Ensure that it is compatible with your laptop and contains the necessary drivers for your specific hardware.
Connect the Installation Media:Insert the bootable installation media into your laptops USB port or DVD drive.
reset your laptop and enter the BIOS setup utility.
Configure the boot order to prioritize the installation media, allowing your laptop to boot from it.
By following these steps, you’re able to successfully reinstall the operating system on your new SSD.
confirm to take your time and follow the on-screen prompts carefully.
Heres how you’ve got the option to successfully restore your data:
1.
Locate Your Backup:Locate the backup you created before reinstalling the operating system.
Connect the Backup Storage:Connect the storage medium containing your backup to your laptop.
Copy Your Files:Navigate to the backup storage and locate your files and folders.
Copy the files and folders you want to restore to your laptops new operating system.
Open a few files and ensure that they open properly without any errors or corruption.
This step ensures that your files were successfully restored from the backup and are ready for use.
Delete any unnecessary or redundant files to free up storage space on your laptops new SSD.
Final Thoughts
Congratulations!
You have successfully upgraded your Dell Inspiron 15 7000 Gaming laptop to an SSD and reinstalled the operating system.
This is particularly important when making hardware changes or performing system updates.
Additionally, keep in mind that upgrading your laptop may void its warranty.
As you continue using your upgraded laptop, consider taking further steps to optimize its performance.
