Introduction
Welcome to this guide on how to unenroll a school Chromebook without using developer mode.
Why would you should probably unenroll a school Chromebook?
There are several reasons why you may need to unenroll a school Chromebook.
Understanding these reasons will help you determine if unenrolling is the right course of action for your situation.
This includes documents, photos, bookmarks, and any other data you want to keep.
The first method to unenroll a school Chromebook without developer mode is to perform a powerwash.
A powerwash will reset the equipment to its factory tweaks, removing all user accounts and data.
However, its important to verify with the schools IT department or administration that the machine is unenrolled.
They may need to remove it from their system to ensure a smooth transition.
Now that your Chromebook is unenrolled, you could personalize the devices parameters to suit your preferences.
Customize the wallpaper, manage user accounts, and explore the various options available in the controls menu.
you’re able to also install applications from the Google Play Store or external sources as desired.
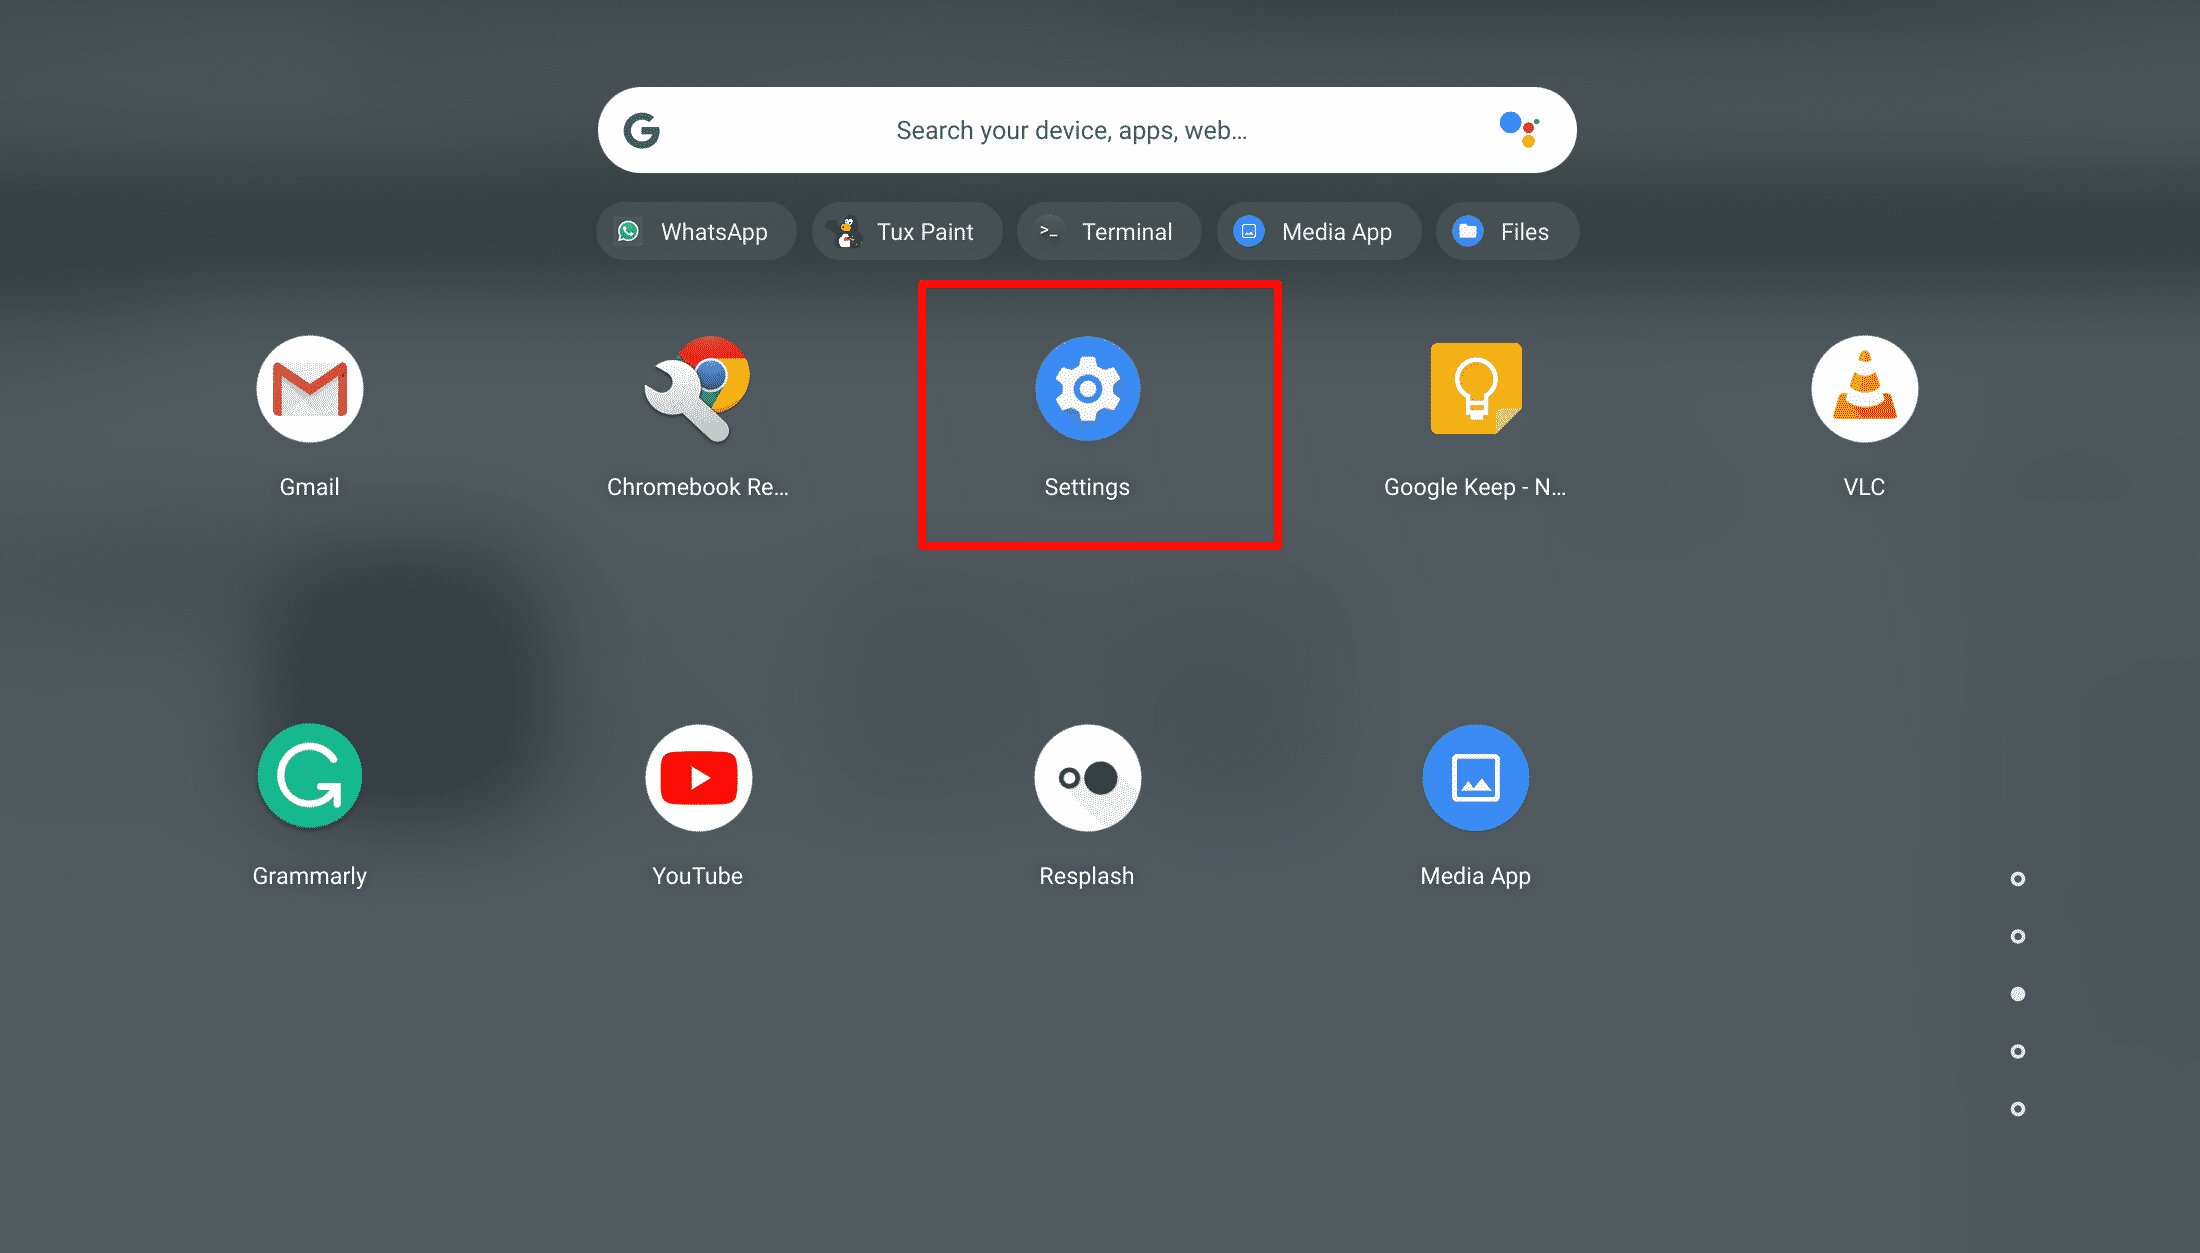
Then, go for the gear icon to fire up the tweaks menu.
In the controls menu, scroll down and hit the Advanced option.
This will expand the menu and reveal additional prefs.
Under the Powerwash section, go for the Powerwash button.
A confirmation prompt will appear, asking if you want to continue with the reset.
tap on Restart to proceed.
Enjoy utilizing your Chromebook in a personalized manner after the unenrollment process!
Note down their phone number or email address for easy communication.
drop a line to the IT department via phone or email.
Introduce yourself and explain your reason for wanting to unenroll the Chromebook.
Be polite and provide them with the necessary information they may require to identify your rig.
After the IT department has processed your request, confirm with them that the Chromebook has been successfully unenrolled.
This will ensure that it is no longer associated with any school-related management configurations.
Once the unenrollment is confirmed, you’re free to proceed to customize the Chromebook to your preferences.
Modify the parameters, install applications, and personalize the machine according to your needs.
Their expertise and guidance will help ensure a smooth and successful unenrollment process.
Remember to provide them with the necessary information and carefully follow their instructions throughout the process.
Method 3: Using the Recovery tool
Create a recovery USB drive using a separate computer.
Visit Googles Chromebook Recovery website and follow the instructions to create a recovery image for your specific Chromebook model.
This will require a USB drive with sufficient storage capacity.
With the recovery USB drive prepared, turn off the Chromebook completely.
Release the keys once a yellow exclamation mark appears on the screen.
Once the Chromebook is set up, take the opportunity to customize its controls according to your preferences.
Modify the wallpaper, manage user accounts, and explore the different options available in the options menu.
Remember to create the recovery USB drive and carefully follow the on-screen instructions during the Recovery process.
Enjoy using your unenrolled Chromebook in a personalized manner!
This method is simple to follow and requires no technical expertise.
Alternatively, reaching out to the schools IT department is another viable option.
Lastly, the Chromebook Recovery tool provides a comprehensive solution for unenrollment.
Remember to back up any important data before proceeding with any of these methods.
Additionally, always ensure open communication with the schools IT department to ensure a smooth unenrollment process.
Enjoy the flexibility and customization options that come with an unenrolled Chromebook!
