Introduction
Welcome to the wonderful world of Chromebooks!
If youre new to Chromebooks, you may be wondering how to turn on your unit and get started.
Look no further because this article will guide you through the steps to turn on your Chromebook successfully.
AChromebookis a pop in of laptop that runs on Googles Chrome OS operating system.
Before we dive into the steps, ensure that your Chromebook is charged or connected to a power source.
Lets get started on how to turn on your Chromebook!
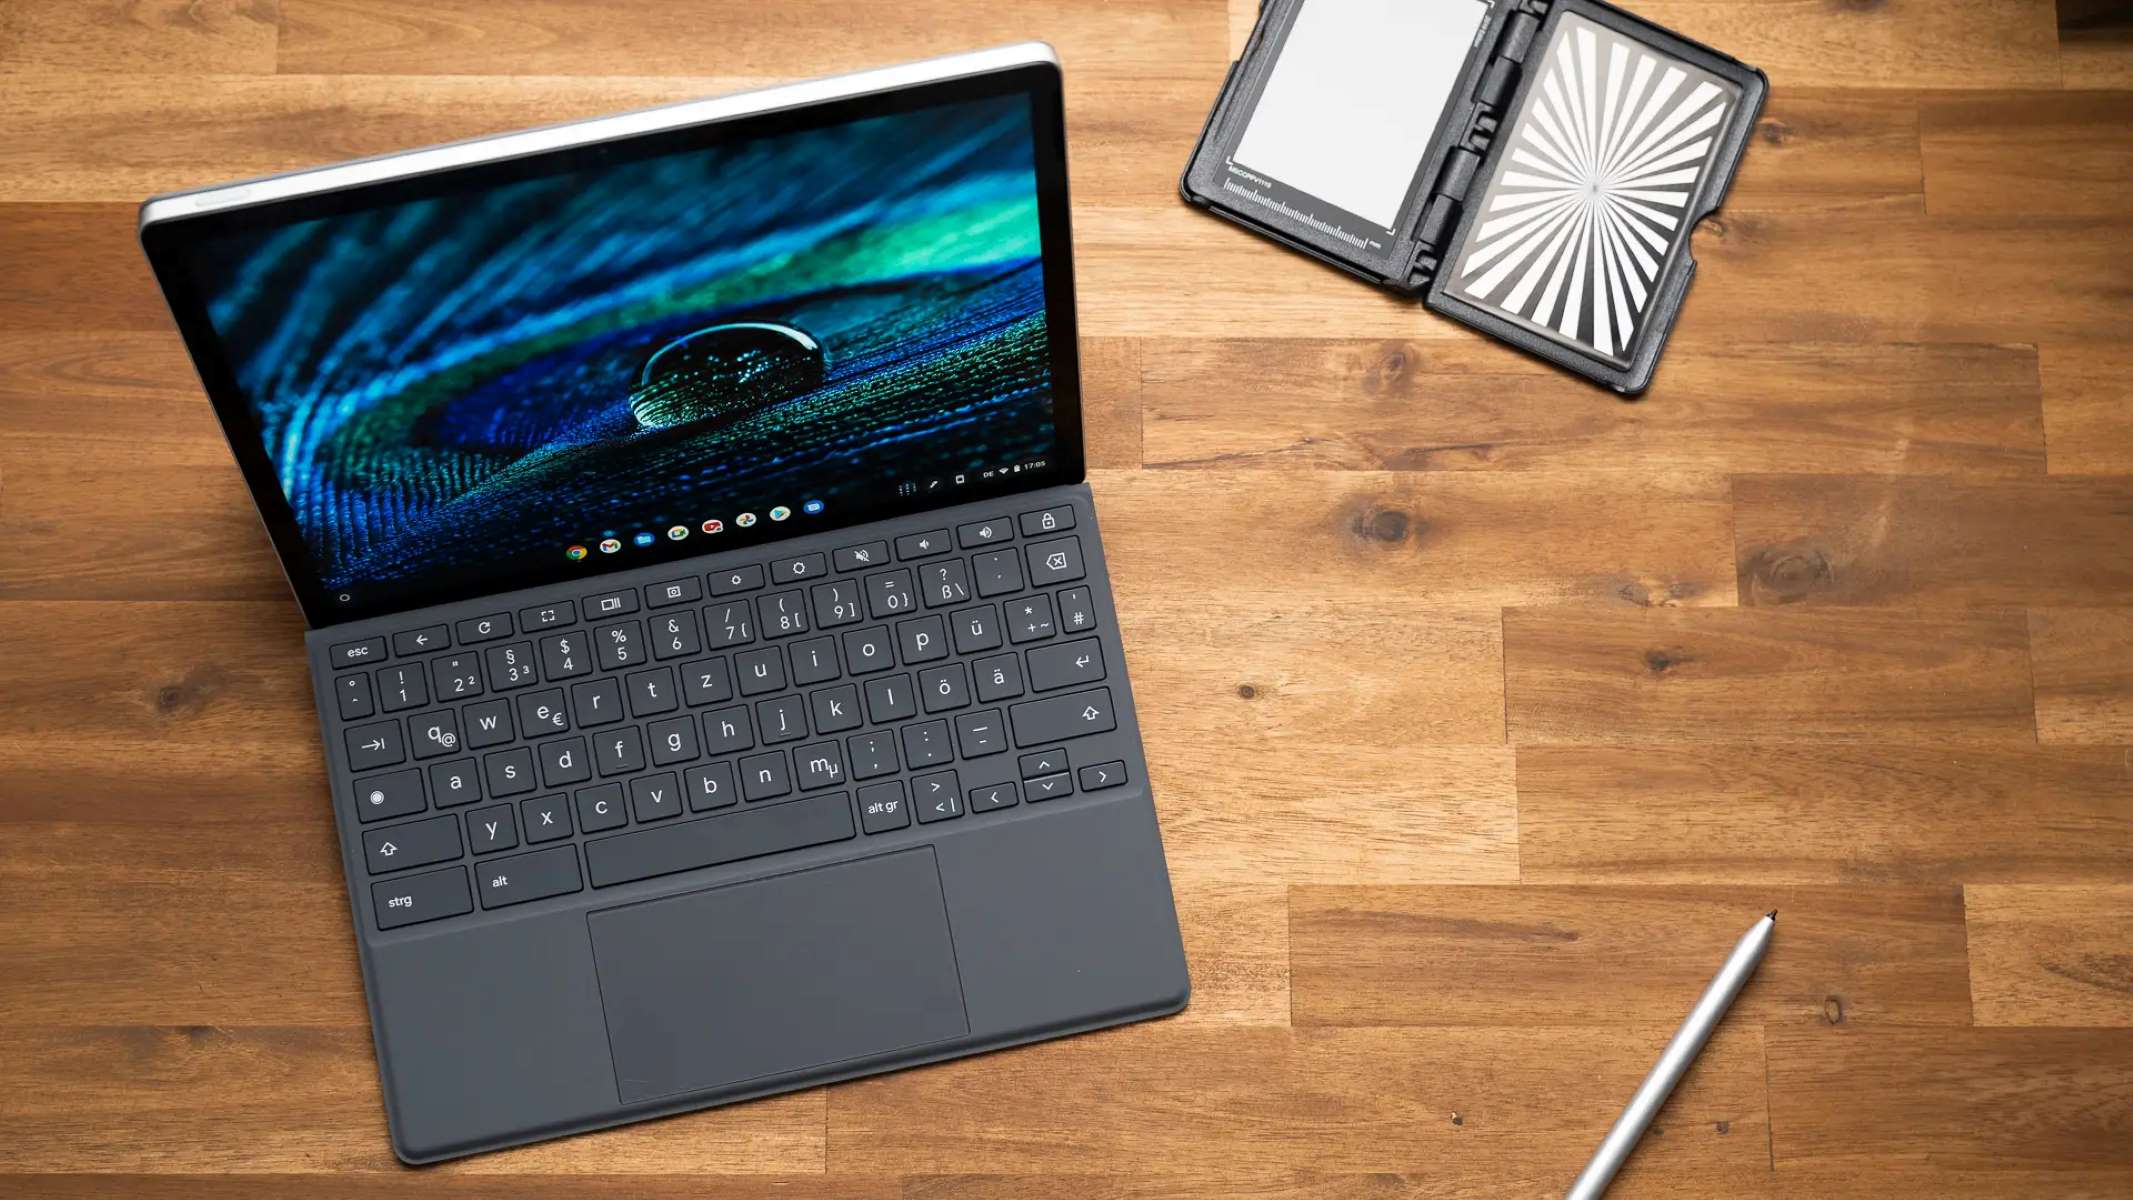
Your Chromebook may have a power button located either on the side or at the top of the keyboard.
Once youve located the power button, its time to power on your Chromebook.
Simply press and hold the power button for a few seconds until you see the screen light up.
You may also hear a startup sound or notice thekeyboard backlight turning onif your Chromebook has one.
Now that your Chromebook is powered on, its time to sign in with your Google account.
Chromebooks rely heavily on Google services, so having a Google account is essential.
you could also choose to enable guest mode for anyone who wants to use your Chromebook without signing in.
In the next section, well explore how to set up your Wi-Fi connection and customize your Chromebook parameters.
So, keep reading to make the most out of your Chromebook experience!
To turn on your Chromebook, simply press and hold the power button for a few seconds.
At this point, the gear is powered on and ready to use.
Some Chromebooks also have a power indicator light, which will illuminate when the gadget is powered on.
This can be helpful if youre in a dimly lit environment and need confirmation that your Chromebook is on.
So, lets move on to Step 2: Sign in with your Google account!
Chromebooks heavily rely on Google services and cloud-based storage, so having a Google account is essential.
If you already have a Google account, simply slide in your email address and password to proceed.
Guest mode provides a temporary session that doesnt save any data, ensuring privacy and security for multiple users.
This account may have additional restrictions or controls configured by your organization.
Lets move on to Step 3: Set up your Wi-Fi connection!
This icon represents the status of your Wi-Fi connection.
To connect to a Wi-Fi web connection, hit the Wi-Fi icon.
A list of available networks will appear, along with signal strength and security information.
Locate your desired Wi-Fi web link from the list and press its name.
If the online grid is password-protected, you will be prompted to enter the Wi-Fi password.
After entering the correct password, press the Connect button.
Your Chromebook will then try linking to the Wi-Fi internet.
Once connected, the Wi-Fi icon will turn blue or show signal bars to indicate a successful connection.
you’re free to also move closer to the Wi-Fi router to improve the signal strength.
This is necessary when connecting to hidden networks or networks that require specific controls.
To manually add a Wi-Fi web link, press the Add web link option and enter the required information.
This eliminates the hassle of manually connecting each time you power on your Chromebook.
In the next step, we will explore how to customize your Chromebook prefs to personalize your experience.
So, lets move on to Step 4: Customize your Chromebook configs!
To dive into the Chromebook prefs, punch the clock in the bottom-right corner of the screen.
This will open a pop-up with several options, including the controls option.
hit controls to fire up the Chrome OS controls menu.
Explore the parameters menu to discover additional options that suit your needs and preferences.
Remember to save any changes you make in the options menu by clicking the Apply or OK button.
Your Chromebook will automatically update and apply the new configs.
In the next step, we will delve into the Chrome OS interface and explore its features.
So, lets move on to Step 5: Explore the Chrome OS interface!
Next to the Launcher button, you will see icons for the applications currently running on your Chromebook.
These icons serve as a way to switch between different open apps quickly.
These icons provide easy access to prefs and allow you to monitor and manage essential aspects of your Chromebook.
it’s possible for you to also get into the full prefs menu from this pop-up window.
you could organize the desktop by dragging and arranging these shortcuts anywhere on the screen.
Chrome OS also offers a variety of gestures and keyboard shortcuts to enhance your productivity.
Toaccess the Chrome Web Store, choose the Launcher button located in the taskbar.
Apps can provide additional features or services, while extensions can add functionality and improve your browsing experience.
Themes allow you to personalize the appearance of your Chromebook.
To download and install an app or extension, simply tap on its listing in the Chrome Web Store.
If you decide to install it, snag the Add to Chrome or Install button.
Some apps may also create shortcuts on your desktop for easy access.
Its important to note that Chromebook apps and extensions are designed to work seamlessly with the Chrome OS environment.
They are typically lightweight and optimized for performance, allowing you to enjoy a smooth user experience.
This ensures that you have the latest features, bug fixes, and security patches.
Explore the store and discover apps and extensions that enhance your productivity, creativity, and entertainment.
Enjoy your new unit and embrace the seamless, reliable, and user-friendly experience it offers!
Conclusion
Congratulations on successfully setting up and getting acquainted with your Chromebook!
The Chrome OS interface provides a clean and intuitive environment, allowing you to navigate and perform tasks effortlessly.
you’re free to also enable guest mode for others to use your Chromebook without signing in.
Setting up your Wi-Fi connection ensures you have a stable internet connection to take full advantage of Chromebook features.
Customizing your Chromebook controls allows you to tailor your gear to your preferences.
Explore the store and find apps and extensions that improve your productivity, creativity, and entertainment.
Now that you have completed all the essential steps, its time to enjoy your Chromebook to the fullest.
Thank you for following this guide, and we hope you enjoy your Chromebook journey!
