Introduction
Welcome to the world of aerial photography and videography with the DJI Mavic Pro!
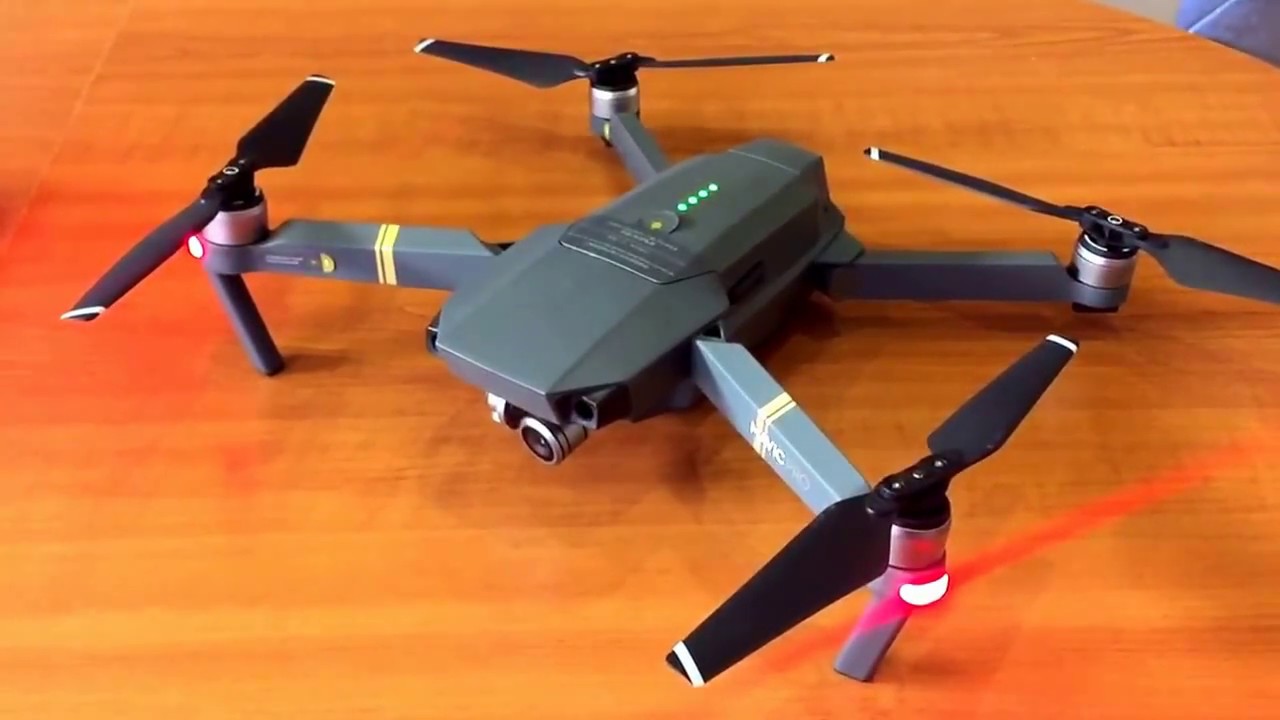
The DJI Mavic Pro is a high-quality, compact drone that offers incredible flight performance and advanced features.
Its intelligent flight modes, such as ActiveTrack and Gesture Control, allow for effortless flying and precise maneuvering.
When you receive your Mavic Pro package, ensure that it is sealed and undamaged.
Inspect each component for any signs of damage or defects.
Check the drone for any physical damages, such as cracks or scratches.
Examine the propellers to see to it they are not warped or broken.
Look for any loose or missing parts, such as screws or connectors.
This will prevent any blurring or obstructions when capturing aerial footage.
Take note of the serial number located on the body of the drone.
You may need this information for registration or warranty purposes.
Step 2: Charging the battery
1.
Take out the battery from the packaging and inspect it for any physical damage.
Ensure that the battery contacts are clean and free from any debris or dirt.
Locate the battery port on the drone and slide the battery into the designated slot.
verify it is firmly seated and properly aligned.
Connect the charger to a power source and plug the other end into the charging port on the battery.
The charging port is located on the side of the battery.
When you plug in the charger, the battery indicator lights will start flashing.
Each light represents the approximate battery level.
Wait for the lights to stop flashing and remain steadily lit, indicating that the battery is fully charged.
Charging time may vary depending on the battery level and the charger used.
Generally, it takes around 60-90 minutes to fully charge the DJI Mavic Pro battery.
While the battery is charging, its a good time to prepare your mobile unit.
Once the battery is fully charged, disconnect the charger from the battery and the power source.
Gently remove the battery from the drone if it is still inserted.
Charging the battery is an essential step in setting up your DJI Mavic Pro.
Always use the provided DJI charger and avoid using third-party chargers to prevent any potential damage to the battery.
Step 3: Installing the propellers
1.
Take out the propellers from the packaging and inspect them for any signs of damage or defects.
Ensure that each propeller is in good condition and free from any dirt or debris.
Its crucial to install each propeller in the correct position to achieve stable flight.
Locate the motors on the DJI Mavic Pro.
The motor arms are labeled with corresponding letters A or B.
Match the propellers with the correct motor arms.
Place one propeller on a motor arm, aligning it with the motor shaft.
Push the propeller down firmly until it clicks into place.
Repeat this step for the remaining propellers, ensuring that each one is securely attached.
Verify that all the propellers are correctly installed by giving them a gentle spin.
They should rotate smoothly and without any obstructions.
Always double-check that the propellers are securely attached before every flight.
Step 4: Mounting your mobile gear
1.
Locate the mobile rig holder on the remote controller.
The holder is located at the bottom, between the control sticks.
Gently pull out the arms of the mobile equipment holder to extend it fully.
This will accommodate a range of different-sized mobile devices.
Place your mobile gear horizontally into the holder.
Adjust the width of the arms to fit your equipment securely.
Ensure that your machine is centered and properly aligned with the control sticks.
This will prevent any accidental slips or falls during flight.
Adjust the angle of your mobile equipment to a comfortable viewing position.
Most holders allow for tilting the machine up and down to achieve the desired angle.
These apps provide access to various flight modes, camera parameters, and telemetry data during your drones flight.
Step 5: Powering on your DJI Mavic Pro
1.
Locate the power button on the battery.
It is usually located on the side or near the LED indicators.
Ensure that the battery is securely inserted into the drone.
Press and hold the power button for a few seconds until the battery LED indicators light up.
This indicates that the battery is powered on and ready to be connected.
Once the battery is powered on, press and hold the power button on the drone itself.
Tap on the Connect or Go Fly button to establish a connection with the Mavic Pro.
The remote controller willautomatically connect to the DJI Mavic Pro.
You will hear a series of beeps, indicating a successful connection.
Youre now ready to start flying.
Also, remember to follow the local regulations and guidelines for flying drones in your area.
The next step is to calibrate the compass to ensure accurate flight and navigation.
Step 6: Pairing your DJI Mavic Pro with the remote controller
1.
This indicates that the remote controller is in pairing mode.
The LED indicators on the drone will start blinking, showing that it is searching for the remote controller.
Wait for a few moments until the remote controller and the drone establish a connection.
The LED indicators on both devices will turn solid, indicating a successful pairing.
This indicates that the devices are connected and ready for flight.
Swapping remote controllers may cause issues with connectivity and flight performance.
The next step is to calibrate the compass before taking off into the sky.
Step 7: Calibrating the compass
1.
Find a location that is free from any metallic objects, electromagnetic interference, and magnetic fields.
Power on both the drone and the remote controller and ensure that they are connected.
Hold the DJI Mavic Pro horizontally in your hand, making sure that it is level and stable.
Rotate the aircraft slowly and steadily in a full 360-degree motion.
Keep the rotation smooth and consistent.
As you rotate the drone, the DJI GO app will display a compass calibration progress indicator.
double-check to complete the full rotation until the progress indicator reaches 100%.
Once the compass calibration is complete, the app will display a message confirming the successful calibration.
you’ve got the option to now proceed with your flight plans.
Compass calibration is an essential step to ensure accurate flight performance and precise navigation.
It helps to prevent any unwanted compass errors or inaccuracies that may impact your flight experience.
The next step is to start the motors and prepare for takeoff.
Step 8: Starting the motors
1.
Ensure that the drone is on a flat and level surface, away from any obstructions.
Locate the flight control sticks on the remote controller.
see to it both sticks are in the lowest position, indicating a neutral or idle state.
This prevents any accidental motor engagement during the start-up process.
To start the motors, push both control sticks down and inward towards each other.
This combination of stick movements will activate the motor start-up sequence.
Pay attention to the drones status lights.
You will see the motors gradually spin up and enter the armed state.
Take a moment to ensure that the area around the drone is clear and free from any obstacles.
With the motors started, the propellers will be spinning rapidly, creating a potential safety hazard.
Step 9: Taking off and flying your DJI Mavic Pro
1.
Ensure that the area around the drone is clear of any obstacles, people, or animals.
Its important to have a safe and open space for takeoff.
Once youve checked the surroundings, slowly push the control stick upward.
This will increase the throttle and lift the drone off the ground.
Use the control sticks on the remote controller to maneuver the drone in different directions.
Familiarize yourself with the remote controllers layout and functions.
Start with gentle movements and small adjustments to get comfortable with the drones responsiveness.
Gradually increase your flying skills and confidence as you spend more time piloting the DJI Mavic Pro.
Pay attention to the drones battery level.
The DJI GO app or DJI Fly app will display the remaining battery life.
Ensure that you have sufficient battery power to safely return and land the drone.
Its important to adhere to local regulations and flight guidelines while operating the DJI Mavic Pro.
Always prioritize safety and continue to learn and improve your flying abilities.
Conclusion
Congratulations!
You have now learned how to turn on, set up, and fly your DJI Mavic Pro.
Remember to always fly responsibly and adhere to local regulations and guidelines.
Prioritize safety and maintain a clear and open area for takeoff and flight.
With every flight, remember to respect the privacy of others and the environment.
Leave no trace and be mindful of your surroundings.
We hope that this guide has provided you with the necessary information to confidently operate your DJI Mavic Pro.
