Introduction
Welcome to this guide on how to turn on your Acer monitor.
While we will provide general guidelines, its always recommended to consult your monitors user manual for specific instructions.
Now, lets get started on turning on your Acer monitor and getting it ready for use!
Here are a few things to consider:
1.
Check the box:launch the box containing your Acer monitor and check for any accessories or cables included.
This will provide specific instructions on the setup process and any additional features or tweaks that may be available.
- flush the workspace:Ensure that you have a clean and clutter-free surface to set up your monitor.
Remove any objects that may obstruct the monitor or cables.
Check compatibility:Verify that your box or rig is compatible with the Acer monitor.
Check the system requirements mentioned in the user manual or the Acer website to ensure proper compatibility.
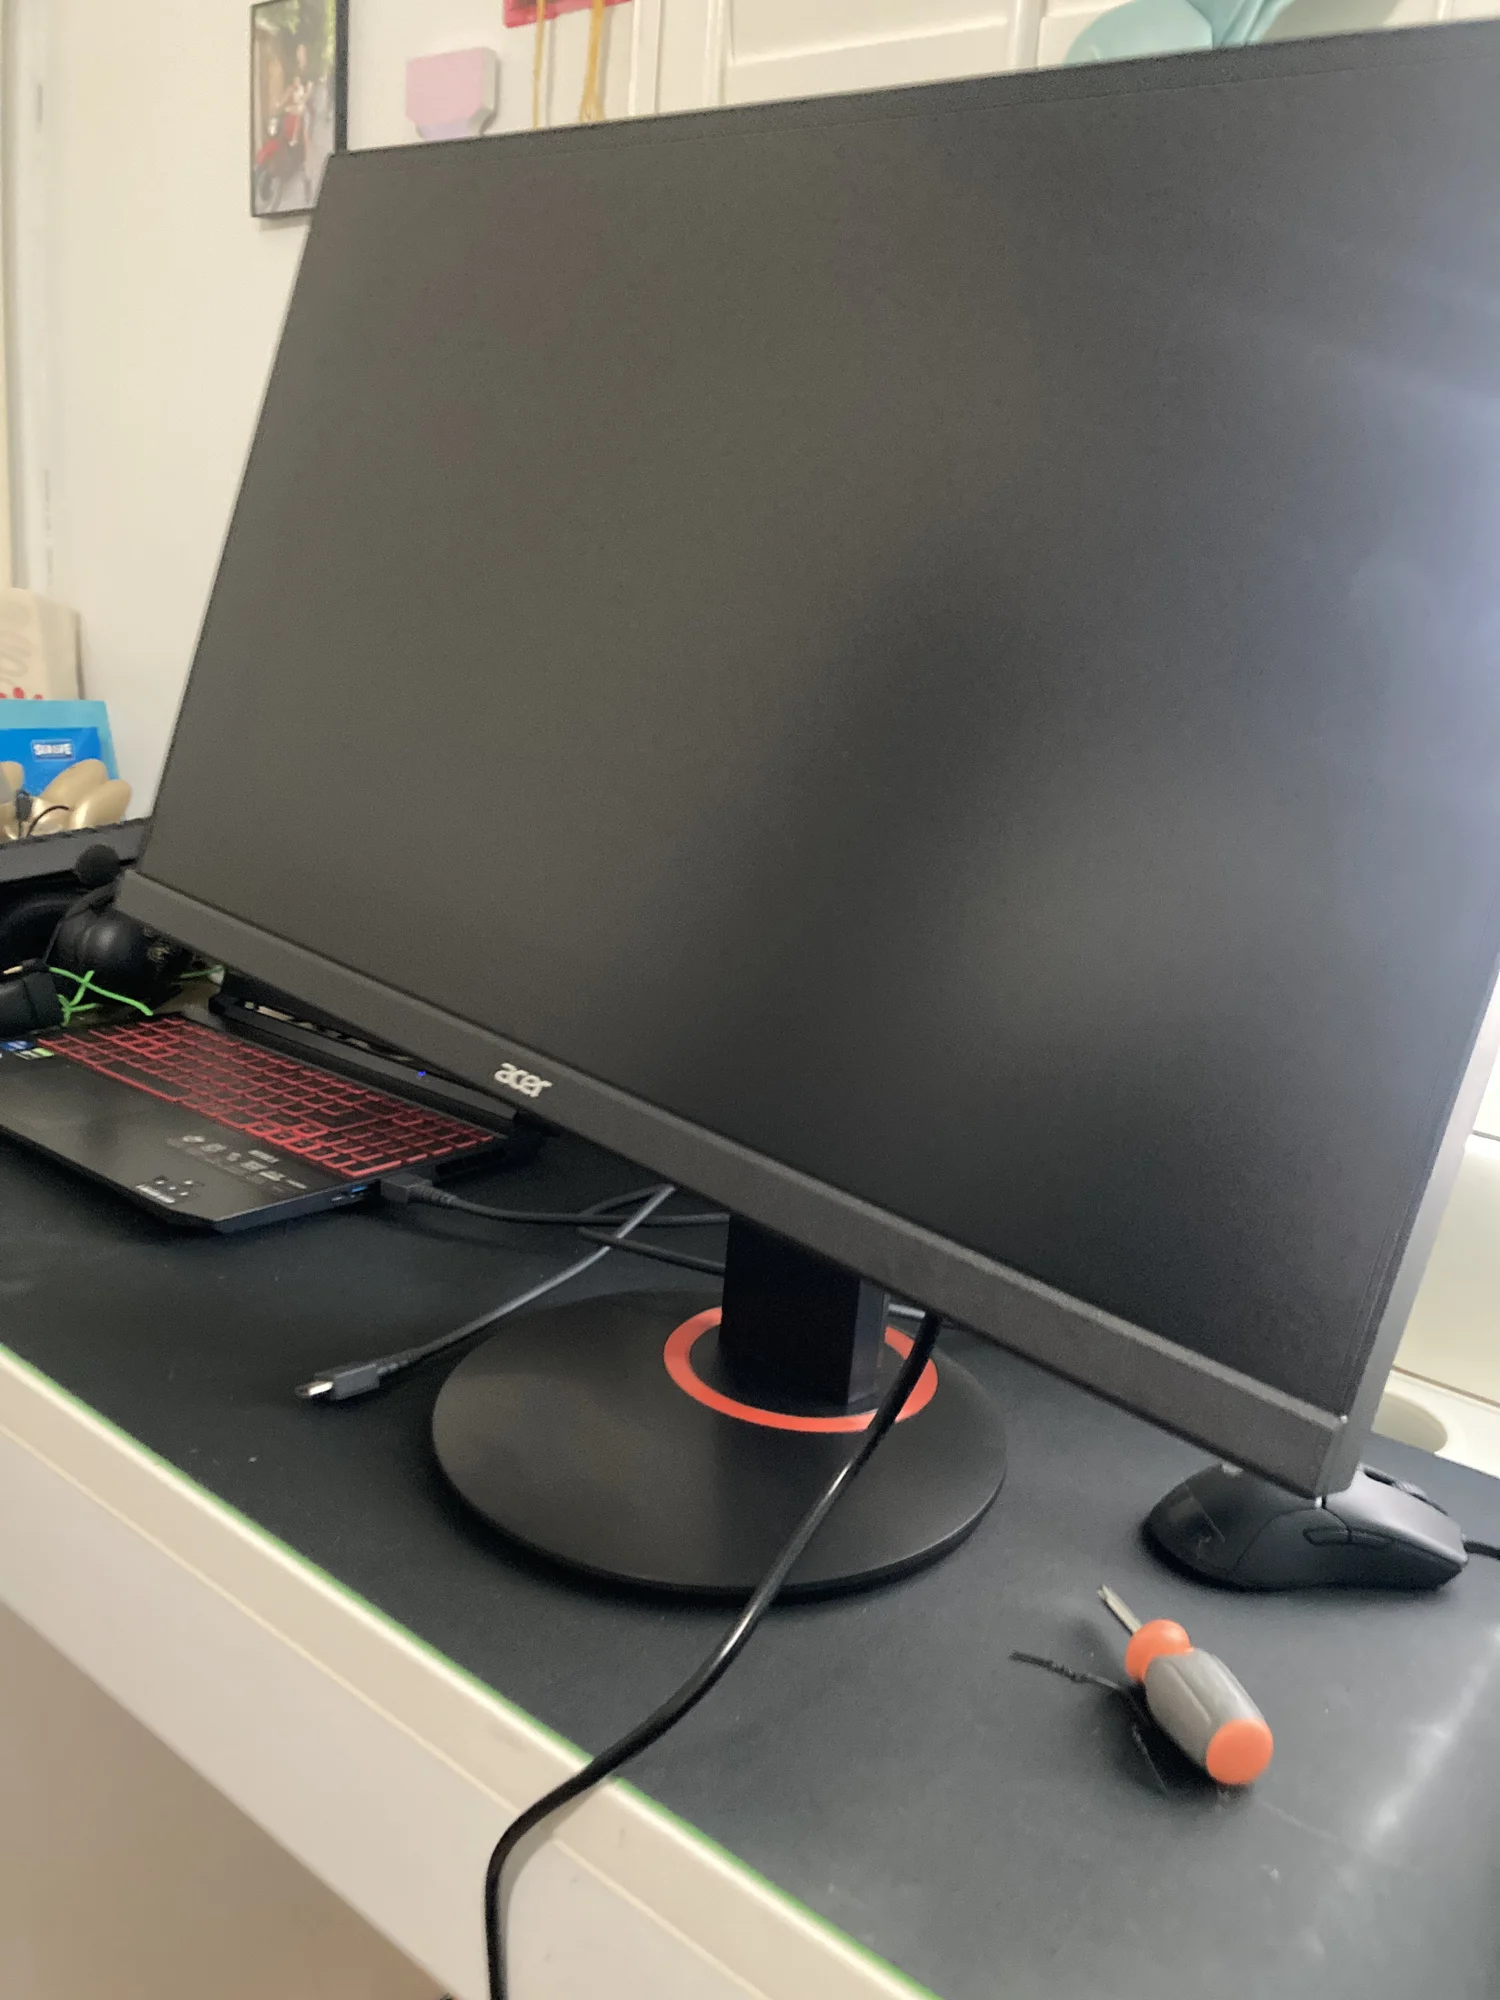
Step 2: Attach Cables
1.
Power cable:Locate the power cable that came with your Acer monitor.
Cable management:Take a moment to organize and secure the cables to avoid tangling or accidental disconnections.
Confirm all connections:Double-check that all cables are securely connected on both ends.
Loose connections can cause display issues or result in no input signal being detected.
Step 3: Connect to Power Source
1.
Locate the power button:Look for the power button on the monitor.
The power button may be labeled with power or a power symbol.
Hold the button for a few seconds if necessary.
Check for power indicator:Look for a power indicator light on the monitor.
This light typically turns on when the monitor is receiving power and indicates that it is on.
Step 4: Press the Power Button
1.
Locate the power button:Look for the power button on the front or side of your Acer monitor.
It is usually marked with a power symbol or the word power.
Press the power button:Using your finger, gently press the power button to turn on the monitor.
Hold the button for a few seconds if the monitor does not turn on immediately.
This light confirms that the monitor is receiving power and is now turned on.
Wait for the display:Give the monitor a few moments to warm up and display an image.
By pressing the power button, your Acer monitor should now be turned on and ready for use.
Press this button to bring up the menu.
The buttons are typically located near the Menu button.
Adjust brightness and contrast:Locate the options for adjusting brightness and contrast in the OSD menu.
Use the navigation buttons to select these options and adjust the values.
Experiment with different tweaks until you achieve a comfortable and visually pleasing display.
Adjust these prefs to enhance the accuracy and vibrancy of colors on the display.
Here are a few troubleshooting tips to help you resolve common problems:
1.
Try using a different power outlet or trying the monitor with a different power cable if available.
you could typically access display parameters through the Control Panel or parameters menu.
If the issues persist, consult the user manual or contact Acer customer support for further assistance.
Driver updates:Ensure that you have the latest display drivers installed for your computers graphics card.
Outdated or incompatible drivers can cause display issues.
Visit the manufacturers website for your graphics card to download and implement the latest drivers.
They can provide guidance specific to your monitor model and help diagnose and resolve any persisting problems.
Remember, troubleshooting steps may vary depending on your specific monitor model and computer setup.
Always consult the user manual and seek assistance from Acer customer support if needed.
Conclusion
Congratulations!
You have successfully learned how to turn on your Acer monitor and get it ready for use.
Remember, each Acer monitor model may have slight variations in the setup process and available tweaks.
