Introduction
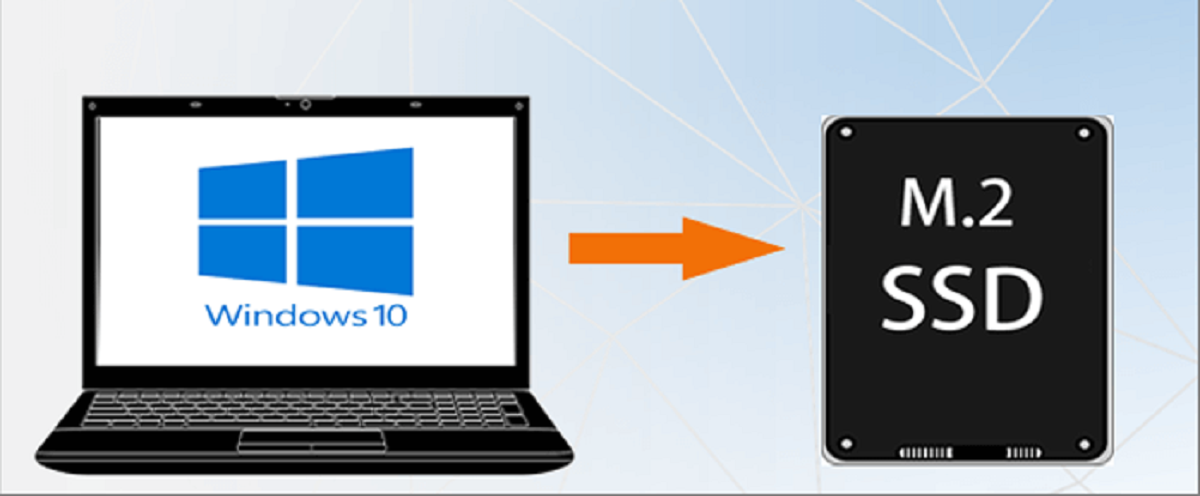
Welcome to our guide on how to transfer Windows from SSD to M.2!
The answer is simple: to take full advantage of the benefits that M.2 drives have to offer.
However, the process of transferring your Windows installation may seem daunting at first.
What is M.2?
It was introduced as a successor to traditional 2.5-inch SATA drives and offers several key advantages.
This compact form factor makes them ideal for thin and lightweight laptops, ultrabooks, and small desktop systems.
M.2 drives come in different lengths and widths, with the most common ones being 22mm wide.
They are also available in various storage capacities, ranging from 128GB to several terabytes.
One of the major advantages of M.2 drives is their speed.
This allows for quicker boot times, faster software launches, and improved overall system performance.
Another notable feature of M.2 drives is their support for NVMe (Non-Volatile Memory Express) technology.
In addition to their speed and performance benefits, M.2 drives are also known for their energy efficiency.
M.2 drives are incredibly versatile and can be used for various purposes beyond just storage.
Why Transfer Windows from SSD to M.2?
Lets explore some of the key benefits that make this migration worthwhile.
Improved Performance: One of the primary advantages of M.2 drives is their superior performance compared to traditional SSDs.
Space Efficiency: M.2 drives are incredibly compact and take up minimal space on your motherboard.
This can save you from the hassle of migrating your system again when upgrading your hardware.
With these benefits in mind, its clear why more and more users are choosing to make the switch.
Next, well guide you through the necessary preparations for a smooth transfer process.
By following these steps, youll ensure a smooth and successful migration process.
Additionally, create a system image using Windows Backup or a third-party backup tool.
Consult your motherboards manual or visit the manufacturers website to verify compatibility.
Save the changes and exit the BIOS to proceed with booting into your current Windows installation.
Remove the old SSD from your system and replace it with the new M.2 drive.
Connect the power source again and boot into the BIOS setup.
Set the M.2 drive as the primary boot machine and save the changes.
This ensures that your system will now boot from the M.2 drive.
Check that the Windows operating system, applications, and parameters are intact.
In the next section, well dive into the step-by-step process of migrating your Windows installation.
In addition to backing up your data, creating a system image is equally important.
Windows provides a built-in tool called Windows Backup and Restore for creating a system image.
Creating a system image may take some time, especially if you have a large amount of data.
Therefore, ensure that your gear is plugged into a power source to prevent any interruptions during the process.
So lets move on to Step 2: Checking M.2 compatibility and preparing the M.2 drive.
Its essential to confirm compatibility and properly set up the M.2 drive to ensure a smooth transition.
Check Motherboard Compatibility: Start by checking if your motherboard supports M.2 drives and which types it can accommodate.
Consult your motherboards documentation or visit the manufacturers website to find this information.
Most motherboards have multiple M.2 slots, so choose the one that suits your needs best.
Consider factors such as slot placement, size restrictions, and potential interference with other components.
Remove them carefully to reveal the connector pins and ensure a proper connection.
Apply light pressure until the drive is firmly seated.
Use a small screwdriver to tighten the screw just enough to hold the drive firmly in place.
Be careful not to overtighten or damage the drive or motherboard.
start your setup and enter the BIOS setup by pressing the appropriate key (often DEL or F2).
Navigate to the storage or boot options and ensure that the M.2 drive is detected.
If it is not recognized, check your installation and consult your motherboards manual for troubleshooting guidance.
So lets move on to Step 3: Connect the M.2 drive and boot into the current SSD.
This step is crucial for ensuring a smooth transition and setting up the foundation for the Windows transfer process.
This will prevent any potential damage to your system during the installation process.
Locate the M.2 slot on your motherboard and take note of the connector.
Connect the M.2 Drive: Place the M.2 drive into the corresponding M.2 slot at a 30-degree angle.
Align the notches on the drive with the keying on the slot.
Apply gentle pressure to insert the drive fully into the slot until it is seated securely.
Do not force the drive, as it should insert smoothly.
Consult your motherboards manual for specific instructions on securing the M.2 drive.
Use a screwdriver to tighten the screw, ensuring that the drive is firmly held in place.
Connect Power and Data Cables: Next, connect the appropriate power and data cables to the M.2 drive.
Refer to your M.2 drives documentation and your motherboards manual for proper cable connections.
Save the changes and exit the BIOS.
Verify Successful Boot: After exiting the BIOS, your system should boot into your current SSD as usual.
Take a moment to ensure that everything is functioning correctly and all your files and applications are accessible.
This will confirm that the M.2 drive connection and boot parameters are properly configured.
So lets move on to Step 4: Migrate the Windows Operating System.
Lets dive into the migration process!
Popular options include EaseUS Todo Backup, AOMEI Backupper, and Macrium Reflect.
Choose the tool that suits your needs and download it from the official website.
Launch the Migration Tool: once you nail installed the migration tool, launch the program on your gear.
Most tools feature a user-friendly interface with step-by-step instructions, making the migration process straightforward.
Ensure that you choose the correct drives to avoid any data loss or issues during the migration.
Double-check the drive labels or serial numbers if needed.
This can include selecting specific partitions, resizing partitions, or adjusting other advanced options.
Review and adjust these tweaks according to your preferences.
Monitor this progress and do not interrupt the process until it has been completed.
Avoid using your system for resource-intensive tasks, as it may slow down the migration or even cause errors.
Complete the Migration: Once the migration is complete, you will receive a notification from the migration tool.
Its important to note that after the migration, your current SSD will remain intact and unchanged.
You have successfully migrated your Windows operating system from the SSD to the M.2 drive.
In the next step, we will guide you through setting the M.2 drive as the primary boot gear.
So, lets move on to Step 5: Set the M.2 Drive as the Primary Boot gadget.
Lets proceed with setting the M.2 drive as the primary boot gear.
- cycle your gear: Begin by restarting your gear.
Press the designated key to enter the BIOS setup.
The name of this section may vary depending on your motherboards manufacturer and BIOS version.
Look for options like Boot, Boot Configuration, or Boot Priority.
Change the Boot Order: Within the boot options section, youll find a list of available boot devices.
This will ensure that the BIOS prioritizes the M.2 drive as the primary boot unit.
Confirm your selection and wait for the computer to restart.
Pay attention to the boot process and check that that your Windows operating system loads from the M.2 drive.
This indicates that the M.2 drive has been successfully set as the primary boot unit.
You have successfully set the M.2 drive as the primary boot gadget in your systems BIOS.
your box will now boot from the M.2 drive, allowing you to enjoy its enhanced speed and performance.
In the next step, we will guide you through verifying the transfer and deleting old files.
So, lets move on to Step 6: Verify the Transfer and Delete Old Files.
Lets proceed with step 6 to ensure everything is in order.
Ensure that all your files, applications, and parameters are intact and function as expected.
Open a few files and verify that they open correctly without any errors.
Be cautious during this step, as deleting the wrong files could result in permanent data loss.
Remove any unnecessary files, folders, or partitions from your previous SSD to free up storage space.
Properly disposing of your old SSD protects your privacy and prevents unauthorized access to your data.
Enjoy the improved speed, responsiveness, and efficiency that the M.2 drive brings to your computing experience.
If you have any further questions or need assistance, just do not hesitate to seek further support.
Conclusion
Congratulations on successfully transferring your Windows operating system from an SSD to an M.2 drive!
The increased data transfer speeds of the M.2 drive will significantly enhance your multitasking capabilities and overall computing experience.
By doing so, you’ve got the option to extend the longevity and reliability of your system.
Enjoy the improved performance and efficiency that your system now offers.
Thank you for choosing our guide, and happy computing!
