However, relying solely on cloud storage may leave you vulnerable to potential data loss or account breaches.
Thats where backing up your photos to an external hard drive comes in handy.
If your system does not detect the external hard drive, try using a different USB cable or port.
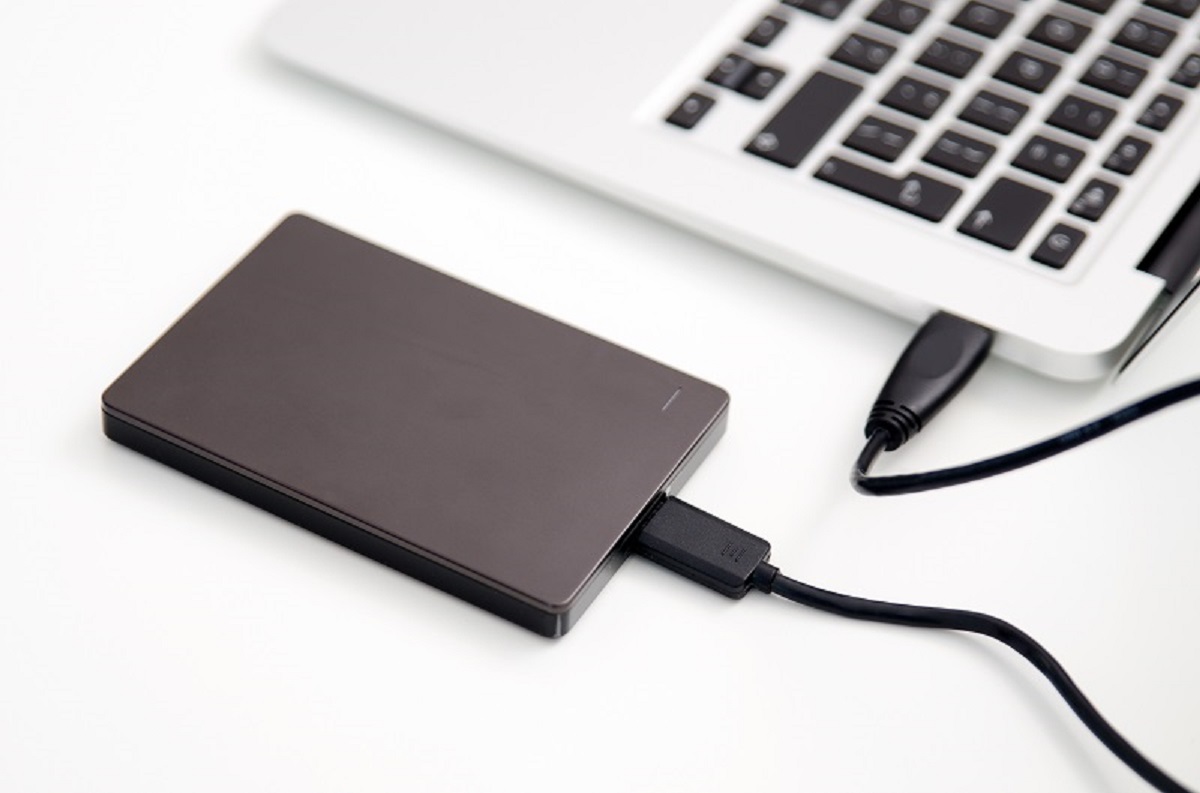
If the issue persists, consult the user manual or get in touch with the manufacturer for further assistance.
Connecting the external hard drive is an important initial step to ensure the successful transfer of your photos.
During the installation process, youll also be prompted to sign in to your Google account.
see to it to use the same Google account that contains the photos you want to transfer.
If you dont have a Google account, youll need to create one before proceeding.
Without signing in, you wont be able to access your Google Photos and complete the transfer process.
Its important to sign in to the correct Google account that contains the photos you want to transfer.
Lets move on to the next step of choosing the external hard drive location.
wise to choose a location that is easily accessible and organized for future reference.
Ensure that your external hard drive has sufficient storage space to accommodate the transferred photos.
Lets move on to the next step of starting the transfer process.
It is normal for larger photo collections to take longer to transfer.
This helps to ensure that the transfer is completed accurately and no conflicts or discrepancies arise.
You have reached a significant milestone in transferring your photos from Google to an external hard drive.
You have completed the transfer process and successfully transferred your precious photos from Google to an external hard drive.
Moving your photos from Google to an external hard drive offers several advantages.
Regularly backing up new photos will help you maintain an organized and secure archive of your memories.
