This results in lightning-fast data retrieval and transfer speeds, providing a noticeable performance improvement for your box.
Now, you might wonder what benefits you might expect from using an SSD.
These advantages make SSDs a highly sought-after upgrade for those looking to breathe new life into their older systems.
Before you embark on the SSD installation process, there are a few essential preparations you oughta make.
First and foremost, its crucial to back up all your important files and data.
Additionally, you better peek if your system is compatible with an SSD.
Consult your computers manual or visit the manufacturers website for detailed compatibility information.
Next, youll need to grab the right SSD for your needs.
Well also provide some troubleshooting tips to assist you in case you encounter any issues along the way.
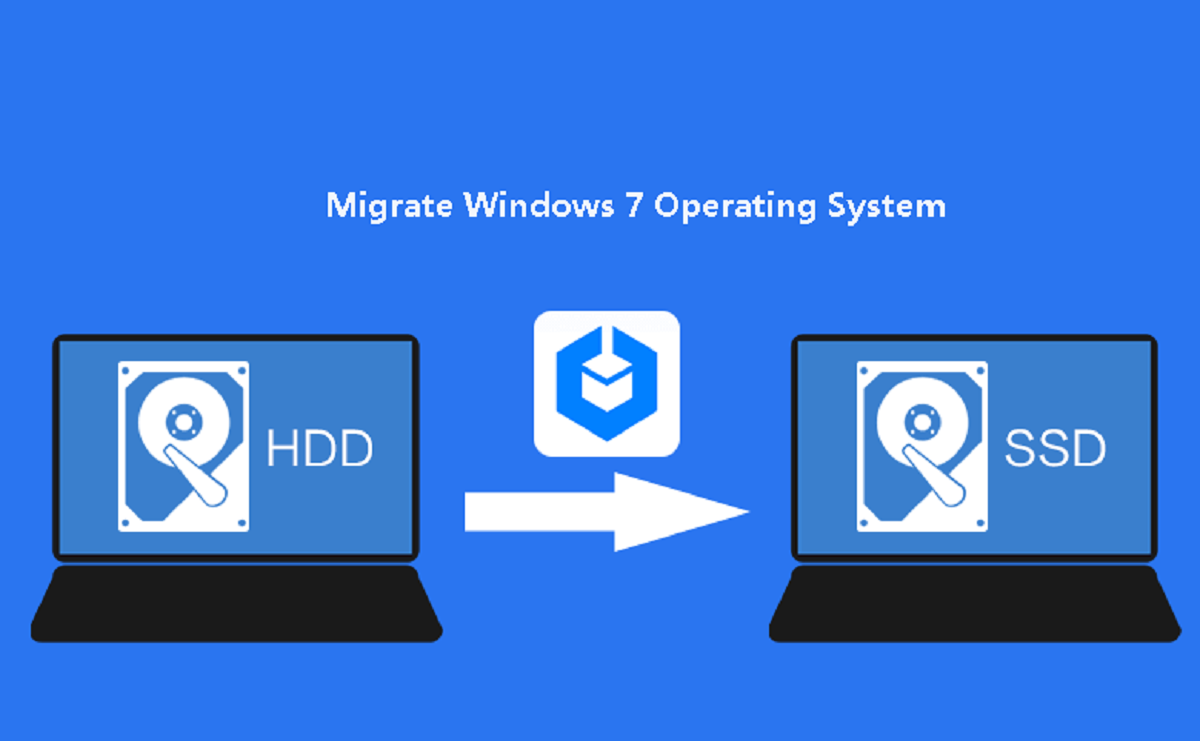
So lets get started and give your Windows 7 system theSSD upgradeit deserves!
What is an SSD?
One of the main advantages of SSDs is the absence of moving parts.
In contrast, SSDs access data electronically, resulting in quicker read and write times.
In addition to speed, SSDs also offer other significant benefits.
This makes them a great option for laptops or portable devices that are prone to being jostled or dropped.
Another advantage of SSDs is their energy efficiency.
SSDs also contribute to a quieter computing experience.
Since they lack spinning disks, there is no mechanical noise generated while accessing data.
Furthermore, SSDs have a longer lifespan compared to HDDs.
In summary, an SSD is a jot down of storage unit that offers significant advantages over traditional HDDs.
In this section, we will explore some of the key advantages of using an SSD in your system.
One of the most noticeable benefits of an SSD is its speed.
Traditional hard disk drives (HDDs) rely on spinning disks to access and retrieve data.
In contrast, SSDs utilize flash memory chips, which offer lightning-fast read and write speeds.
This results in significantly faster boot times and improved app launch times.
Aside from speed, SSDs also excel in providing faster file transfers.
Another advantage of SSDs is their reliability.
This means that accidental drops or bumps are less likely to result in data loss or drive failure.
SSDs also consume less power compared to HDDs.
This energy efficiency not only helps to reduce electricity usage but also extends battery life in laptops.
Furthermore, SSDs operate silently.
Since there are no moving parts involved, SSDs generate virtually no noise during data access and transfers.
This enables you to enjoy the benefits of an SSD even in portable or space-constrained workstations.
With these advantages, an SSD upgrade can significantly enhance your systems performance and productivity.
Taking these steps beforehand will help ensure a smooth and successful transfer without any data loss or complications.
The first and most crucial step is to back up all your important files and data.
While the transfer process is generally safe, there is always a slight risk of data loss.
Take the time to carefully review your files and confirm you have everything backed up before proceeding.
Next, you should probably look to see if your system is compatible with an SSD.
The most common interface for SSDs is SATA (Serial ATA).
Note that some older systems may require additional adaptors or connectors to connect the SSD properly.
Choosing the right SSD for your needs is also important.
SSDs come in various storage capacities, ranging from a few hundred gigabytes to multiple terabytes.
Consider your storage requirements and budget when selecting an SSD.
Its always a good idea to leave some buffer space to ensure optimal performance.
once you nail your SSD, youll need to gather the necessary tools and software for the transfer process.
Most SSDs come with a kit that includes a screwdriver and any required mounting brackets.
If not, you will need a small screwdriver compatible with the screws used in your computers casing.
Additionally, you will need cloning software to transfer your current operating system to the new SSD.
Research and choose the software that best suits your needs and ensure you have it ready before proceeding.
Create a list of these items to ensure that you dont miss anything during the backup.
There are several options available for creating backups.
One of the most common and convenient methods is to use an external hard drive.
Simply connect the external hard drive to your machine and copy and paste the desired files into the drive.
Another option for backing up your files is to use cloud storage services.
This way, even if one backup method fails, you still have another copy of your important files.
After completing the backup, its essential to verify that the backup files are readable and intact.
Take the time to open a few random files and verify if they are accessible and not corrupted.
Remember that its not just files that need to be backed up.
Take note of any software or applications that might not be easily reinstalled.
Some software may require product keys or license codes for reinstallation, so double-check you have those as well.
By doing so, youll be ready to proceed with the transfer process confidently.
The most common interface for SSDs is SATA (Serial ATA).
Its important to ensure that your gear has SATA ports available to connect the SSD.
Most SATA interfaces come in two varieties: SATA II (3Gbps) and SATA III (6Gbps).
Look for specifications such as SATA compatibility or storage drive compatibility.
If you cant find the necessary information, contacting the manufacturers technical support can provide the clarification you need.
In addition to the SATA interface, you should also consider the physical form factor of the SSD.
However, some systems may require a different form factor, such as mSATA or M.2 SSDs.
These are smaller and designed for specific types of devices.
Its also worth noting that some older systems may require additional adaptors or connectors to connect the SSD properly.
It allows you to determine if your rig supports the necessary interfaces and form factors required for SSD installation.
The first factor to consider is the storage capacity you require.
Take into account the space needed for your operating system, applications, and other files you regularly use.
Another important consideration is the performance of the SSD.
Look for the SSDs read and write speeds, which indicate how quickly data can be accessed and transferred.
Higher speeds generally result in faster system boot times, quicker app loading, and smoother overall performance.
You should also consider the endurance and reliability of the SSD.
Higher TBW ratings imply better durability and a longer lifespan for the SSD.
Price is another important factor to take into account.
Set a budget for your SSD and consider the trade-off between capacity, performance, and budget constraints.
Here are some of the essential items youll need for the task.
Screwdriver: Most SSDs come with a package that includes a screwdriver.
verify the screwdriver is compatible with the screws used in your computers chassis.
Popular cloning software options include Acronis True Image, EaseUS Todo Backup, and Macrium Reflect.
USB Drive: Youll need a USB drive to create a bootable disk or drive for cloning.
This will allow you to boot your system from the USB drive and dive into the cloning software.
Ensure that the USB drive has enough capacity to hold the cloning software and any necessary files.
This adapter allows you to connect the SSD via USB, making the transfer process easier.
User Manual: Familiarize yourself with the user manual or instructions provided by the SSD manufacturer.
It may contain specific guidelines or recommendations for installation and setup.
Refer to the manual if you bump into any difficulties during the process.
Heres a step-by-step guide on how to clone your operating system:
1.
Connect the SSD: Open your computers casing and locate an available SATA port to connect the SSD.
Use a screwdriver to secure the SSD in place if necessary.
This ensures that even if something goes wrong during the transfer, your data remains safe.
In the BIOS tweaks, change the boot order to boot from the USB drive first.
Start the Cloning Process: Once youve configured the configs, start the cloning process.
Be patient and let the software do its work.
Before proceeding, its crucial to verify the success of the cloning process.
start your gear and enter the BIOS controls again.
Change the boot order to prioritize the SSD as the first boot option.
Save the changes and exit the BIOS.
You have successfully cloned your operating system to the new SSD.
your setup should now boot from the SSD, providing you with faster startup times and improved overall performance.
Enjoy the benefits of your new SSD and the enhanced computing experience it brings.
Heres a step-by-step guide on how to create a bootable USB drive:
1.
Obtain the Cloning Software: Download the cloning software of your choice from the manufacturers website onto your machine.
Ensure that you download the appropriate version compatible with your operating system.
see to it the USB drive is formatted and empty to avoid conflicts during the creation process.
Choose the file system format as FAT32 or NTFS, and leave the allocation unit size as the default.
Download and implement the preferred tool on your machine.
Double-check that you have selected the correct drive to avoid accidentally overwriting any important data.
cycle your machine and enter the BIOS configs by pressing the designated key during startup.
In the BIOS controls, change the boot order to prioritize the USB drive.
Save the changes and exit the BIOS.
If your gear boots from the USB drive successfully, it means that the bootable USB creation was successful.
Installing the SSD
1.
Power Down your rig: Shut down your rig completely and disconnect the power cable from the wall outlet.
This is to ensure that there is no power running through the system during the installation process.
Open Your Computers Casing: Use a screwdriver to remove the screws or clips that secure the computers casing.
Slide off the side panel or remove the cover, exposing the internal components.
Place the screws in a safe place to avoid loss.
Next, connect the other end of the data cable to the SATA port on the SSD.
Align the SATA power connector with the corresponding power port on the SSD and connect it securely.
Use the screws or clips that were removed earlier to secure the SSD firmly in place.
ensure the SSD is securely attached to avoid any movement or disconnection.
Use the screws or clips to secure the casing, ensuring that everything is aligned correctly.
Double-check all connections to ensure they are secure.
Plug in the power cable and turn on your machine.
Transferring the Operating System
1.
Boot from the Bootable USB Drive: Insert the bootable USB drive into a USB port on your rig.
cycle your box and enter the BIOS parameters by pressing the designated key during startup.
In the BIOS prefs, change the boot order to prioritize the bootable USB drive.
Save the changes and exit the BIOS.
your system will now boot from the USB drive.
verify you are selecting the correct drives to avoid data loss.
Double-check the selections before proceeding.
Start the Cloning Process: when you’ve got configured the cloning options, start the cloning process.
The time for completion will depend on the size of your data and the speed of your hardware.
Before proceeding, its crucial to verify the success of the cloning process.
Ensure that all your files, applications, and operating system options have been transferred to the SSD.
Check that the SSD is recognized as the new boot drive in the BIOS options.
Change the boot order to prioritize the SSD as the first boot option.
Save the changes and exit the BIOS.
your machine will now boot from the new SSD.
You have successfully transferred your operating system to the new SSD.
Enjoy the improved speed and performance that the SSD brings to your box.
your machine is now ready to deliver a faster and more efficient computing experience.
Here are some steps to verify the successful transfer:
1.
Check Boot Time: cycle your setup and note the boot time.
If the boot time is noticeably faster, it indicates a successful transfer.
Test software Launch: Open some of your commonly used applications.
Pay attention to how quickly they load and become responsive.
Access Files and Folders: Navigate through your files and folders to ensure all your data is accessible.
Verify System configs: Check your system configs to ensure they are configured correctly.
If everything appears as it should, it indicates a successful transfer.
Compare the results to the performance of your system before the transfer.
If the tests show improved performance, it indicates a successful transfer.
Monitor System Stability: Keep an eye on your computers stability and performance over time.
Run your regular day-to-day tasks and monitor for any crashes, errors, or unusual behavior.
If your system remains stable and performs well, it indicates a successful transfer.
Here are some troubleshooting tips to help you address and resolve these issues:
1.
Check the SATA data and power cables and see to it they are securely attached.
Verify in the BIOS controls that the SSD is enabled and appears in the list of recognized drives.
Visit the manufacturers website and download the latest drivers and firmware updates for your SSD model.
Updating these drivers can help improve performance and fix any compatibility issues.
Alternatively, you’re able to upgrade to a larger capacity SSD if additional storage is required.
Consult professional data recovery services if necessary.
Ensure that your systems drivers are up to date and that the SSD firmware is the latest version available.
Consider contacting the SSD manufacturer for further assistance or troubleshooting steps.
if you bump into any of these issues or other unexpected problems, dont panic.
The key is to remain calm and methodically troubleshoot the issue.
Check the connections, update drivers and firmware, and consult manufacturer documentation or support resources for additional guidance.
Conclusion
Congratulations!
You have successfully learned how to transfer your operating system to an SSD in Windows 7.
You then successfully cloned your operating system using the provided cloning software and transferred it to the new SSD.
Now that you have completed the transfer, your setup is ready to deliver an enhanced computing experience.
Remember, an SSD upgrade is an investment in your computers performance and longevity.
