We recommend that you have your Trezorhardware walletset up and ready to use before proceeding with the transfer.
If you havent used Trezor before or need assistance with setting it up, dont worry!
Well guide you through the process, ensuring a smooth and seamless experience.
Now, without further ado, lets get started on transferring your Litecoin to your Trezor hardware wallet!
ensure to keep your PIN and recovery seed in a secure location and never share them with anyone.
This software acts as a communication channel between your rig and your rig, ensuring a secure connection.
However, the steps outlined above should provide a general guideline for accessing your wallet.
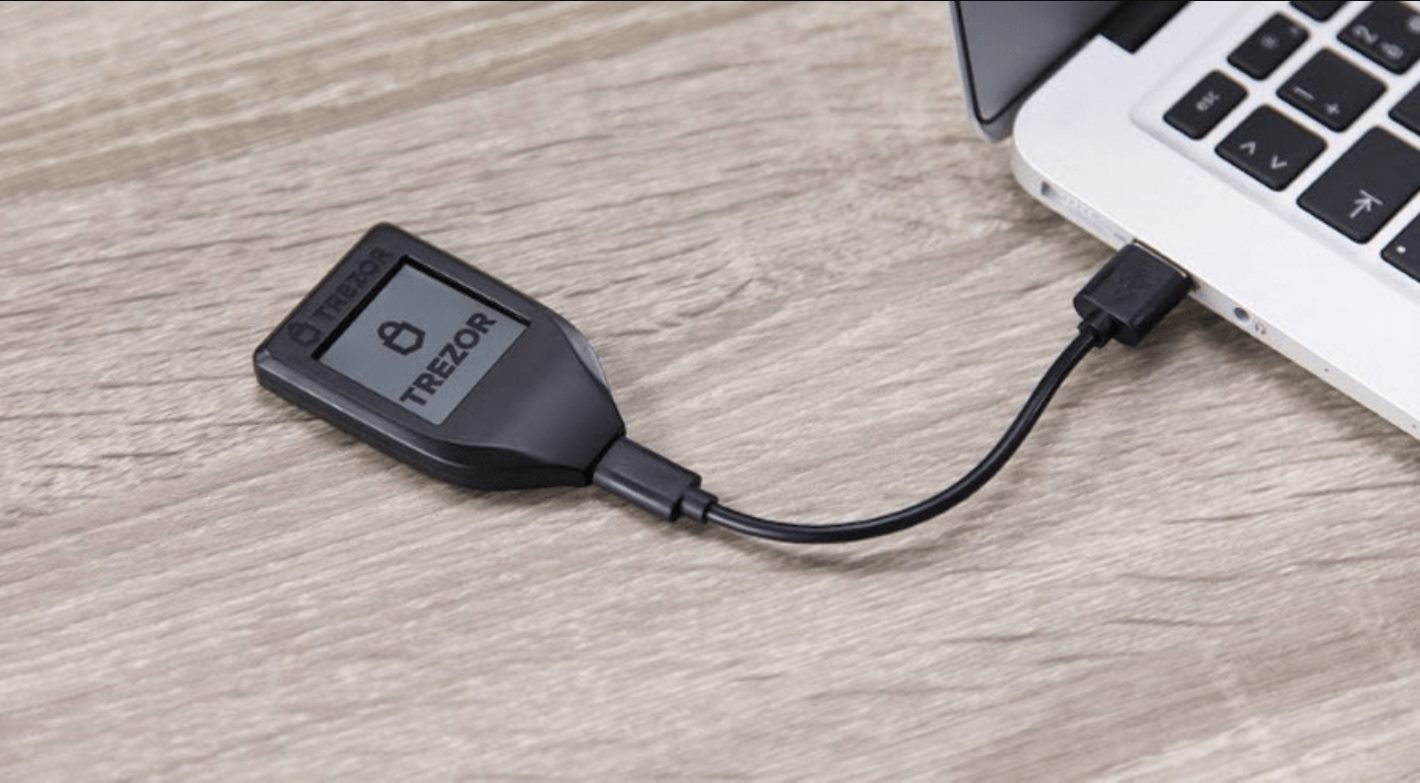
Step 4: Creating a Litecoin Wallet on your Trezor
Congratulations!
You have successfully created a Litecoin wallet on your Trezor rig.
This wallet is now ready to receive and store your Litecoins securely.
Its important to note that you could create multiple wallets for different cryptocurrencies on your Trezor unit.
This allows you to manage and store various cryptocurrencies conveniently in one place.
Its crucial to double-check that you have copied the correct address to avoid any errors in the transaction.
Its worth mentioning that each time you receive Litecoins, its recommended to use a new receiving address.
This practice enhances privacy and security by preventing the public tracking of your transactions.
In the next step, we will guide you through the process of sending Litecoin to your Trezor wallet.
It also helps detect any potential issues or discrepancies that may require further attention.
Conclusion
Transferring Litecoin to your Trezor hardware wallet is a crucial step in securing your digital assets.
Remember to always exercise caution when handling your cryptocurrencies and follow best practices for security.
Stay informed about updates and new features, as the cryptocurrency landscape is always evolving.
