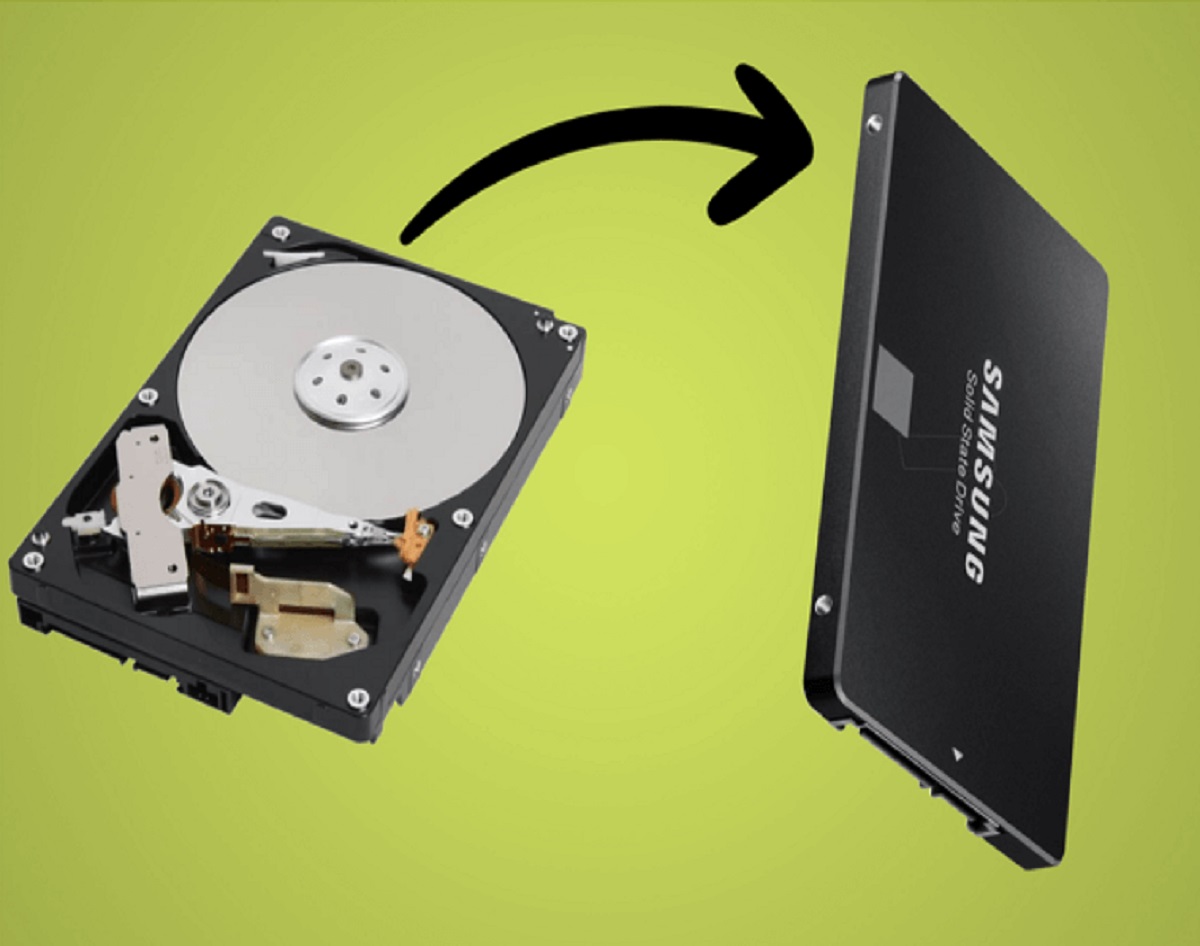
Traditional hard drives store data on spinning magnetic discs, while SSDs use flash memory chips to store information.
This fundamental difference gives SSDs significant advantages over hard drives in terms of speed, size, and durability.
This mechanical design often introduces latency, resulting in slower performance compared to solid state drives.
One major advantage of SSDs is their incredible speed.
In addition to speed, SSDs offer other benefits.
They are more durable and shock-resistant since they lack the delicate mechanical components found in hard drives.
This makes them an excellent choice for portable devices that are often subjected to bumps and jolts.
Another advantage of SSDs is their compact size.
This makes them ideal for slim laptops and ultra-compact desktop systems where space is at a premium.
However, there are a few limitations to consider when it comes to SSDs.
The primary concern is their relatively limited lifespan compared to hard drives.
Additionally, SSDs tend to be more expensive per gigabyte of storage compared to hard drives.
However, the price difference has been narrowing over the years, making SSDs more affordable than ever.
These factors will help ensure a smooth transition and minimize the risk of data loss or potential complications.
Lets take a look at them below:
1.
Capacity:SSDs generally have smaller storage capacities compared to traditional hard drives.
Compatibility:Ensure that the SSD you choose is compatible with your computers motherboard and connectors.
Consult your computers user manual or manufacturers website for compatibility information.
This ensures that you have a copy of your data in case anything goes wrong during the transfer.
Clean up and organize:Take this opportunity to clean up and organize your data on the hard drive.
This will also help you avoid transferring clutter and unnecessary files to the SSD.
Firmware updates:Check for any firmware updates for your SSD before you begin the transfer process.
Firmware updates often bring performance improvements, bug fixes, and enhanced compatibility.
Visit the manufacturers website or use their software utility to ensure your SSD has the latest firmware version.
This ensures that your sensitive data cannot be recovered by unauthorized individuals.
Use specialized software or follow the manufacturers instructions to perform a secure erase of the hard drive.
By considering these factors before transferring your data, you could ensure a seamless transition to your new SSD.
Here are some important considerations and options for backing up your data:
1.
Connect an external hard drive to your gear and copy all the necessary files and folders to it.
Ensure that you have ample storage capacity on the external drive to accommodate all your data.
NAS devices provide centralized storage that can be accessed by multiple devices in your home or office web connection.
This creates an exact replica of your hard drive, including the operating system, applications, and files.
Tools like Clonezilla, Macrium Reflect, or Acronis True Image offer disk imaging capabilities.
This provides an offsite backup solution, protecting your data from local disasters or hardware failures.
Here are the steps to safely remove the hard drive:
1.
Power Off and Unplug:Start by shutting down your machine completely and unplugging it from the power source.
This will ensure your safety and prevent any accidental damage to the components.
Locate the Hard Drive:Once the case is open, locate the hard drive within your setup.
It is usually a small rectangular or square-shaped machine mounted on a bracket or tray.
Disconnect Cables:Before removing the hard drive, disconnect all the cables attached to it.
Next, disconnect the power cable, which is a wider cable with a 4-pin or 15-pin connector.
Remove Mounting Screws:Most hard drives are secured with screws or brackets to keep them in place.
Use a screwdriver to carefully unscrew the screws or follow any specific instructions provided by your computers manufacturer.
Note:The process of removing a hard drive can vary for different computer models and manufacturers.
Properly preparing the SSD ensures a smooth and error-free data transfer process.
Here are the steps to help you prepare the SSD:
1.
Consult the SSD manufacturers documentation or your computers manual for compatibility information.
Anti-Static Precautions:SSDs are sensitive electronic devices, so it is essential to take anti-static precautions.
Connecting the Cables:Connect the appropriate cables to the SSD.
If youre using a 2.5-inch SSD, use a SATA data cable to connect the SSD to the motherboard.
Consult your computers manual or the manufacturers documentation for guidance on cable connections and slot locations.
Ensure that the SSD is firmly attached to prevent any movement or disconnection during operation.
Save any changes made in the BIOS before exiting.
Properly connecting the SSD ensures that it is recognized by the system and ready for data transfer.
Here are the steps to help you connect the SSD:
1.
Power Off and Unplug:Begin by shutting down your gear and disconnecting it from the power source.
This will prevent any accidental damage to the components and ensure your safety during the installation process.
Locate Available SATA Ports:Find the available SATA ports on your computers motherboard.
These ports are used for connecting storage devices such as hard drives and SSDs.
They are rectangular in shape with a small notch on one side.
Ensure that the cable is not twisted or strained.
The SATA power cable has a flat and L-shaped connector.
Ensure that the cable is firmly connected to both the PSU and the SSD.
Power On and Verify:Plug in your box and power it on.
Confirm that the SSD is detected and listed as a connected gadget.
Save any changes made in the BIOS before exiting.
By following these steps, you might successfully connect your solid-state drive (SSD) to your rig.
With the SSD connected, you are ready to proceed with transferring your data.
One of the most efficient methods for accomplishing this is by using software to clone the data.
Here are the steps to clone your data using software:
1.
Choose Cloning Software:Select a reliable and reputable cloning software that suits your needs.
Some popular options include Acronis True Image, EaseUS Todo Backup, and Macrium Reflect.
Download and roll out the cloning software onto your machine.
- fire up the Cloning Software:Launch the cloning software and familiarize yourself with its interface.
Most cloning software provides a user-friendly wizard-driven interface to simplify the cloning process.
These may include options to resize partitions, clone only specific partitions or files, or exclude certain data.
Configure the cloning options according to your preferences.
Start the Cloning Process:when you land reviewed and confirmed your cloning controls, initiate the cloning process.
The cloning software will begin copying all the data from the source drive to the target SSD.
The time required for the process will depend on the amount of data being transferred.
Monitor the Cloning Process:During the cloning process, the software will provide progress updates.
Complete the Cloning Process:Once the cloning process is complete, the cloning software will notify you.
end the software and shut down your machine.
Here are the steps for manually transferring data:
1.
The old hard drive can be connected either internally or via an external enclosure.
The SSD can be connected using the method described earlier in this guide.
grab the desired files and folders, right-click, and choose Copy.
Navigate to the destination folder on the SSD, right-click, and choose Paste to initiate the copying process.
Monitor the Transfer:Depending on the amount of data being transferred, the process may take some time.
Some applications store their configs in specific folders, such as the AppData folder in Windows.
Consult the documentation of your applications to determine the location of their prefs and transfer them accordingly.
Here are the steps to verify and test the transferred data:
1.
Check File Integrity:Begin by checking the integrity of your transferred files.
Test Applications:Launch the applications that you transferred to the SSD and perform basic tasks or operations.
Ensure that the applications run smoothly and that all functionalities are intact.
Test advanced features or specific workflows if relevant to your usage.
Observe if the boot time is significantly faster than before.
Pay attention to missing files, corrupted files, or any other anomalies.
Remember to always keep backups of your data and regularly update them to safeguard against any unforeseen data loss.
Backups provide additional security and peace of mind, ensuring that your important files are protected.
your machine will feel more responsive, allowing you to work, play, and multitask with greater efficiency.
Embrace the power of SSD technology and experience a significant boost in your computing experience!
