In this article, we will explore two popular methods: transferring extensions manually and using Chrome Sync.
Manually transferringChrome extensionsinvolves locating the extension files on your box and copying them to the new machine.
This method gives you more control over the transfer process, but it requires some technical knowledge.
While this method is more straightforward, it requires an internet connection.
So, lets dive in and explore these methods in detail.
From the extended menu, choose Extensions.
Toggle it to the right to enable Developer mode.
Enabling Developer mode allows you to dive into the extension files on your setup.
Locate the extension you want to transfer and punch the Details button beneath it.
This will expand the extensions details and reveal its file path.
Step 4: Copy the Extension Folder
With the extensions details expanded, look for the Extension section.
You will see the file path of the extension.
Copy the entire folder containing the extensions files, including any sub-folders or files within it.
Place the folder in a location where you’re free to easily access it later.
This will drop in the extension on the new computer.
This allows you to get into the list of installed extensions on your system and perform necessary actions.
Ensure that the net online gate is up to date for the smoothest experience.
Once Chrome is open, look towards the top right-hand corner of the surfing app window.
There, you will see three vertical dots arranged in a column.
punch these dots to kick off the main Chrome menu.
A drop-down menu will appear with several options listed under it.
Scroll down the menu and hover your cursor over the More tools option.
A new list will extend from More tools, offering additional options for you to choose from.
From the extended menu, select Extensions.
Press Enter, and the Extensions options page will load.
to access and transfer Chrome extension files, you need toenable Developer mode in the Chrome Extensions configs.
after you snag the Chrome Extensions options tab open, look towards the top-right corner of the window.
You will notice a toggle switch labeled Developer mode.
To enable Developer mode, simply choose the toggle switch.
You will see the switch slide to the right, indicating that Developer mode is now activated.
Once Developer mode is enabled, you will find additional options displayed under each installed extension.
These options will allow you to manage and interact with the extension files.
To locate the extension files, find the specific extension that you want to transfer to another computer.
go for the Details button beneath the extensions description.
The file path will typically look something like C:\Users\YourUsername\AppData\Local\Google\Chrome\User Data\Default\Extensions\extensionID.
With the file path of the extension identified, its time to copy the extension folder from your system.
This step is crucial in ensuring a successful transfer of your Chrome extension to another equipment.
after you snag located the extension files in the Chrome Extensions configs, focus on finding the extension folder.
The extension folder contains all the necessary files for the extension to function properly.
pop kick open the file explorer on your rig and paste the file path into the address bar.
Press Enter to go directly to the extensions folder.
Once you are inside the extension folder, the next step is to copy it.
Right-punch the extension folder and snag the Copy option from the context menu that appears.
Alternatively, it’s possible for you to use the Ctrl + C keyboard shortcut to copy the folder.
Ensure that you choose a location where you could easily enter the folder later.
It is essential to copy the entire extension folder, including any sub-folders or files within it.
This ensures that all the necessary components of the extension are included in the transfer.
There are different methods for transferring the extension folder to another computer.
Choose the transfer method that is most convenient for you and transfer the extension folder to the new computer.
Repeat these steps for any other extensions you want to transfer to the new computer.
Each extension should have its own respective folder that you copied and transferred.
Enjoy your customized browsing experience on the new unit with all your favorite extensions available.
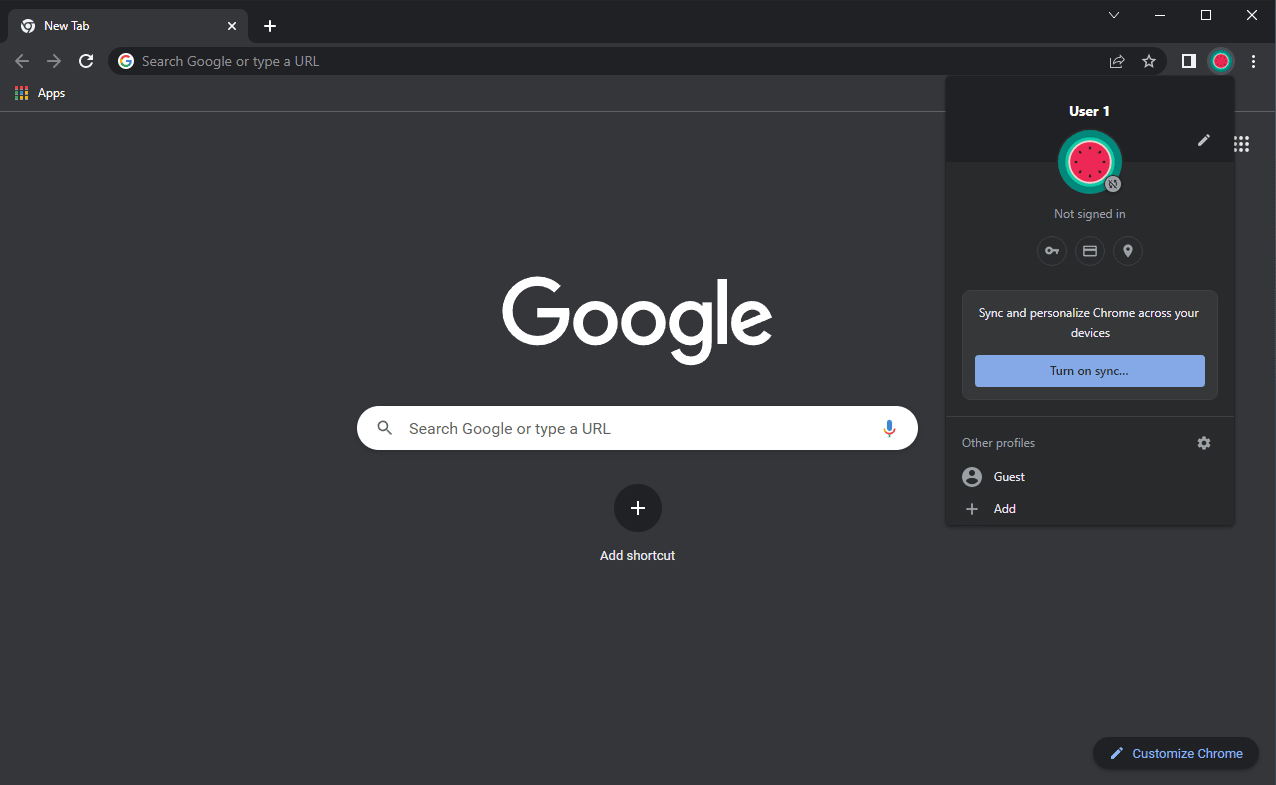
This will enable Chrome Sync to synchronize your extensions with your Google account.
From the menu, select parameters.
In the tweaks tab, scroll down and press Sync and Google services.
Here, you will find the option to enable Chrome Sync.
Toggle the switch to the right to enable Chrome Sync.
you’ve got the option to download the latest version of Chrome from the official Google Chrome website.
This will allow your Chrome tweaks, including extensions, to be synchronized with your account.
Ensure that Chrome Sync is enabled in the configs on this machine as well.
Once you are signed in and Chrome Sync is enabled, your extensions will begin to sync automatically.
This process may take some time, depending on the number of extensions and your internet connection speed.
Using Chrome Sync to transfer Chrome extensions provides a convenient and automated approach.
It ensures that your extensions are always up-to-date and available across all your devices.
By following these steps, it’s possible for you to easily transfer your Chrome extensions using Chrome Sync.
Enjoy a seamless browsing experience with your favorite extensions on any equipment!
Signing in with your account allows you to seamlessly synchronize your extensions and other browsing data across multiple devices.
This will allow your extensions to be synced across multiple devices effortlessly.
By enabling this feature, you might easily transfer your Chrome extensions to another computer.
With Chrome Sync enabled, your extensions are now ready to be transferred to another computer effortlessly.
By following these steps, you might conveniently enable Chrome Sync and prepare your extensions for transfer.
Note that the installation process may vary slightly depending on your operating system.
The steps provided are general guidelines to help youget Chromeset up on another computer.
After completing Step 3, you are one step closer to transferring your Chrome extensions to the new computer.
This will ensure that all your extensions are transferred and available on the new gear.
you could now enjoy a seamless browsing experience with all your extensions available.
This hands-on approach gives you more control but requires some technical knowledge to execute.
Keep in mind that an active internet connection is required for Chrome Sync to work effectively.
Take advantage of these methods to transfer your Chrome extensions without hassle.
Enjoy the convenience of accessing your favorite extensions on any gear, enhancing your browsing experience and productivity.
