Introduction
Welcome to this comprehensive guide on how to test HDMI cables.
TestingHDMI cablesis essential to guarantee a stable and uninterrupted audiovisual experience.
In this article, we will discuss various methods and techniques to test HDMI cables effectively.
We will cover everything from visual inspections to signal quality tests, audio tests, and troubleshooting tips.
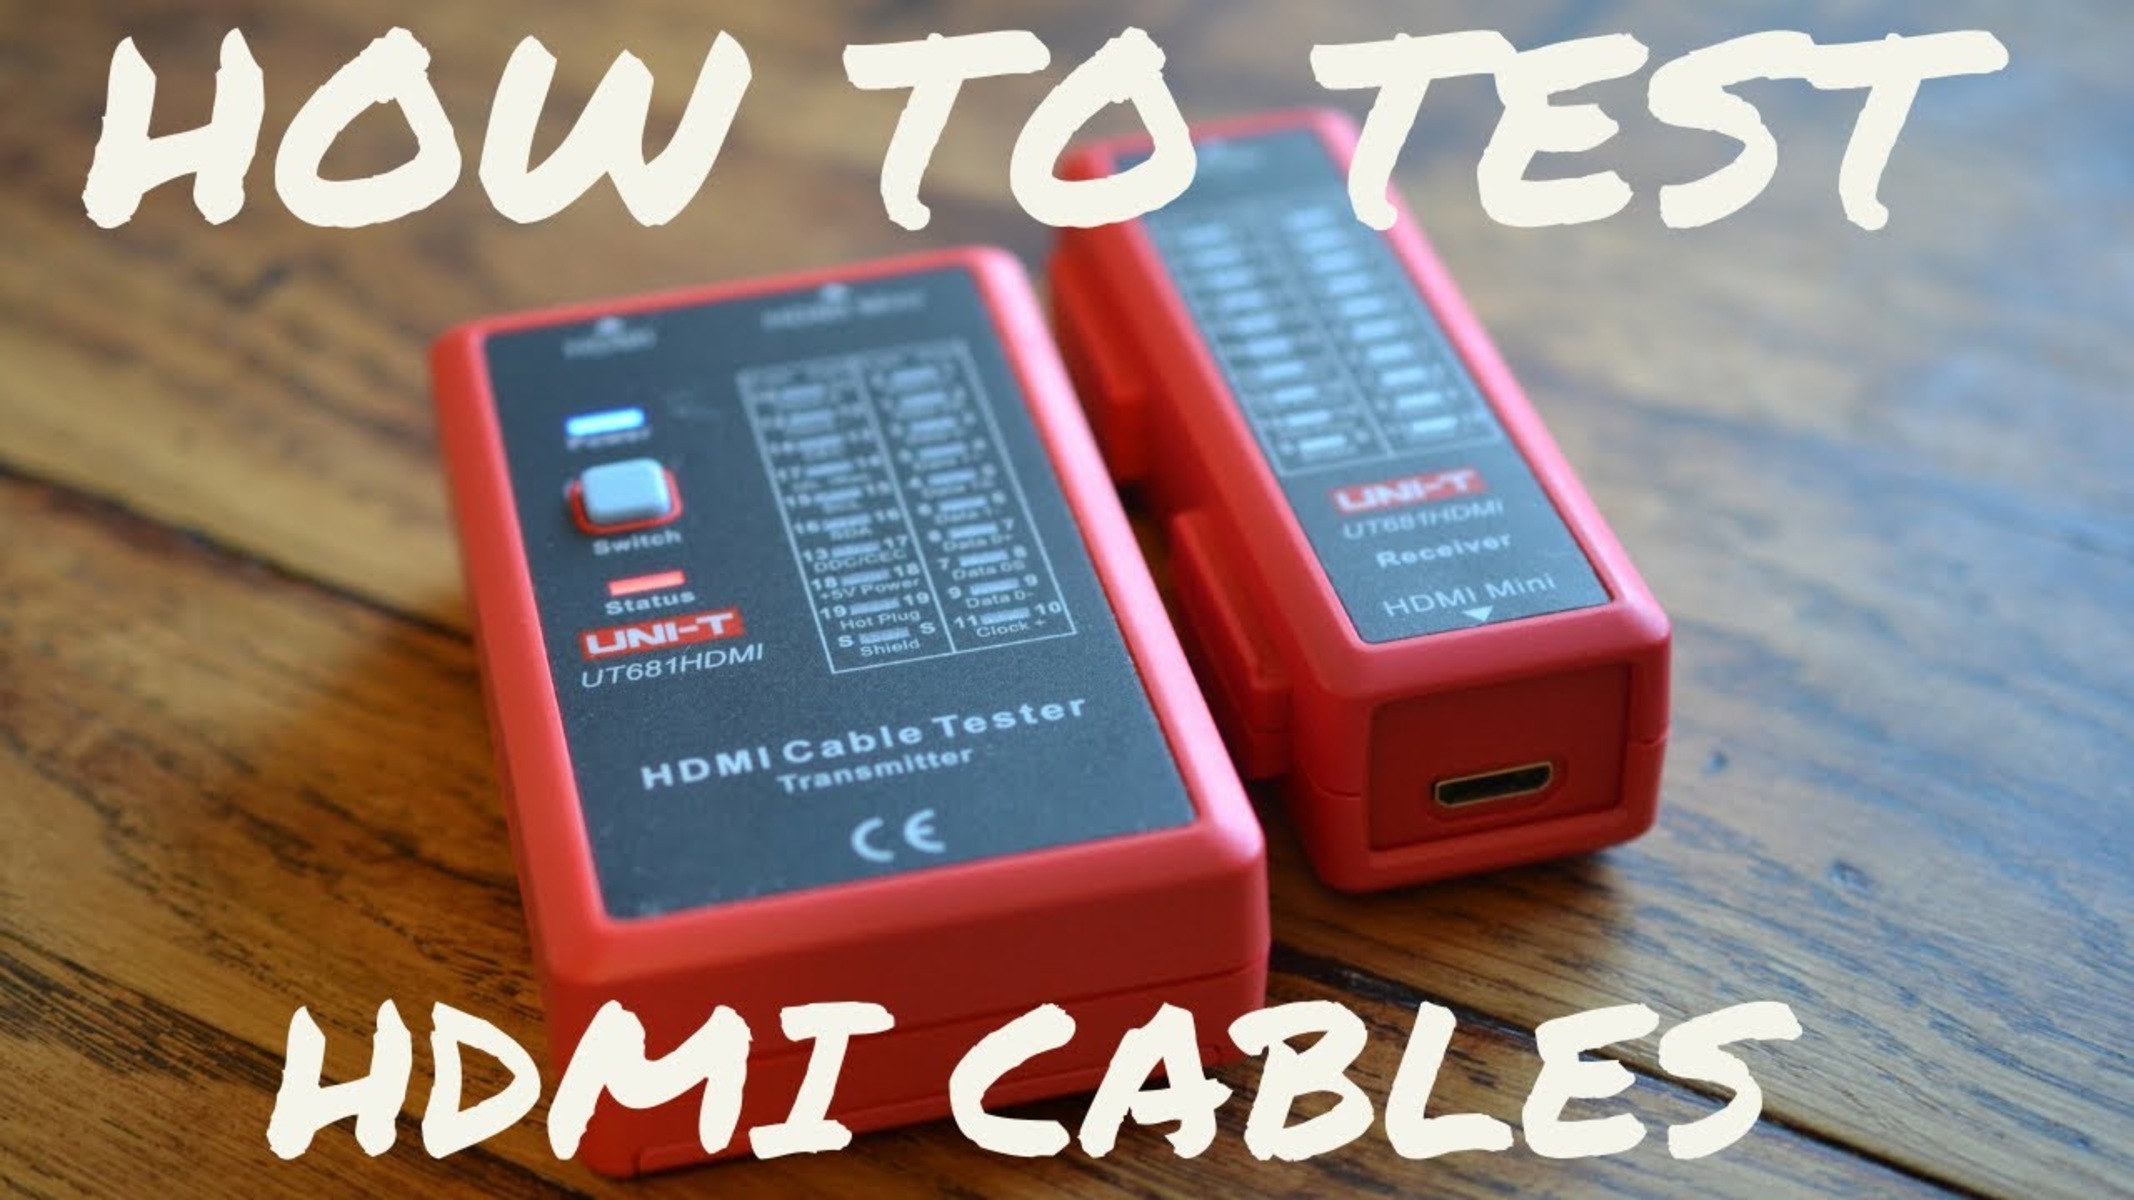
Before we dive into the testing methods, lets first take a look at the equipment you will need.
Having the right tools at your disposal will make the testing process smoother and more accurate.
So, lets get started with the next section where we explore the equipment needed for testing HDMI cables.
Why Test HDMI Cables?
Testing HDMI cables is crucial for several reasons.
Lets explore why it is essential to test your HDMI cables regularly:
1.
It could be a faulty cable, a loose connection, or compatibility issues between devices.
Preventing Compatibility Problems:HDMI technology is constantly evolving, with new versions and features being introduced.
Peace of Mind:Ultimately, testing HDMI cables provides peace of mind.
It helps you check for connectivity, signal quality, and other potential issues.
Look for a tester that supports the HDMI version you are working with and offers comprehensive testing capabilities.
This will serve as the source for transmitting the signal through the HDMI cable.
It is best to use a high-resolution display machine to accurately assess the signal integrity.
It allows you to connect multiple devices or cables to a single display unit, simplifying the testing process.
HDMI Signal Generator (optional):For advanced testing, an HDMI signal generator can be useful.
It generates specific test patterns and signals to evaluate display capabilities and identify issues with HDMI cables and devices.
Dirty connectors can affect signal transmission and cause intermittent connectivity issues.
They can help you keep track of which cables have been tested and any specific observations for each cable.
It helps identify any visible signs of damage, wear, or poor craftsmanship that could affect their performance.
Here is a step-by-step guide for visually inspecting HDMI cables:
1.
Check the Connector Ends:Examine both ends of the HDMI cable connectors.
Look for any bent or broken pins, corrosion, or debris that may hinder a secure connection.
ensure the pins are straight and aligned properly with no signs of damage.
Inspect the Cable Sheath:Carefully examine the outer layer of the cable, known as the sheath.
Look for any visible cuts, fraying, or dents that may expose the internal wires.
Damaged sheathing can lead to signal interference or intermittent connectivity issues.
Check for Connectors Secured Properly:see to it that the connectors are securely fastened to the cable.
Loose connectors can result in poor signal transmission or audiovisual glitches.
Verify that the connectors are tightly attached to the cable without any wiggling or play.
Evaluate Cable Length and Flexibility:Consider the length and flexibility of the HDMI cable.
Longer cables may be prone to signal loss, especially if they do not meet the required specifications.
Excessively stiff or inflexible cables can be challenging to install or maneuver, especially in tight spaces.
Check for Branding and Certification Labels:Look for manufacturer branding and certification labels on the HDMI cable.
Reliable brands often provide additional reassurance of quality and adherence to standards.
Also, check for the HDMI logo, which indicates compliance with HDMI standards.
Ensure that it matches the version required by your devices.
Using an outdated cable version may limit your audiovisual capabilities or prevent you from accessing certain features.
This can help identify any specific issues related to certain devices or ports.
This test helps identify any breaks or interruptions in the cables conductive path.
Heres how you’re able to perform a continuity test on an HDMI cable:
1.
Disconnect the HDMI Cable:Ensure that all devices connected to the HDMI cable are powered off and unplugged.
Disconnect the HDMI cable from both the source equipment and the display equipment.
Set the Multimeter:Set your multimeter to the continuity or resistance measurement mode.
It is typically indicated by the symbol of two arrows forming a circle.
Identify the Pins:HDMI cables have 19 pins at each connector end.
Refer to the HDMI pinout diagram to identify the pins that need to be tested.
Here is a general pinout guide for reference:
4.
Place the negative (black) probe on the corresponding pin on the other end of the cable.
Repeat this process for all the pins you want to test.
This indicates that the conductive path is complete and the cable is functioning properly.
Signal Quality Test
Testing the signal quality of HDMI cables is essential to ensure optimal audiovisual performance.
This test helps assess the integrity and stability of the signal being transmitted through the cable.
Heres how you’ve got the option to perform a signal quality test on HDMI cables:
- double-check the devices are powered on and properly connected.
Look for options related to resolution, refresh rate, and color depth.
Note the current configs for reference.
This helps eliminate any issues resulting from upscaling or downscaling the signal.
Assess the Signal Quality:Carefully observe the test pattern displayed on the screen.
Look for any abnormalities such as flickering, tearing, artifacts, or color inconsistencies.
These issues may indicate poor signal quality or compatibility problems.
A stable and uninterrupted signal is crucial for a seamless audiovisual experience.
Compare with Reference prefs:Compare the displayed test pattern with the reference prefs noted earlier.
It helps identify if there are specific issues with certain cables or devices.
This test helps identify any issues related to color accuracy, contrast, brightness, and overall image quality.
Heres how you’re free to perform a color and image test on HDMI cables:
1.
Ensure both devices are powered on and properly connected.
These can include high-resolution photographs, movie scenes, or test images specifically designed for image quality assessment.
Assess Color Accuracy:Display each image and carefully analyze the colors.
Compare them to a reference image or the original source to determine if the colors are represented accurately.
Look for any noticeable color shifts, inaccuracies, or saturation issues.
Evaluate Contrast and Black Levels:Pay attention to the contrast and black levels in the displayed images.
peek if there is a proper distinction between dark and light areas.
Check for Image Artifacts:Look for any artifacts in the images that may disrupt the image quality.
These can include visible pixelation, image blurring, banding, noise, or ghosting effects.
These artifacts can be indicative of poor signal transmission or compatibility issues.
Verify Image Sharpness:Ensure that the displayed images exhibit sharpness and clarity.
Look for fine details, text legibility, and overall image sharpness.
Blurred or pixelated images may indicate problems with signal quality or resolution mismatch.
Test Motion Performance:Play a video or animation with fast-moving scenes to assess the motion performance.
Look out for motion blur, stuttering, or other motion-related artifacts.
Smooth and fluid motion is crucial for an immersive viewing experience.
This can help further identify any discrepancies or issues with the HDMI cables performance.
Audio Test
Testing the audio performance of HDMI cables is essential to ensure a high-quality sound experience.
This test helps determine if the audio signal is transmitted correctly and without any distortions or interruptions.
Heres how you’ve got the option to perform an audio test on HDMI cables:
1.
Listen for Audio Quality:Pay close attention to the audio playback from the connected gadget.
Listen for any abnormalities like distorted or muffled sounds, static noise, dropouts, or missing audio channels.
Ensure that the audio is clear, balanced, and free from any noticeable audio issues.
Check Audio Channels:Verify that all audio channels are working properly.
Assess Audio Sync:Pay attention to any discrepancies between the audio and video playback.
Ensure that the audio and video are in sync without any noticeable delay or latency.
Audio delays can result in an unsatisfying viewing experience.
Volume Control:Adjust the volume tweaks on both the source unit and the audio output unit.
This test helps determine if the HDMI cable can transmit Ethernet signals effectively.
Heres how you might perform an Ethernet test on HDMI cables:
1.
This feature allows HDMI cables to transmit Ethernet signals alongside audio and video.
This step is necessary for the Ethernet test, as it requires an active connection connection.
Ensure that both devices have valid IP addresses and can communicate with other devices on the web link.
Monitor online grid Performance:Monitor the online grid performance while using the HDMI cable for online grid connectivity.
Evaluate the download and upload speeds, latency, and overall stability of the connection connection.
Slow speeds or frequent disconnections may indicate issues with the Ethernet transmission over HDMI.
Test gear-to-gear Communication:see if the HDMI devices connected over Ethernet can communicate with each other directly.
Consider restarting the devices or consulting the manufacturers support resources.
Testing Different HDMI Versions
HDMI technology is continuously evolving, with new versions and features being introduced.
Heres how you’ve got the option to test HDMI cables with different versions:
1.
Identify the HDMI Versions:Determine the HDMI versions supported by the source gear and the display gear.
Check the user manual or the manufacturers website for this information.
This information can usually be found in the cables specifications or packaging.
Pay attention to the maximum supported resolutions, refresh rates, or additional features like HDR or ARC.
Ensure a secure and snug connection on both ends.
unlock the features, if available, in both the source and display machine controls and verify their performance.
Monitor Signal Stability:Observe the stability of the audio and video signals during testing.
Look for any signal dropouts, flickering, or interruptions.
A stable signal is crucial for a seamless audiovisual experience.
Pay attention to any error messages or reduced capabilities during the testing process.
Troubleshooting HDMI cable issues can help identify and resolve common problems.
Here are some troubleshooting techniques to consider:
1.
Remove and reinsert the cable to ensure a proper connection.
Sometimes, loose connections can result in no signal or intermittent audiovisual issues.
It is possible that the HDMI port being used is damaged or not functioning properly.
Testing another port can help isolate the issue.
Connect a known working HDMI cable between the same source and display devices to verify if the issue persists.
If the problem is resolved with the new cable, it indicates that the original cable is faulty.
Power Cycle the Devices:Power off and unplug both the source unit and the display unit.
Wait for a few minutes and then plug them back in and power them on.
This can help reset any temporary glitches in the devices HDMI interfaces.
Outdated firmware or drivers can cause compatibility issues with HDMI cables.
Adjust Display controls:jump into the display controls on both the source and display devices.
Verify that the resolution and refresh rate options match the capabilities of the connected devices.
Use the recommended or native options for the best performance.
Sometimes, incompatible or incorrect options can result in problematic audio or picture quality.
Verify HDMI Cable Quality:Ensure that the HDMI cable meets the required specifications for the connected devices.
Poor-quality or non-compliant cables may cause signal degradation, intermittent connectivity, or limited capabilities.
Invest in high-quality HDMI cables from reputable brands for optimal performance.
They can provide specific troubleshooting guidance based on your devices and help address any HDMI cable-related issues.
Conducting continuity tests helps identify breaks or interruptions in the conductive path of the HDMI cable.
Signal quality tests evaluate the integrity and stability of the audiovisual signal being transmitted.
Ethernet tests measure the capability of HDMI cables to transmit Ethernet signals effectively.
Remember to use high-quality HDMI cables from reputable brands to maintain the highest level of performance and reliability.
