RAM is an essential component of your rig that affects its performance and speed.
In this article, we will guide you through the process of taking out RAM from your gear.
Before getting started, it is important to note that handling computer components requires caution.
The RAM slots are usually found on the motherboard and are easily identifiable.
This will provide you with easy access to the internal components, including the RAM slots.
You have now successfully removed the side panel of your box, giving you access to the RAM slots.
This helps to discharge any static electricity that can potentially damage the sensitive electronic parts.
By grounding yourself, you minimize the risk of damaging your system components with static electricity.
This will help you avoid removing the wrong component and ensure a smooth removal process.
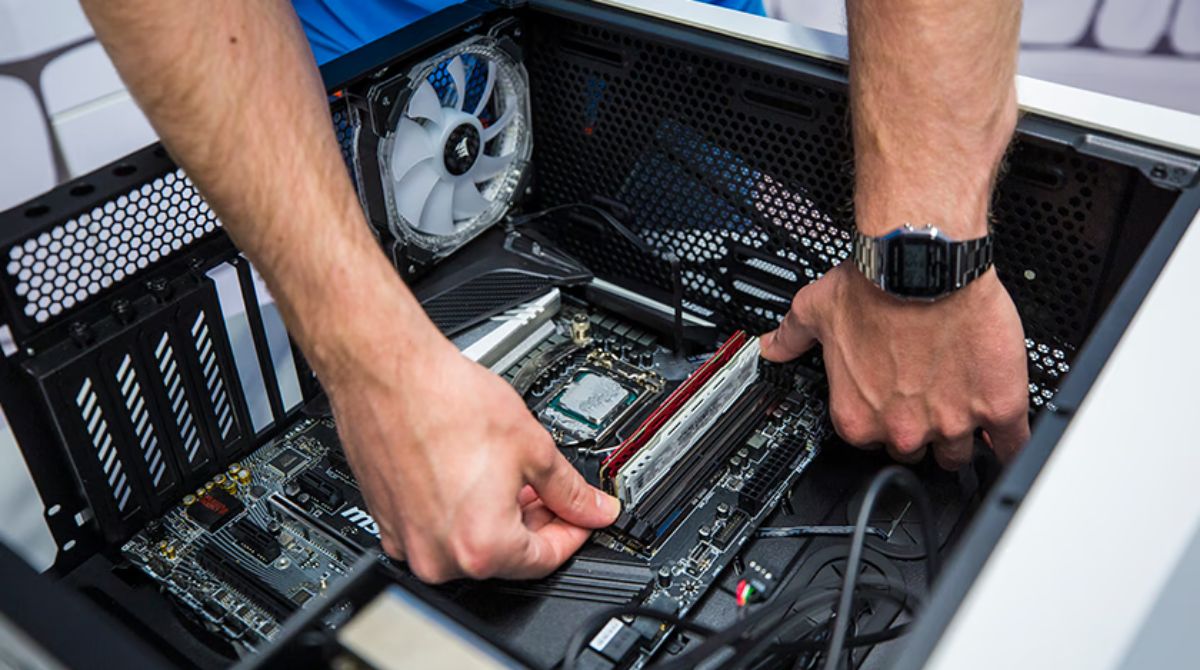
The next step is to release the tabs or clips that secure the RAM sticks in place.
These tabs or clips hold the RAM sticks firmly in the slots to ensure a secure connection.
By following these steps, you will release the tabs or clips holding the RAM sticks securely.
Removing the RAM stick requires gentle handling to avoid any damage to the stick or the slot.
Remember to handle the RAM stick with care throughout the removal process.
By following these steps, you have successfully removed a RAM stick from its slot.
Each RAM stick should be handled individually to ensure a smooth removal process.
Remember to handle each stick with care and avoid any unnecessary force or rough movements.
This step is optional and should only be performed if you have new RAM sticks ready for installation.
double-check to follow any specific instructions provided by the manufacturer regarding the installation of the new RAM sticks.
Double-check that the sticks are fully inserted and secured in the slots.
This step is crucial as it ensures the internal components are securely protected and the computer functions properly.
This final step ensures that your machine recognizes the new RAM configuration and is ready to be used.
You have successfully taken out and/or installed new RAM sticks in your box.
We started by powering off the rig and locating the RAM slots.
Then, we removed the side panel to get into the internal components.
Grounding ourselves and identifying the RAM sticks were the crucial steps that followed.
Releasing the tabs or clips and gently removing the RAM stick came next.
For those who have multiple RAM sticks, the process was repeated for each one.
For those installing new RAM, we provided optional steps for their guidance.
Replacing the side panel and powering on the unit were the final steps in the process.
Keep in mind that upgrading your computers RAM is not the only solution to improve its performance.
