Introduction
Welcome to our comprehensive guide on how to take out a CPU from your box.
It is crucial to handle theCPUwith care to avoid any damage during the removal process.
Throughout this guide, we will provide clear instructions and tips to help you successfully take out your CPU.
Remember, proper preparation is key to avoid any damage or mishaps during the CPU removal process.
This ensures your safety and prevents any potential damage to your hardware.
This is an essential first step in ensuring your safety and the integrity of your system components.
Always take the necessary precautions and do these things to ensure a safe working environment.
This will make it easier to reassemble your setup later.
Some computer cases may have different opening mechanisms, such as latches or levers.
Refer to your computers manual or manufacturers website for specific instructions on how to open your particular case.
after you grab successfully opened your rig case, take a moment to familiarize yourself with the internal layout.
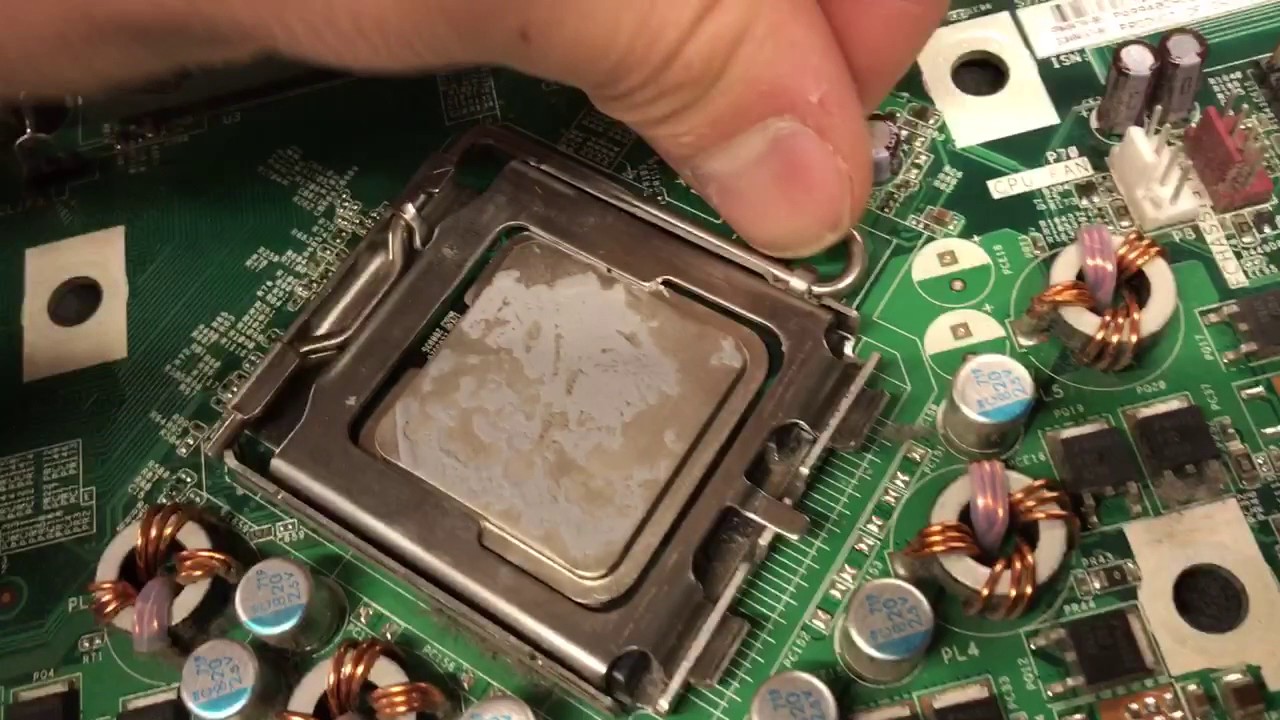
Locate theCPU socket, which is where the CPU is seated.
Take note of any cables or connectors that may be in the way and plan your steps accordingly.
Handle the CPU and cooler with care to prevent any damage.
This information can be useful when upgrading or troubleshooting your setup in the future.
Refer to your motherboards manual or manufacturers website for specific instructions on unlocking your CPU socket.
While unlocking the CPU socket, confirm to handle the CPU and socket with care to avoid any damage.
Avoid excessive pressure or pulling on the CPU, as this could result in bent pins or other issues.
Therefore, its essential to exercise caution and handle the CPU with precision.
Congratulations on completing this process and enhancing your system knowledge and skills!
